Sign In
Upload
Download
Table of Contents
Contents
Add to my manuals
Delete from my manuals
Share
URL of this page:
HTML Link:
Bookmark this page
Add
Manual will be automatically added to "My Manuals"
Print this page
×
Bookmark added
×
Added to my manuals
Manuals
Brands
Stiegelmeyer Manuals
Medical Equipment
Libra Partner
Instruction manual
Stiegelmeyer Libra Partner Instruction Manual
Hide thumbs
1
2
3
4
Table Of Contents
5
6
7
8
9
10
11
12
13
14
15
16
17
18
19
20
21
22
23
24
25
26
27
28
29
30
31
32
33
34
35
36
37
38
39
40
41
42
43
44
45
46
47
48
49
50
51
52
53
54
55
56
57
58
59
60
61
62
63
64
65
66
67
68
69
70
71
72
73
74
75
76
77
78
79
80
81
82
83
84
85
86
87
88
89
90
91
92
93
94
95
96
97
98
99
100
101
102
103
104
105
106
107
108
109
110
111
112
113
114
115
116
117
118
119
120
121
122
123
124
125
126
127
128
129
130
131
132
133
134
135
136
137
138
139
140
141
142
143
144
145
146
147
148
149
150
151
152
153
154
155
156
157
158
159
160
161
162
163
164
165
166
167
168
169
170
171
172
173
174
175
176
177
178
179
180
page
of
180
Go
/
180
Contents
Table of Contents
Troubleshooting
Bookmarks
Table of Contents
Table of Contents
Address, Market Information
Foreword
Target Groups, Qualifications and Duties
For the Commercial Sector
Operator
Responsibilities of the Operator
Users
Users (Technical Personnel)
Qualification of Users
Duties of Users
Resident
For the Private Sector
Conventions of this Instruction Manual
Safety Information
Information through Icons
Safety Instructions
Safety Information for Operating the Bed
Electrical Cables and Connections
Operating Time of Electric Drives
Handset
Bed Adjustment
Special Hazards
Risk of Fire
Safety Information for Attachments and Additional Equipment
Use of Patient Lifts
Safety Information for Accessories
Safety Information for Disposal
Tips on Using the Bed Safely in a Domestic Setting
Product Description
Intended Use
Use for the Intended Purpose
Contraindications
Side Effects
Product Variants
Components of the Bed
Headboard and Footboard
Mattress Base
Bed Chassis
Electric Drive System
Control Elements
Safety Sides
Linen Holder (Optional Equipment)
Mains Cable Holder
Handset Holder (Optional)
Adapter Sleeves for Patient Lifting Pole/Infusion Stand
Lead-Acid Battery (Optional)
LED Reading Lamp (Optional)
Under Bed Light (Optional)
Technical Data
Type Plate
Other Labelling on the Product
Materials Used
Dimensions
Castor Type
Weight
Adjustment Ranges
Operating Noise
Ambient Conditions
Medical Device Classification
Electrical Data
Electrical Connection Diagram
Attachment/Removal
Vario Safe" System
Headboard and Footboard
Split Safety Side
Side Panels
Combinable Safety Side
Removal
Attachment
Full-Length Safety Side
Removal
Attachment
Connect a Battery at a Later Date (Optional Equipment)
Connecting a Reading Lamp at a Later Date (Optional)
Bed Extension (Optional)
Assembly
Removal
Putting into Service
Before Putting the Bed into Service for the First Time
Before Putting the Bed into Service each Time
Electrical Connection - Addendum for Partner Bed
Connecting the Sync Cable
Fixing the Beds in Place
Configuring the Partner Mode
Synchronisation and Initialisation - Partner Bed
Location Requirements
Bed Reprocessing/Bed Adaptation
New Occupancy after a Change of Resident
Information on Loading Capacity of Bed
Removing and Inserting Headboard and Footboard
Inserting the Mattress
Insert/Remove Patient Lifting Pole/Infusion Stand
Attaching the Grab Handle
Comfort Mattress Base (Optional)
Decommissioning
Use/Routine
Moving and Immobilising the Bed
Locking/Unlocking Electric Adjustment Functions
Locking Functions of the HL7 Handset and Trendelenburg Handset
Handset HB400 Locking Functions
Handset Modes - Partner Bed
Single Bed Mode
Family Mode
Partner Mode
Adjustment Functions of the Handset - Partner Bed
Adjustment Functions of HL7 and HB400
Adjustment Functions of Trendelenburg Handset
Saving a New "Intermediate Stop" Position
Set Maximum Mattress Base Height
Restoring Factory Settings
Intermediate Stop Position
Maximum Mattress Base Height Position
Switching the under Bed Light On/Off (Optional)
Setting the Lower Leg Rest
Raising
Lowering
Using Safety Sides
Special Safety Information for Safety Sides
Full-Length Safety Sides
Combinable Safety Sides
Split Safety Sides (Vario Safe)
Variant Without Safety Sides
Special Functions
Use in an Emergency: Lowering the Backrest
Cleaning and Disinfection
For the Private Sector
In the Commercial Sector
Safety Information on Cleaning and Disinfection
Cleaning and Disinfection Plan
Instructing Users and Staff
Cleaning Agents and Disinfectants
Handling Cleaning Agents and Disinfectants
Cleaning of Permanently Upholstered Components
Fabric Upholstery
Faux Leather Upholstery
Maintenance
Replacement Parts
Service Address
For Private Use
In the Commercial Sector
Safety Instructions for Maintenance
Responsibilities of the Operator
Inspection by the User
Replacement of Electrical Components
Safety Information
Mains Cable Replacement
Replacing the Handset (HL7/HB400)
Replace the Motor
Replace the Control Unit
Initialising the Control Unit/Synchronising the Beds
Reset the Control Unit
Troubleshooting
Faults and Their Rectification
Disposal
Disposal of the Bed
Disposal of Packaging
Disposal of Components
Electrical Components
Batteries
Appendix
Available Accessories
Information on Electromagnetic Compatibility (EMC)
EMC Information Tables
Translation of EC Declaration of Conformity
Advertisement
Quick Links
Download this manual
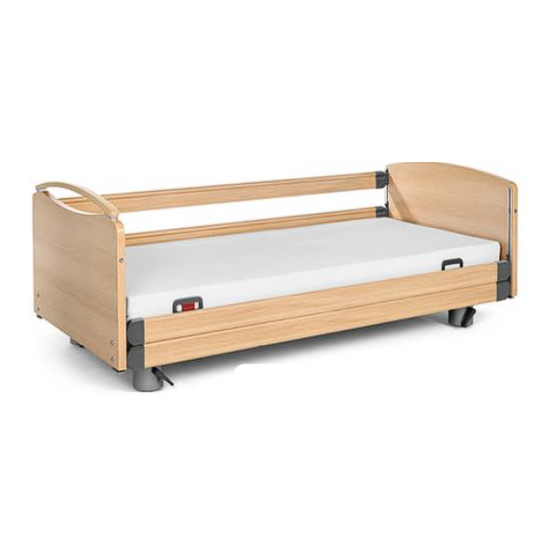
Libra
Instruction Manual
Libra and model variants
2023-07-18 | Version 00 | 306364
Table of
Contents
Previous
Page
Next
Page
1
2
3
4
5
Advertisement
Table of Contents
Need help?
Do you have a question about the Libra Partner and is the answer not in the manual?
Ask a question
Questions and answers
Related Manuals for Stiegelmeyer Libra Partner
Medical Equipment Stiegelmeyer Libra movo Instruction Manual
(180 pages)
Medical Equipment Stiegelmeyer Evario Instruction Manual
(168 pages)
Medical Equipment Stiegelmeyer Evario one Instruction Manual
Hospital bed (164 pages)
Medical Equipment Stiegelmeyer Sicuro pesa Instruction Manual
Hospital bed for intensive care (88 pages)
Medical Equipment Stiegelmeyer Seta pro Instruction Manual
(168 pages)
Medical Equipment Stiegelmeyer Deka Instruction Manual
(116 pages)
Medical Equipment Stiegelmeyer Deka Instruction Manual
Hospital bed (48 pages)
Medical Equipment Stiegelmeyer Carino Instruction Manual For Assembly And Use
Residential home bed (24 pages)
This manual is also suitable for:
Libra movo
Libra floor access plus
Table of Contents
Print
Rename the bookmark
Delete bookmark?
Delete from my manuals?
Login
Sign In
OR
Sign in with Facebook
Sign in with Google
Upload manual
Upload from disk
Upload from URL


Need help?
Do you have a question about the Libra Partner and is the answer not in the manual?
Questions and answers