Advertisement
Quick Links
Quick Start Guide
Guía de Inicio Rápido / Guide de démarrage rapide /
Schnellstartanleitung / Guida d'avvio rapido
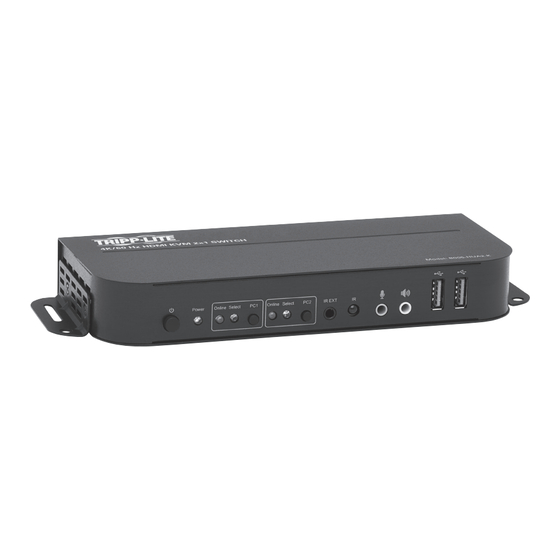
HDMI KVM Switches with 4K Video,
Audio and Peripheral Sharing
KVM HDMI con Video 4K, Audio y Compartido de Periféricos
Commutateurs KVM HDMI avec partage vidéo,
audio et périphérique 4K
HDMI KVM Switches (Schalter) mit 4 K Video,
Audio und Peripherie-Sharing
Switch KVM HDMI con video 4K, audio e condivisione di periferiche
23-11-065-93-49B4_revA.indd 1
23-11-065-93-49B4_revA.indd 1
Purchased product may differ from image.
El producto comprado puede diferir de la imagen.
Le produit acheté peut différer de l'image.
Das gekaufte Produkt kann vom Bild abweichen.
Il prodotto acquistato potrebbe differire dall'immagine.
B005-HUA2-K
B005-HUA4
1
12/14/2023 10:39:28 AM
12/14/2023 10:39:28 AM
Advertisement

Related Manuals for Eaton TRIPP LITE B005-HUA2-K


Summary of Contents for Eaton TRIPP LITE B005-HUA2-K
- Page 1 Quick Start Guide Guía de Inicio Rápido / Guide de démarrage rapide / Schnellstartanleitung / Guida d’avvio rapido HDMI KVM Switches with 4K Video, B005-HUA2-K Audio and Peripheral Sharing B005-HUA4 KVM HDMI con Video 4K, Audio y Compartido de Periféricos Commutateurs KVM HDMI avec partage vidéo, audio et périphérique 4K HDMI KVM Switches (Schalter) mit 4 K Video,...
- Page 2 Installation Instalación / Installation / Installation / Installazione Refer to the following steps and diagram to set up your KVM switch installation. Note: Before making any connections, make sure power to all devices connected to the KVM switch is turned off. Unplug the power cords of any computers that have the Keyboard Power On function.
- Page 3 Installation Instalación / Installation / Installation / Installazione 5. The included IR Remote Control works the same as the pushbuttons: a. For input: “1” specifies PC1 and “2” specifies PC2. b. For loop switching: Order is PC1>PC2>PC1>… 6. USB peripherals, such as printers, scanners and thumb drives, can be connected to the front-panel USB-A ports.
- Page 4 Installation Instalación / Installation / Installation / Installazione 4. Oprima los botones en el panel frontal para seleccionar la computadora deseada. El LED Select se iluminará para indicar qué computadora está seleccionada actualmente. El monitor mostrará la imagen correspondiente y la computadora seleccionada puede controlarse mediante teclado y mouse.
-
Page 5: Installation
Installation Instalación / Installation / Installation / Installazione 1. Connectez des ordinateurs aux ports d’entrée USB-B à l’aide de câbles USB. Connectez le microphone et les ports audio stéréo des ordinateurs à l’aide de câbles audio de 3,5 mm. Connectez les ordinateurs aux ports « HDMI In » à l’aide de câbles HDMI. 2. - Page 6 Installation Instalación / Installation / Installation / Installazione Deutsch Beachten Sie die folgenden Schritte und das Diagramm, um die Installation Ihrer KVM Switch einzurichten. Hinweis: Vergewissern Sie sich, dass alle Geräte, die an die KVM Switch angeschlossen sind, ausgeschaltet sind, bevor Sie irgendwelche Verbindungen herstellen.
- Page 7 Installation Instalación / Installation / Installation / Installazione 4. Drücken Sie die Tasten auf der Frontblende, um den gewünschten Computerauszuwählen. Die Select-LED leuchtet, um anzuzeigen, welcher Computer gerade ausgewählt ist. Auf dem Monitor wird das entsprechende Bild angezeigt, und der ausgewählte Computer kann über Tastatur und Maus gesteuert werden.
- Page 8 Installation Instalación / Installation / Installation / Installazione 1. Collegare i computer alle porte di ingresso USB-B utilizzando i cavi USB. Collegare il microfono e le porte audio stereo dei computer utilizzando i cavi audio 3,5 mm. Collegare i computer alle porte di ingresso “HDMI In” utilizzando i cavi HDMI. 2.
-
Page 9: Warranty
Nous garantissons que nos produits sont exempts de vices de matériaux et de fabrication pendant une période de trois (3) ans à partir de la date d'achat initiale. Notre responsabilité, en vertu de la présente garantie, se limite à la réparation ou au remplacement (à sa seule discrétion) de ces produits défectueux. Visiter Tripplite.Eaton. - Page 10 Eaton 1000 Eaton Boulevard Cleveland, OH 44122 United States Eaton.com © 2023 Eaton Eaton is a registered trademark. All Rights Reserved Publication No. 23-11-065 / 93-49B4_RevA All trademarks are property December 2023 of their respective owners. 23-11-065-93-49B4_revA.indd 10 23-11-065-93-49B4_revA.indd 10...
Need help?
Do you have a question about the TRIPP LITE B005-HUA2-K and is the answer not in the manual?
Questions and answers