Table of Contents
Advertisement
Quick Links
Advertisement
Table of Contents

Subscribe to Our Youtube Channel
Related Manuals for AAXA Technologies L500


Summary of Contents for AAXA Technologies L500
- Page 1 L500 Projector User Manual...
-
Page 2: Table Of Contents
Contents Chapter 1 Cautions Chapter 2 Included in Packaging Chapter 3 Projector Overview Chapter 4 Remote Control Overview Chapter 5 Starting Up the Projector Powering On Focus Adjustment Keystone Correction Connecting to WIFI Input Selection Chapter 6 Menu Functions Overview Screen Mirroring Playing Files from USB Streaming Apps... -
Page 3: Cautions
Cautions ● Please use this product as instructed. Misuse may cause injury or death. ● Do not expose to water or wet surfaces. Electric shock may occur. ● Do not expose the projected LED image to your eyes or the eyes of others. -
Page 4: Included In Packaging
Included in Packaging Main Projector Unit Power Adapter HDMI HDMI Remote Control HDMI Cable AV Cable User Manual... -
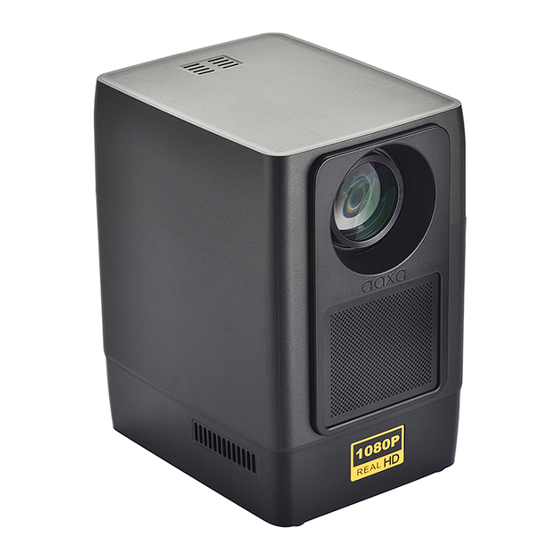
Page 5: Projector Overview
Projector Overview AV Input DC Power Source Infrared Receptacle Reset Button Power Indicator USB Port HDMI Compatible Input... -
Page 6: Remote Control Overview
Remote Control Overview Power On/Off Simulate Mouse Previous Next Play /Pause Left Right Down Volume Down Volume Up Image Focus Down Image Focus Up Return Homepage... -
Page 7: Starting Up The Projector
2. Focus Adjustment ① The L500 features electronic focus adjustment. ② The focus range for the L500 is from 40” to Infinity (See Projection Distance and Screen Size) ③ Focus is adjusted via the remote control:When the projector is powered on, press the + or - buttons on the remote controller to adjust the image clarity on the screen. -
Page 8: Keystone Correction
3. Keystone Correction ① The L500 features 4-way adjustable keystone. ② To adjust Keystone go to Settings→Projection Settings→Keystone Correction. • Basic Keystone correction can be done by adjusting “Vertical Correction” or “Horizontal Correction”. • For Complex Keystone Correction, select “Corner Correction”. -
Page 9: Connecting To Wifi
Press the OK key to move to the next corner and continue the process. 4. Connecting to WIFI ① The L500 supports 2.4g or 5g Wifi. ② To Connect to Wifi go to Settings and Network Setting. ③ Select the appropriate network and enter password. -
Page 10: Input Selection
5. Input Selection The L500 has three external input sources: HDMI, USB, and AV. To select the desired input, use the remote control to navigate to the correct input icon (HDMI, AV, USB) • Connecting HDMI device Use HDMI cable to connect projector with HDMI device(such as computer,HD player, DVD and so on) . - Page 11 Insert the USB into the projector. The projector should autodetect the USB drive. If it does not select “USB” from the input selection menu. Note: ① The L500 supports USB flash drives up to 64GB. ② Supported file types: videos, pictures,and music. • Connecting AV (RCA) devices Connect the 3.5mm end of the AV cable to the projector.
-
Page 12: Menu Functions
Apple IOS devices requires a router/network host for mirroring. ② After connecting the L500 to wifi, From the Main Menu, choose “My Apps” icon. ③ In the My Apps Menu, choose Android Mirroring or Airpin ( PRO ). - Page 13 To screen mirror IOS devices, your devices and the L500 have to be connected to the same Wifi network. Note: DMCA (copyright) content cannot be wirelessly mirrored. This includes content from streaming services such as Netflix, Hulu, Disney+, etc. BUW!46...
-
Page 14: Playing Files From Usb
The projector should auto-detect the USB drive. If not select “USB” from the source menu. 4. Streaming Apps ① Depending on region, the L500 supports a multitude of streaming apps. Not all streaming apps are supported and this varies by region. Additionally some apps will require a mouse. The remote control has a virtual mouse function, or a mouse can be plugged into the USB port to use these apps. -
Page 15: App Store
5. App Store The L500 features an app store to download apps. Not all apps will work and this varies from region. To access the App Store click on App Store. Be sure to pay attention to system memory as some... -
Page 16: Setting
Keystone. Keystone is covered on pages (06) of this manual. ② Projection Settings include: ⑴ Front Table ⑵ Rear Table ⑶Inverted Ceiling ⑷Rear Inverted Ceiling. PLEASE NOTE: The L500 is NOT designed to be intended for ceiling mount. Do NOT mount the L500 on the ceiling. - Page 17 Network Setting is covered under page (07) of this manual. • Bluetooth settings ⑴ The L500 can connect an external Bluetooth speaker. ⑵ Make sure Bluetooth is turned on and discover the Bluetooth speaker. Click on the speaker to pair.
- Page 18 • Language & Input The User can select keyboard type (fixed) and Language type. Supported languages include English, German, French, Italian, Spanish, Japanese, Korean and Chinese. • Date And Time Date and Time can be set. Date and Time will reset when the projector is unplugged.
- Page 19 • About In the Settings Menu, go to the About Menu by selecting the about icon. In the About menu, you can find Model,System Version,Android Version,RAM,ROM, MAC Address,WiFi MAC Address.
-
Page 20: Projection Distance And Screen Size
Projection distance and Screen Size SCREEN WIDTH SCREEN WIDTH SCREEN HEIGHT THROW DISTANCE (inch) (inch) (inch) (inch) Disclaimer:AAXA reserves the right to make changes to the contents of this instruction manual without any advance notice. Continuous software upgrades may result in differences in the OSD operation. - Page 21 Please direct all customer service inquiries to: AAXA Technologies, Inc. 17781 Sky Park Circle, Suite #F Irvine, CA 92614 (714) 957-1999 info@aaxatech.com...
Need help?
Do you have a question about the L500 and is the answer not in the manual?
Questions and answers