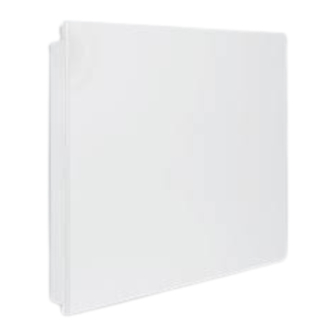
Summary of Contents for Stelpro MIRAGE MIR WC Series
- Page 1 OWNER’S MANUAL MIR... MIR...WC CONVECTOR MIR...P THANK YOU FOR YOUR PURCHASE! QUESTION? PROBLEM? CONTACT STELPRO CUSTOMER SERVICE. WWW.STELPRO.COM CONTACT@STELPRO.COM 1-844-STELPRO...
-
Page 2: Important Instructions
“Online heating calculation” section of the the unit needs to be cleaned based on the amount of dirt accumulated on Stelpro Design website (residential buildings). To heat and increase the comfort the air inlets and outlets and inside the unit. Accumulated dirt can cause the of a large room, install several units instead of just one. -
Page 3: Tools And Materials
INSTALLING THE CONVECTOR TO ENSURE A SAFE AND EASY INSTALLATION, TAKE A FEW MINUTES TO READ THIS INSTALLATION GUIDE. WHAT’S IN THE BOX THE BOX TOOLS AND MATERIALS Flat screwdriver Phillips screwdriver Wire stripper Stud finder Level Tape measure Convector Wall bracket Twist-on wire connectors* models: Four to six #6 to #10 round-head wood screws and... - Page 4 TURN OFF THE POWER SUPPLY To protect yourself from the risk of electric shock, turn off the power to the power cables at the electrical panel. REMOVE THE WALL BRACKET FROM THE UNIT 1. Lay the unit flat on a clean, non-abrasive surface to avoid damaging the front of the unit.
-
Page 5: Connecting The Wiring
CONNECTING THE WIRING WARNING: Use only copper wire that can withstand a temperature of 75°C (167°F). 1. Unscrew and remove the junction box door and set it aside. Phillips screwdriver 2. Pull the wires out of it. 3. If necessary, strip the wires from the power cable [A] using a wire stripper. - Page 6 HANG THE UNIT ON THE WALL BRACKET CAUTION: Ensure that the convector is correctly engaged in the wall bracket to avoid dropping and damage. 1. Insert the unit into the lower 2. Tilt the top of the unit and 3. Push the unit to ensure it is hooks [A] of the wall bracket.
- Page 7 CONTROL WITH A BUILT-IN ELECTRONIC THERMOSTAT TEMPERATURE CONTROL AND DISPLAY NIGHT MODE The thermostat has two modes: the DAY mode, identified on the digital HOW TO SET THE NIGHT TEMPERATURE screen by a ( ) icon and the NIGHT mode, identified by a ( ) icon. To By pressing down the top or bottom button, you will enter the setting mode switch from one mode to the other, simultaneously press down both buttons indicated by the flashing MOON icon.
- Page 8 Please original part. This warranty will not be valid and STELPRO may deny any claim note that repairs made within the warranty period must be authorized in advance if the unit has been modified in any way without STELPRO's prior written au- in writing by STELPRO and carried out by a person authorized by STELPRO.


Need help?
Do you have a question about the MIRAGE MIR WC Series and is the answer not in the manual?
Questions and answers