Table of Contents
Advertisement
Quick Links
Advertisement
Table of Contents

Related Manuals for JUNO JKU4021


Summary of Contents for JUNO JKU4021
- Page 1 JKU 4021 GEBRAUCHSANWEISUNG OPERATING INSTRUCTIONS 2222 319-22...
- Page 2 Besitzer Ÿber den Betrieb des GerŠtes bzw. die entsprechenden Warnungen. Sollte dieses GerŠt mit Magnet-TŸrverschlu§ als Ersatz fŸr ein altes GerŠt dienen, das noch mit einem Schnappschlo§ ausgerŸstet ist, so machen Sie bitte dieses Schlo§ unbrauchbar, bevor Sie das GerŠt beiseite stellen oder zum MŸll geben.
-
Page 3: Hinweise Zur Verpackungsentsorgung
Wir empfehlen Ihnen: ¥ Papier-, Pappe- und Wellpappeverpackungen sollten in die entsprechenden SammelbehŠlter gegeben werden. PE fŸr PolyŠthylen** 02 = ^ PE-HD; 04 = ^ PE-LD ¥ Kunststoffverpackungsteile sollten ebenfalls in die dafŸr vorgesehenen SammelbehŠlter PP fŸr Polypropylen gegeben werden. Solange solche in Ihrem PS fŸr Polystyrol... -
Page 4: Reinigung Der Innenteile
Installation - Aufstellung - Einbau - TŸranschlagwechsel ........ -
Page 5: Hšhenverstellbare Abstellregale
TIPS Cover the visible part of the top bracket on the panel with plastic cover (D), inserting it in the locations provided in the bracket. -
Page 6: Fitting A Decorative Door Panel
The small bottom bracket need not be removed. Ablaufloch fŸr das Abtauwasser regelmŠ§ig zu reinigen, um zu vermeiden, da§ das Place the appliance in the position where it is to be D037 Abtauwasser auf die eingelagerten Lebensmittel built in.The appliance is fittedwith adjustablefeet;... -
Page 7: Einbau
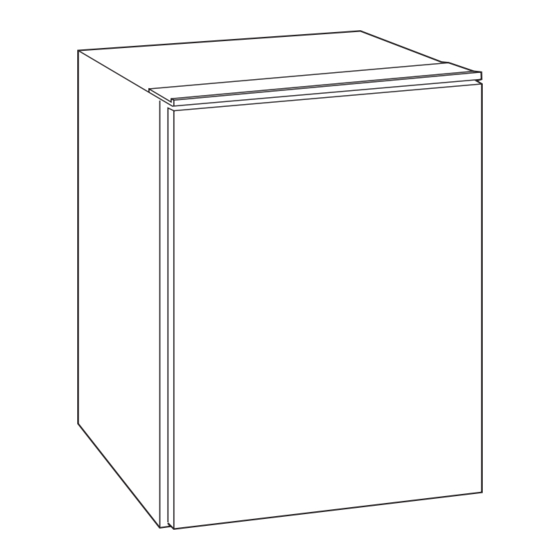
Dieses GerŠt ist da-zu bestimmt, in eine Nische mit den Abmessungen wie in Abbildung gezeigt, eingebaut zu werden. Location 100-170 D506 This appliance is designed to be built-in to a space having the dimensions given in. Zur Hšhenregulierung dienen die NivellierfŸ§chen, die am GerŠteboden angebracht sind. 100-170 D506... -
Page 8: Maintenance
- unhook the moving part as shown in the figure. WinkelstŸckes an der Platte vorgeht, indem Sie If the light does not come on when the door is open, die beiliegenden 7 Schrauben ¯ 3,5 x 13 check that it is screwed into place properly. If it still benutzen. - Page 9 D471 Die Stellung wieder ŸberprŸfen, indem Stifte und wall. In this case the dial must be set to a higher temperature to allow automatic defrosting and Schrauben gelockert werden; wenn die optimale Stellung erreicht wird, alle Befestigungen streng therefore reduced energy consumption.
-
Page 10: General Safety
Installation - Electrical connection- Location - Door reversibility ....... . .14...
Need help?
Do you have a question about the JKU4021 and is the answer not in the manual?
Questions and answers