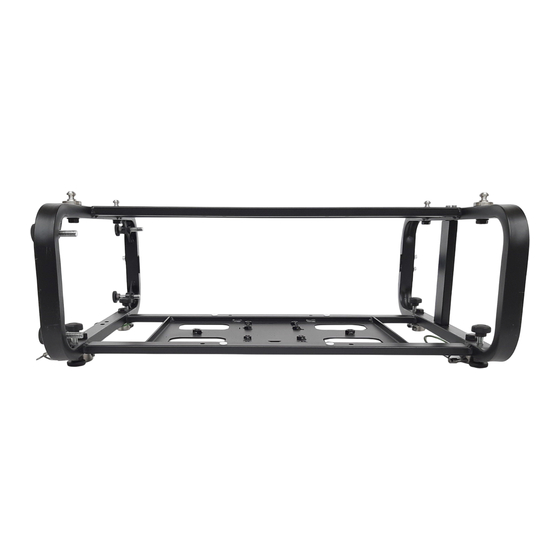
Summary of Contents for Epson V12H006AW0
- Page 1 User's Guide ELPMB84 Projector Stacking Frame Beta V12H006AW0 email: info@euromet.com...
-
Page 2: Safety Precautions
Safety Precautions DANGER • Failure to comply with these safety precautions results in death or serious injury; • ELECTRICAL SHOCK HAZARD! Always turn off, disconnect, and disengage all power sources to the projector before servicing; WARNING Failure to comply with these safety precautions may result in serious injury. •... - Page 3 • Always fasten KITE to the TRUSS with a steel safety cord using the specific eyelets: in case of fault or failure, the cord must ensure the cage not to be falling down lower than 5 cm. • Please read the local rules and regulations to comply with any possible additional safety rules for hanging loads.
- Page 4 ELPMB77 Projector Connection • Work on a flat surface, • Lay the projector (with fastening holes upwards). • Place KITE on the projector (see picture), • Make sure the fastening holes of the cage and of the projector are aligned. •...
-
Page 5: Angle Adjustment
Angle Adjustment The projector can rotate around the 3 rotation axes: ROLL PITCH ROLL Use both manual adjustment systems on the side and set the projector position (as shown in the picture) with a +/- 8° angle. In order for the projector to roll around this axis, the two knobs must be turned in the opposite direction. - Page 6 PITCH The rotation around this axis can be obtained: by turning the two front knobs in the same direction and by turning the rear one in the opposite direction. Also in this case, the rotation is +/- 8°. When moving the rear sliding system, the projector will turn by +/- 4° as shown in the picture.
- Page 7 In order to rotate the sliding system, it is necessary to: 1) Loosen the 3 locking systems on the CLOCK PLATE (there is one for each manual adjusting system); 2) Move the RATCHET (by setting the desired rotation direction); 3) This way, the plate will turn clockwise or anti-clockwise; 4) Once the plate has reached the desired angle, tighten the 3 locking systems, loosened at point 1.
- Page 8 Calibration and 0 Position 1) In order to calibrate PITCH and ROLL: Before mounting the projector, turn the 3 setting systems by bringing them into the completely closed position. Place KITE upside down, so that the projector fastening plate lays on a flat surface (check with a bubble level that the surface is perfectly even, otherwise the KITE setting process will be influenced by the error).
-
Page 10: Maintenance
Maintenance Do not try to service this product yourself, except as specifically explained in this User’s Guide. Refer all other servicing to qualified service personnel. HARDWARE’S INSPECTION The ELPMB79 arm adapter does not require special maintenance, but a visual inspection must be conducted before each installation involving the system.


Need help?
Do you have a question about the V12H006AW0 and is the answer not in the manual?
Questions and answers