Pakedge WA-4200 Quick Start Manual
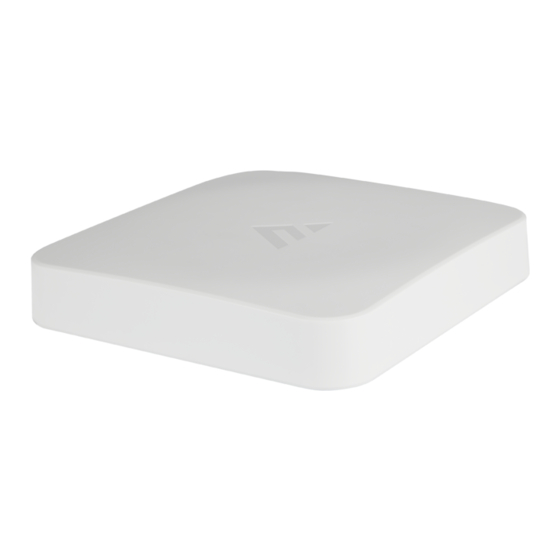
802.11ac 4x4 wave 2 access point
Hide thumbs
Also See for WA-4200:
- User manual (16 pages) ,
- Quick start manual (12 pages) ,
- User manual (18 pages)
Advertisement
Quick Links
Advertisement

Related Manuals for Pakedge WA-4200


Summary of Contents for Pakedge WA-4200
- Page 1 WA-4200, WA-4200-1 802.11ac 4x4 Wave 2 Access Point OvrC Enabled QUICK START GUIDE...
- Page 2 WA-4200 features • 802.11ac dual-band 4×4 wireless technology • Advanced Wave 2 wireless technology with MU-MIMO and beamforming • Powered by PoE+ (or optional 12V DC 2A power adapter, sold separately) • Single- to multi-AP cloud configuration with built-in OvrC •...
- Page 3 Planning the wireless network For tips on planning your network and positioning the access points, see: pkdge.co/wirelessdesign • Wireless Design Guide at pkdge.co/ap-bp • Best Practices for Access Point Placement Guide at Wireless Design Placement Guide Guide Caution: The Wi-Fi AP is to be connected only to PoE networks without routing to the outside plant.
- Page 4 Mounting on a ceiling (surface mount) 1 Tape the included template against the desired mounting location, then mark the places to drill mounting holes and install the appropriate mounting hardware, including the mounting plate. T-Bar T-Bar Mounting Screw Mounting Screw Wall Bracket Wall Bracket MOUNTING OPTIONS:...
- Page 5 4 Slide the tabs in the AP into the slots on the mounting plate, then slide “down” (toward the port opening) until the AP is locked into place. To remove the AP from the bracket: 1 While pressing the AP against the mounting plate, slide the AP “up” (away from the port opening) slightly, then pull the AP away from the mounting plate.
- Page 6 Mounting in a ceiling (recessed mount) Follow these steps to install the AP with the ICBKT-WA-4200 (sold separately). 1 Remove the backing from the included cutout template and affix it to the ceiling where the AP will be installed. 2 Cut along the dotted line with a drywall saw.
- Page 7 4 Make sure that the bracket’s mounting latches are in their unlocked position (parallel to the bracket edge), then insert the bracket into the opening you created in step 1. 5 Rotate both mounting latches 1/4 turn counterclockwise to their locked position (perpendicular to the bracket edge) .
- Page 8 6 Hold the AP near the bracket, then connect the Ethernet cable to the AP. 7 Align the four tabs on the swing-out rails with the corresponding holes in the bottom of the AP, slide the tabs into the holes, then slide the AP slightly away from the bracket to lock the tabs into the holes.
- Page 9 Powering up The AP can be powered by PoE or the optional AC power adapter (sold separately). To power up the access point: 1 Connect power using a POE injector or POE switch, or with the optional AC power adapter (sold separately). The access point should now be up and running with its default settings.
-
Page 10: Logging In To The Access Point
To log in to the access point: 1 Connect the access point to your PoE switch with an Ethernet cable. 2 Log in to your Pakedge router to find the IP address assigned to the access point under the DHCP Client Table. - Page 11 5 Enter and verify a new username and password (required) before continuing, then click Apply to complete the setup. Caution: For international models, you must change the Country Code (a drop-down list defaulting to GB - United Kingdom), to the specific country of operation. Note: pkdge.co/wa4200-ug Refer to the user guide (...
- Page 12 Registering your device with OvrC OvrC gives you remote device management, real-time notifications, and intuitive customer management, right from your computer or mobile device. Setup is plug-and- play, with no port forwarding or DDNS address required. To add this device to your OvrC account: Mobile Access Point Apps...
-
Page 16: Technical Support
Technical Support For technical help: www.pakedge.com/portal support@pakedge.com (650) 385-8703 Find details of this product’s Limited Warranty at snapav.com/warranty or request a paper copy from Customer Service at (866) 424-4489 . Find other legal resources, such as regulatory notices and patent information, at snapav.com/legal...
Need help?
Do you have a question about the WA-4200 and is the answer not in the manual?
Questions and answers