Table of Contents
Advertisement
Quick Links
English version
Important! The Setup Wizard is located on the Sweex CD-ROM. This installation
procedure will show you step by step how to setup the router.
• Do not expose the Sweex Wireless Broadband Router 300 Mbps to extreme temperatures.
Do not place the device in direct sun light or close to heating elements.
• Do not use the Sweex Wireless Broadband Router 300 Mbps in extremely dusty or moist environments.
• Prevent hard shocks or impacts of the device, as this can cause damage to the internal electronics.
• Never try to open the device yourself, this voids the warranty.
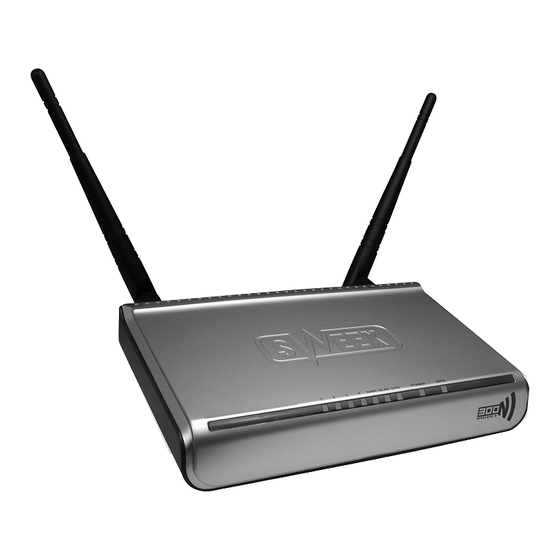
View from above or front of the router
LED Indicators
Status
1-4
On
1-4
Blinking
WAN
On
WAN
Blinking
WLAN
On
LW310 Sweex Wireless Broadband Router 300 Mbps
Indication
Indicates that a computer is connected to the corresponding port
Indicates that there is activity between the corresponding computer and the router
There is a good connection with the internet modem
Indicates that there is activity between the router and the modem
Indicates that the wireless connection of the router is activated
Advertisement
Table of Contents

Related Manuals for SWEEX LW310


Summary of Contents for SWEEX LW310
- Page 1 • Do not use the Sweex Wireless Broadband Router 300 Mbps in extremely dusty or moist environments. • Prevent hard shocks or impacts of the device, as this can cause damage to the internal electronics. • Never try to open the device yourself, this voids the warranty.
- Page 2 Connecting the Sweex Broadband Router 1. Connect the supplied power adapter to the rear side of the router. Plug the power adapter in a plug socket. The light next to “Power” has to be lit. When it does not, check the power adapter off the router and check the plug socket.
-
Page 3: Windows Vista
2. Turn on the computer and connect a networking cable (RJ-45 UTP) to the computer on the rear side of the router. Do this in port 1, 2, 3 or 4. The corresponding light on the front side will light up. When it does not, check if the networking cable is correctly connected to the computer and the router. - Page 4 English version In the left column select “Manage network connections”.
- Page 5 Select the option “Obtain an IP address automatically” and “Obtain DNS server address automatically”. Confirm the settings by clicking “OK”. The network settings for Vista are now configured correctly. Further on in this manual you will find the correct settings for your internet browser.
- Page 6 Select the option “Obtain an IP address automatically” and “Obtain DNS server address automatically”. Confirm the settings by clicking “OK”. The network settings for Windows XP are now configured correctly. Further on in this manual you will find the correct settings for your internet browser.
-
Page 7: Windows 2000
Select the option “Obtain an IP address automatically” and “Obtain DNS server address automatically”. Press “OK” twice. The network settings for Windows 2000 are now configured correctly. Further on in this manual you will find the correct settings for your internet browser. -
Page 8: Setting Up The Wireless Network
Internet browser settings for Windows 2000, XP and Vista 1. To be able to connect to the router the browser settings have to be setup correctly. This can be checked easily by selecting “Extra” - “Tools” and then the option “Internet Options…” in Internet Explorer. - Page 9 We recommend you secure the wireless part of the router. How to do this is described further on in this manual. The network will then appear as “Sweex LW310” with underneath it the message “Security-enabled wireless network”.
- Page 10 These setting only have to be configured once in the router. This means that no matter how many computers you connect to the router, the following settings only have to be done on one computer. That is because the settings are not...
- Page 11 5. To check if the internet connection is established successfully, go to the status screen by clicking on “System Status” in the left column. Your internet “WAN IP” will appear in the ”Network Status” part. It can take approx. 1 minute...
- Page 12 4. Turn on the modem and wait until it is fully started and the right lights are lit. 5. Reconnect the network cable between the modem and router by putting it in the "WAN" port of the router. The “WAN” light has to be lit.
- Page 13 7. To check if the internet connection is established successfully go to the status screen by clicking on “System Status” in the left column Your internet “WAN IP” will appear in the ”Network Status” part. It can take approx. 1 minute before this IP-address appears.
- Page 14 7. To check if the internet connection is established successfully, go to the status screen by clicking on “System Status” in the left column. Your internet “WAN IP” will appear in the ”Network Status” part. It can take approx. 1 minute...
- Page 15 4. Turn on the modem and wait until it is fully started and the right lights are lit. 5. Reconnect the network cable between the modem and router by putting it in the "WAN" port of the router. The “WAN” light has to be lit.
- Page 16 7. To check if the internet connection is established successfully, go to the status screen by clicking on “System Status” in the left column. Your internet “WAN IP” will appear in the ”Network Status” part. It can take approx. 1 minute before this IP-address appears.
-
Page 17: Wireless Settings And Security
In the left column under “Wireless Networks” click on “ Basic Settings”. The standard SSID is “Sweex LW310”. We recommend you never change this, so you can always recognize the router. Here you will also find other options, such as “Channel” and “Mode”. We recommend you also leave these settings unchanged. - Page 18 English version It is not possible to use both ways at the same time. Therefore, if you have computers that do not support WPS we recommend you use the WPA or WPA2 security. WPS (WiFi Protected Setup) Securing a network fast and easy is done with WPS. This function only works with computers that use a wireless card or USB dongle that supports WPS.
- Page 19 • Select “PBC” to let the router generate a network key automatically. • Select “PIN” to enter an existing WPS PIN-code that is already entered in the computer. Often this can be read in the WPS configuration software on the computer.
- Page 20 To configure the WPA security follow these steps: 1. At “Security Mode:” select the option “Mixed WPA-PSK/WPA2-PSK - Personal”. 2. At “Pass Phrase” enter your network key. You can make this up yourself and are allowed to use 8 to 63 numbers and letters.
- Page 21 English version Opening the ports in the router (Port Forwarding and DMZ) In this router the built-in firewall can not be turned off. Ports can be opened for programs, games, servers or game consoles that require an open port. We recommend that you lock the IP-address of your computer or game console for which you open the ports. So that these computers always have the same IP-address similar to the address they have in the router.
-
Page 22: Lan Settings
1. External~Internal Port; When you only want to open port 500, so only one port, enter the same port number in both boxes. In this example you enter 500 in both the left and right box. (For example, if you want to open port 500 to 600. - Page 23 30 seconds. After that the router is approachable by the default IP-address (192.168.31.1). Way 1: At the back of the router is a reset button. Use a small item to press the button. Hold the button for 10 seconds. The router will restart.
-
Page 24: Warranty
English version Additional tips and further information about the remaining functions of the router can be found in the English manual on the CD-ROM. Warranty For most Sweex products a warranty period of 3 years applies. On Graphics Cards and Consumer Electronics Sweex offers 2 years of warranty.
Need help?
Do you have a question about the LW310 and is the answer not in the manual?
Questions and answers