Advertisement
Quick Links
Wallboard Mounting
Tools Needed
• Medium Phillips
head screwdriver
Directions
Install the wallboard using the separate Diagnostix Adstation Installation
Instructions provided. When you get to "Assemble and Mount Blood
Pressure" section, follow the steps below.
1. Unbox the clock aneroid and basket assembly.
2. Position the assembly over the two screws on the left side of the wallboard,
then guide the screw heads into the keyhole openings on the back.
3. Slide the assembly down to lock into place.
4. Continue to the "Installing EENT Instruments" section on the Adstation
Installations Instructions.
Wall Mounting
Included hardware
• Two screws
• Two screw anchors
Tools Needed
• Medium Phillips head screwdriver
• Hammer
• Drill with 3/16" bit
Directions
1. Unbox the clock aneroid and basket assembly and determine the desired
location and height.
2. Cut out the screw template (below) and position at the midpoint of the
selected location. Use a pencil to mark the two screw holes.
3. At each pencil mark, drill a 3/16'' hole approximately 7/8'' deep.
Use a masonry type bit if drilling through ceramic tile.
4. Using the hammer, gently tap the screw anchors into the holes until they
are flush with the wall.
5. Screw included screws directly into anchors, leaving about 1/8" overhang.
6. Position the clock assembly over the screws, then guide the screw heads
into the keyhole openings on the back.
7. Slide the assembly down to lock into place.
Note: If the mounting hardware supplied is not suitable for your installa-
tion, select hardware of adequate size and type to secure the instrument
firmly to the wall.
Wall mount screw template
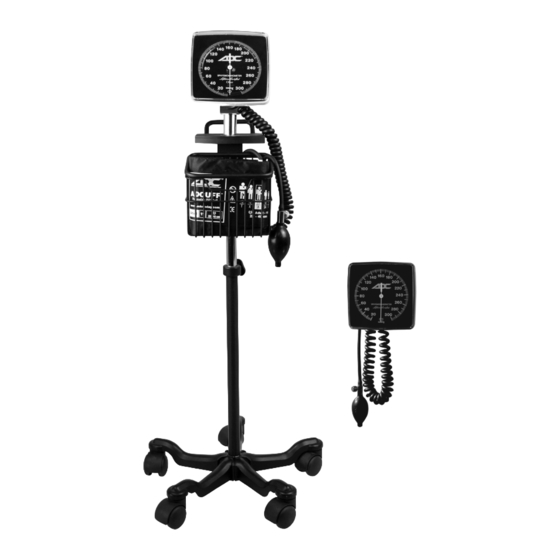
ASSEMBLY INSTRUCTIONS
Diagnostix Clock Aneroids
Wall (750W) and Mobile (752M)
To register your product visit us at
www.adctoday.com/register
FOR QUESTIONS, COMMENTS,
OR SUGGESTIONS CALL TOLL FREE:
1-800-ADC-2670
OR VISIT
www.adctoday.com/feedback
55 Commerce Drive
Hauppauge, NY 11788
Customer Service: 1-800-ADC-2670
Voice: 1-631-273-9600
Fax: 1-631-273-9659
email: info@adctoday.com
http://www.adctoday.com
IB p/n: 93521B-00 - rev 2 (05/09/2024)
Advertisement

Subscribe to Our Youtube Channel
Related Manuals for ADC Diagnostix 750W


Summary of Contents for ADC Diagnostix 750W
- Page 1 Wall mount screw template FOR QUESTIONS, COMMENTS, OR SUGGESTIONS CALL TOLL FREE: 1-800-ADC-2670 OR VISIT www.adctoday.com/feedback 55 Commerce Drive Hauppauge, NY 11788 Customer Service: 1-800-ADC-2670 Voice: 1-631-273-9600 Fax: 1-631-273-9659 email: info@adctoday.com http://www.adctoday.com IB p/n: 93521B-00 - rev 2 (05/09/2024)
- Page 2 Mobile Stand Assembly 1. With base on its side connect upright outer pole to base using the long 6 mm hex screw and washer. Tighten with the large hex key provided. Tighten hard- ware as securely as possible. (To prevent loosening, periodically check that hardware remains securely tightened.) Reposition base upright.
Need help?
Do you have a question about the Diagnostix 750W and is the answer not in the manual?
Questions and answers