
Related Manuals for ADC Diagnostix 752M


Summary of Contents for ADC Diagnostix 752M
- Page 1 Diagnostix 752M, 750W Aneroids • Mobile Aneroid Assembly Instructions • Schematic • Parts List for Mobile Stand • Wall Aneroid Mounting Instructions ® ® AMERICAN DIAGNOSTIC CORPORATION...
- Page 2 Assembly Instructions for the Diagnostix 752M Large Hex Small Hex Included Tools 1. With base on its side connect up- right outer pole to base using the long hex bolt. Tighten with the large hex key provided. Tighten hardware as securely as possi- ble.
- Page 3 Insert pole into bottom of cuff stor- age basket and tighten hex bolt on side of the basket with small hex key. Cuff storage basket Short Hex Bolt Attach manometer bracket to cuff storage basket.
-
Page 4: Schematic Parts List
5. Adjust height of manometer by loosening knob and raising or low- ering inner pole until gauge is at desired height. Tighten knob by hand. 6. Connect coiled tubing to gauge inlet. (Note: The coiled tubing may be difficult to connect, moisten with soapy water if neces- sary). - Page 5 Mobile Stand Assembly for the 752M Ref # Item # 972-101 972-080 972-106 972-106-1 972-107 972-108 972-109 972-107A 972-110 972-111 972-112 752-113 752-114 752-115...
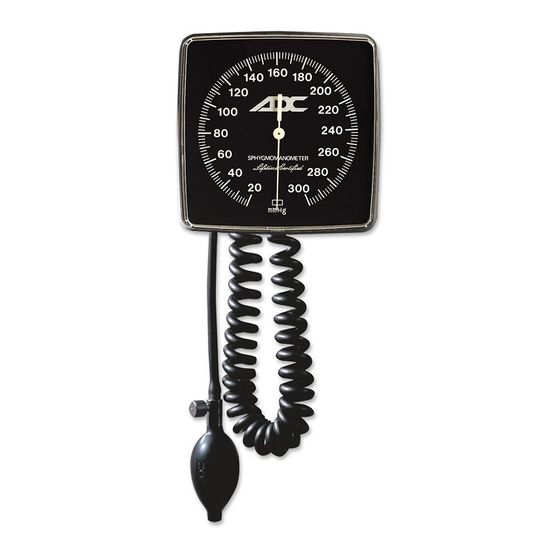
- Page 6 Wall Mounting Instructions for the Diagnostix 750W Tools Needed • Medium phillips head screwdriver • Hammer • Drill with 3/16” drill bit Directions 1. Position manometer (with attached wall bracket) on wall at de- sired location and rotate gauge to right side to permit access to left side mounting holes on bracket.
- Page 7 Note: If the mounting hardware supplied is not suitable for the applica- tion, select hardware of adequate size and type to secure the instrument firmly to the wall. Important: The instrument is designed to permit wall mounting without having to first remove the bracket from the instrument. If the instrument is removed from the bracket for mounting or service, we recommend ap- plying removable loctite to the bracket hardware to prevent the instru-...
- Page 8 To register your product, visit us at www.adctoday.com and follow the links 55 Commerce Drive Hauppauge, NY 11788 ® Customer Service: 1-800-ADC-2670 Voice: 1-631-273-9600 Fax: 1-631-273-9659 email: info@adctoday.com AMERICAN DIAGNOSTIC CORPORATION http://www.adctoday.com NEW YORK • LONDON • TOKYO ©2015 ADC...
Need help?
Do you have a question about the Diagnostix 752M and is the answer not in the manual?
Questions and answers