Table of Contents
Advertisement
Quick Links
Compliant model: M-XGS30DBS, M-XGM30DBS, M-XGL30DBS, M-XGXL30DBS, E02A
Thank you very much for purchasing this product.
* Each of the "M-XGS30DBS/M-XGM30DBS/M-XGL30DBS/M-XGXL30DBS" series is referred to as "this
product" in this manual except in some cases.
Precautions
This manual describes the important precautions you should take for safe operation of this
product.
Observe these precautions carefully to avoid personal injury, damage, fire, and other problems.
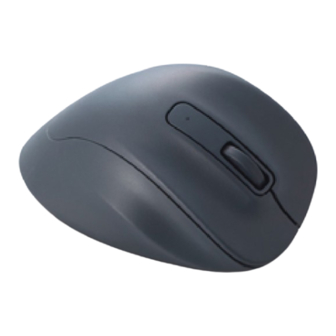
Wireless Mouse
M-XGS30DBSK series (S size)
M-XGM30DBSK series (M size)
M-XGL30DBSK series (L size)
M-XGXL30DBSK series (XL size)
User Manual
Advertisement
Table of Contents


Need help?
Do you have a question about the M-XGS30DBSK Series and is the answer not in the manual?
Questions and answers