Advertisement
Quick Links
SAMPLESAMPLESAMPLESAMPLESAMPLE
SAMPLESAMPLESAMPLESAMPLESAMPLE
SAMPLESAMPLESAMPLESAMPLESAMPLE
SAMPLESAMPLESAMPLESAMPLESAMPLE
SAMPLESAMPLESAMPLESAMPLESAMPLE
SAMPLESAMPLESAMPLESAMPLESAMPLE
SAMPLESAMPLESAMPLESAMPLESAMPLE
SAMPLESAMPLESAMPLESAMPLESAMPLE
SAMPLESAMPLESAMPLESAMPLESAMPLE
SAMPLESAMPLESAMPLESAMPLESAMPLE
SAMPLESAMPLESAMPLESAMPLESAMPLE
SAMPLESAMPLESAMPLESAMPLESAMPLE
SAMPLESAMPLESAMPLESAMPLESAMPLE
SAMPLESAMPLESAMPLESAMPLESAMPLE
SAMPLESAMPLESAMPLESAMPLESAMPLE
SAMPLESAMPLESAMPLESAMPLESAMPLE
SAMPLESAMPLESAMPLESAMPLESAMPLE
Thank you very much for purchasing this product.
* Each of the "M-XGS30BB/M-XGM30BB/M-XGL30BB/M-XGLL30BB" series is referred to as "this product" in this
manual except in some cases.
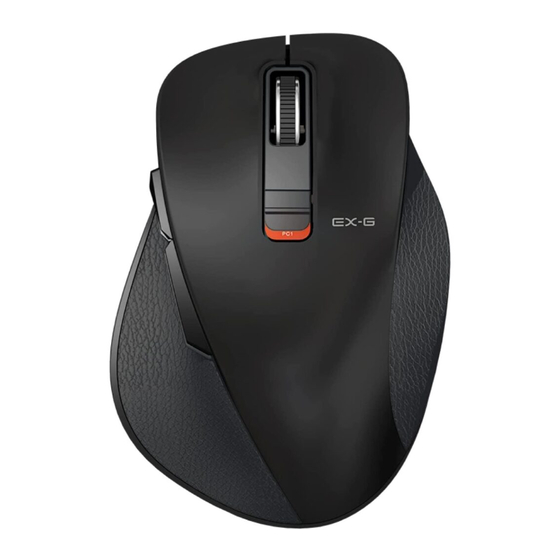
Bluetooth Mouse
M-XGS30BB
M-XGM30BB
M-XGL30BB
M-XGLL30BB
User Manual
Advertisement


Need help?
Do you have a question about the M-XGS30BB and is the answer not in the manual?
Questions and answers