Table of Contents
Advertisement
Quick Links
Advertisement
Table of Contents

Related Manuals for GGM gastro GSPC68


Summary of Contents for GGM gastro GSPC68
- Page 1 USER MANUAL GSPC68...
-
Page 3: Table Of Contents
TABLE OF CONTENTS 1. GENERAL INFORMATION............................2 Information ..............................2 Warning signs ..............................2 Warranties and Liabilities ..........................2 Copyright of the manual ..........................3 Declaration of Conformity ..........................3 2. SAFETY .................................. 3 General information ............................. 3 Safety instructions ............................3 Purpose of use.............................. -
Page 4: General Information
All information and notes in this manual take into account the usual safety regulations, the state of the art as well as the specialist knowledge and experience that GGM GASTRO has acquired over many years of activity. The actual scope of delivery may differ from the descriptions and illustrations in these instructions if the delivery is a special model. -
Page 5: Copyright Of The Manual
Any unauthorized action in connection with this manual may result in claims for damages. All rights reserved. 1.5 Declaration of Conformity The devices comply with the applicable EU standards and directives. GGM GASTRO certifies this in the EC declaration of conformity. 2. SAFETY This chapter provides an overview of all important safety aspects. -
Page 6: Purpose Of Use
2.3 Purpose of use The device is designed for commercial use and should only be operated by qualified personnel in kitchen facilities. Safe operation is only guaranteed if the device is used as intended. All technical interventions as well as assembly and maintenance may only be carried out by a qualified customer service. -
Page 7: Technical Specifications
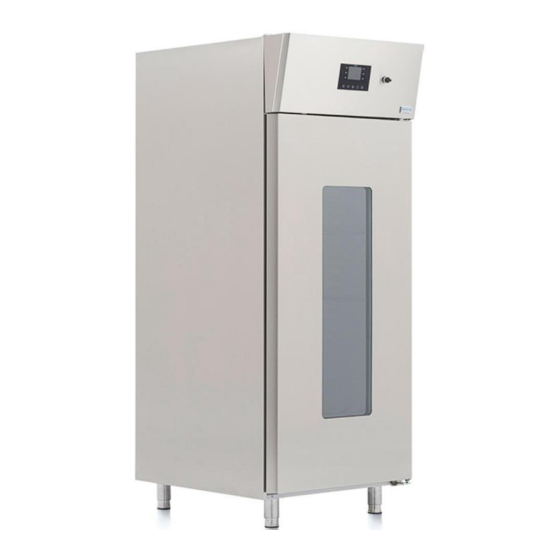
4. TECHNICAL SPECIFICATIONS 4.1 Parts list ① ② Body ③ Door ④ Front panel ⑤ Control panel ⑥ ⑦ Foot ⑧ Motor assembly ⑨ Humidification assembly ⑩ Elec. Connection Water connection SPECIFICATIONS •The proofer keeps your products cooled and automatically turns on the fermentation system •Electronic control of heat and relative humidity •Temperature range:-5/+40°C •Adjustable humidity between 30% and 90%... -
Page 8: Installation And Operation
GSPC68 Product code 20 pieces 60x80cm sheets Capacity 40 pieces 40x60 sheets Material Body made of high quality stainless steel AISI 304. Temperature range - 5 to + 40 °C Humidity range 30% - 90 % Electronic touch screen for easy control... -
Page 9: Installation And Connection
5.2 Installation and connection • Unpack the device and dispose of all packaging material. • Place the device on a flat and stable surface. • Remove the protective foil from the device before operating it. Remove the foil slowly so that no adhesive residue remains. - Page 10 An automatic retarder cycle consists of 5 different phases with different temperatures, relative humidity, fan speed and duration, which are executed sequentially and precisely: 1. BLOCK The block phase is the first phase of the automatic cycle. The temperature control is active and is in the neutral zone, the temperature set point, the humidity set point (the control if provided), the speed of the fans and the duration of the phase in hours and minutes are set by the end user.
-
Page 11: Description Of User Interface
5.4. Description of user interface Manual Automatic 5.5. User interface The following operating states are present: - The "Stand-by" status (the device is supplied with power and is switched off) - The "On" status (the device is powered, is switched on and is in standby mode for the start of an operating cycle) - The "Run"... -
Page 12: Setting And Execution Of A Manual Cycle
When the device is turned on, it displays the date and the possible functions that can be selected. Manual Automatic 5.7. Setting and execution of a manual cycle The complete system of the MANUAL menu is shown below. From this menu, a complete manual COOLING or HEATING cycle can be selected and executed. To enter the MANUAL menu from the preselection page, press the key next to the MANUAL icon: Automatic Manual... -
Page 13: Setting An Automatic Cycle
5.8. Setting an automatic cycle The complete system of the AUTOMATIC menu is shown below. All the retarder proof cycles are set from this menu and the PROGRAMS and FAVOURITES menus are passed after selecting the saved cycles. From this menu it is also possible to save the set cycle before its execution (from the 90 available programs). - Page 14 Enter password The above steps are applied to change the recipe name and image. After all changes have been made, the Recipe Registration Password menu is accessed to save the values. The password value 4212 is preset at the factory. Adjusting the recipe: Enter temperature Cooling temperature setting...
- Page 15 Enter temperature Preservation temperature setting Enter the humidity value Relative humidity setting Set the time Time setting Enter temperature Temperature setting...
- Page 16 Enter the humidity value Relative humidity setting Set the time Time setting Enter temperature Temperature setting Enter date and time End time setting...
- Page 17 Enter the humidity value Relative humidity setting Enter temperature Temperature setting Enter password Saving the changes made. The password must be entered. The password is 4212. Baking delay Baking delay setting The above steps are used to turn the baking delay on or off. If the baking delay is off, the unit will turn off the temperature and humidity outputs after the end time has elapsed.
- Page 18 Start the recipe: To start the recipe, the start key must be pressed until the bar on the start key is full. To stop the recipe, the stop key must be pressed until the bar on the stop key is filled.
-
Page 19: Alarms
6. Alarms: Maximum evaporator temperature alarm - Check the temperature of the evaporator - Check the cooling system Main consequences: - Signals only - All loads are disabled - The digital card needs to be reset Door opening alarm - Check the door High pressure alarm - Check the conditions of the high pressure inlet - Check the cooling system... -
Page 20: Cleaning, Maintenance And Waste Disposal
7 . CLEANING, MAINTENANCE AND WASTE DISPOSAL 7.1 Safety instructions • Do not use acidic agents and make sure that no water enters the device. • Use only purified water for the water connection. • To protect against electric shock, never immerse the unit, its cables or plug in water or other liquids. •...
Need help?
Do you have a question about the GSPC68 and is the answer not in the manual?
Questions and answers