Axis Q1805-LE Repainting Instructions
Hide thumbs
Also See for Q1805-LE:
- Installation manual (38 pages) ,
- User manual (66 pages) ,
- Repainting instructions (11 pages)

Related Manuals for Axis Q1805-LE


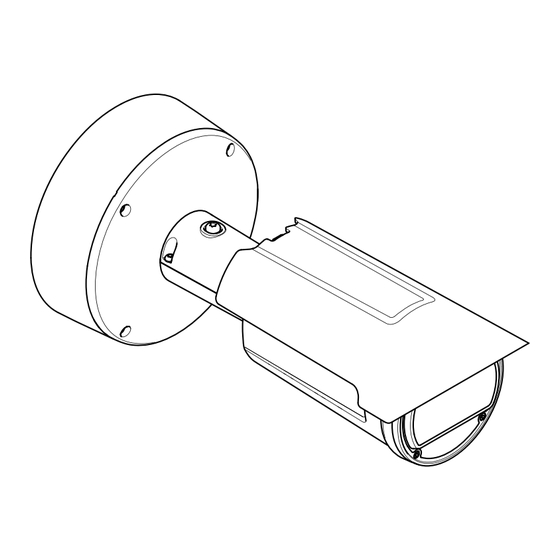
Summary of Contents for Axis Q1805-LE
- Page 1 AXIS Q18 Series AXIS Q1805-LE Bullet Camera AXIS Q1806-LE Bullet Camera AXIS Q1808-LE Bullet Camera AXIS Q1809-LE Bullet Camera Repainting instructions...
-
Page 2: Impact On Warranty
Risks with repainting There are several risks when disassembling or assembling an Axis product. There is always a certain yield loss during assembly. Training of operators and the use of correct tools mediates some of the problems but they can never be fully avoided. Some of the risks include: ESD Damage - Always handle the product in an ESD safe environment. -
Page 3: Pretreatment Of Parts
AXIS Q18 Series Repaint the product Repaint the product Preparations • If applicable, disassemble the device according to the instructions in this document. • Clean all parts that will be repainted thoroughly to remove grease, dust, or oil. • To ensure reassembly and functionality of the product, mask any openings (for example for screws, LED indicators, or microphones) before you paint. - Page 4 AXIS Q18 Series Repaint the product Clip 1. Remove the clip and the lid from the foot. Screw...
- Page 5 AXIS Q18 Series Repaint the product Holder Weather shield 2. Remove the weathershield. 3. Remove the holder from the weathershield. 4. Remove the screw from the holder. Screw (4x) Lock screw Top cover Wedge spacer Clamp Bottom cover 5. Remove the four screws, the lock screw and the top cover.
- Page 6 AXIS Q18 Series Repaint the product 2. Mask the entire top of the foot. 3. Mask the entire bottom of the foot. 4. Mask the underside of the weathershield. 5. Mask the holder as illustrated above.
- Page 7 AXIS Q18 Series Repaint the product 6. Mask the inside of the arm covers. 7. Mask the bottom of the foot. 8. Mask everything between the foot and the ball joint. 9. Mask the vent membranes. 10. Mask the slots for the weathershield.
- Page 8 AXIS Q18 Series Repaint the product Reassembly Wedge spacer Washer Clamp Bottom cover 1. Slide the washer towards the foot. 2. Place and align the wedge spacer and the clamp as shown in the image. 3. Place the bottom cover under the ball joint.
- Page 9 AXIS Q18 Series Repaint the product Screw (x4) Lock screw Top cover 5. Place the pin in the recess in the cover. 6. Attach the top cover. the four screws, and the lock screw. Do not tighten the lock screw.
- Page 10 AXIS Q18 Series Repaint the product Screw Holder Weather shield 8. Assemble the weathershield with 1,2 Nm (0.9 lb ft) tightening torque.
- Page 11 Repainting instructions Ver. M2.2 AXIS Q18 Series Date: December 2023 © Axis Communications AB, 2023 - 2024 Part no. T10198789...
Need help?
Do you have a question about the Q1805-LE and is the answer not in the manual?
Questions and answers