Advertisement
Technical Support and E-Warranty Certificate www.vevor.com/support
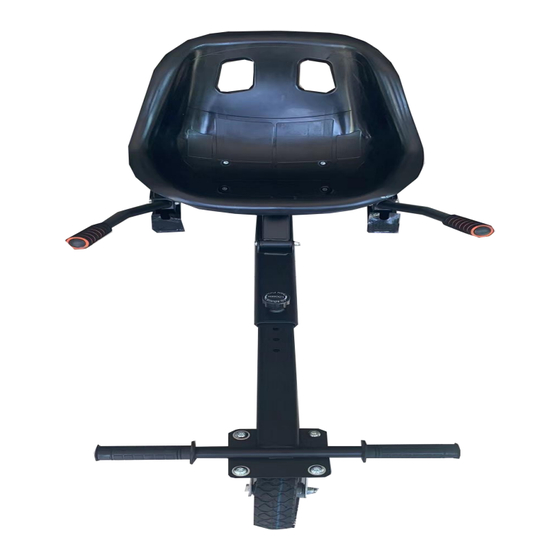
BALANCED CAR FRAME
MODEL:BH-003
We continue to be committed to provide you tools with competitive price.
"Save Half", "Half Price" or any other similar expressions used by us only represents an
estimate of savings you might benefit from buying certain tools with us compared to the major
top brands and does not necessarily mean to cover all categories of tools offered by us. You
are kindly reminded to verify carefully when you are placing an order with us if you are
actually saving half in comparison with the top major brands.
Advertisement
Table of Contents

Related Manuals for VEVOR BH-003


Summary of Contents for VEVOR BH-003
- Page 1 Technical Support and E-Warranty Certificate www.vevor.com/support BALANCED CAR FRAME MODEL:BH-003 We continue to be committed to provide you tools with competitive price. "Save Half", "Half Price" or any other similar expressions used by us only represents an estimate of savings you might benefit from buying certain tools with us compared to the major top brands and does not necessarily mean to cover all categories of tools offered by us.
- Page 2 This is the original instruction, please read all manual instructions carefully before operating. VEVOR reserves a clear interpretation of our user manual. The appearance of the product shall be subject to the product you received. Please forgive us that we won't inform you again if there are any technology or software updates on our product.
-
Page 3: Technical Parameters
TECHNICAL PARAMETERS Model BH-003 Applicable Size 6.5-10 in Color Black Maximum Load 125 kg SAFETY PRECAUTIONS WARNING! Please read this manual carefully before using the product. Failure to do so may result in serious injury. 1. Before starting, check all fasteners and straps for any signs of detachment or breakage;... -
Page 4: Product Structure Diagram
PRODUCT STRUCTURE DIAGRAM ④ ⑤ ① ② ③ ⑥ Product Name Quantity Right armrest Tool bag Bottom plate assembly C Seat Left armrest Cart bottom plate C1 - 3 -... -
Page 5: Installation Instructions
INSTALLATION INSTRUCTIONS 1. Fix the seat to the base plate assembly with screws and nuts (M6*16 screw, M6 nuts Gasket(φ7*φ10) ) (Diagonal screws are fixed first). Secure the left and right armrests to the fixing plate with screws and nuts. (M8*45 screw M8 nuts)... - Page 6 3.Insert the trolley base B1 plate into the base plate assembly B and adjust the size using the adjustment knob. 4. Install the pulley on the bracket with screws and nuts.(M10*25 screw Gasket(φ10*φ16) M10 nuts) 5.After the installation of the base plate component, ensure that all screws and nuts are tightened, and then fix the bracket on the balance vehicle.
-
Page 7: Accessories List
HOW TO OPERATE THE HOVERBOARD GO KART 1. Fix the equipment on the hoverboard with a fixed strap, turn on the power, and hold the armrest securely. 2. Go forward: The armrests descend, and the hoverboard goes forward. Then slowly accelerates. 3. -
Page 8: Common Fault Analysis
Gasket(φ7*φ10) M8*45 screw M8 nuts 5mm allen key 6mm allen key double offset ring spanner13/17 Wrench 10 Rubber gaskets M10*55 screw Holsters Adjusting knob Fixed strap COMMON FAULT ANALYSIS Fault Fault cause Solution phenomenon Broken fixed Excessive or irregular Request spare parts from strap force application customer service... - Page 9 Technical Support and E-Warranty Certificate www.vevor.com/support...
Need help?
Do you have a question about the BH-003 and is the answer not in the manual?
Questions and answers