Table of Contents
Advertisement
Quick Links
Hardware Installation
1.
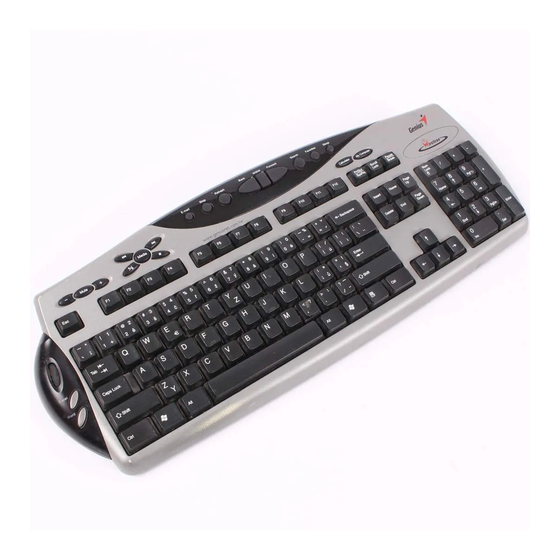
You can connect the receiver to a USB port of a
2.
Install two AA rechargeable batteries in the mouse and two AA rechargeable
batteries in the keyboard.
Turn on your computer.
3.
The channel buttons are factory preset. If your keyboard/mouse does not work,
4.
then follow the next step.
After you open Windows, to set the ID channel setting, please press the button
5.
on the receiver first (RB) and press the button under the mouse (MB) within six
seconds. Now press the receiver button again and the button under the keyboard
(KB) within six seconds. So you press RB, MB, then the RB, KB to set the chan-
nel setting.
Important: You can use the battery charger receiver to recharge two AA or two
AAA rechargeable batteries each time when you use the PC. Plug the battery
charger receiver USB connector into the PC directly and remember do not put the
batteries in the wrong direction, use the same types of batteries, and do not
recharge via the USB hub, that will make your receiver, main-board and hub burn
or become non-usable easily. Also, keep all drinks away! If any spill occurs on the
receiver, unplug the USB connector first and clean the receiver immediately. Please
remove the batteries if you do not use this device for at least two weeks.
Warning: (Troubleshooting)
Please do not use Wireless TwinTouch Optical Office on a desk which is made
1.
of glass, mirror, iron, or black velvet. Also, a flat surface is necessary or the Op-
tical Sensor will error easily. When you use Wireless TwinTouch Optical Office
on a desk that is made of metal, try using a pad or reduce the receiving distance.
Before the first installation is completed (channel setting ready), the keyboard
2.
will not work in DOS. If your USB keyboard does not work in BIOS, DOS or
Windows, then use another PS2 keyboard to make the USB controller (USB
function) and USB legacy (USB keyboard) "On" in the BIOS setup. This may
occur with older BIOS versions. Then unplug the PS/2 keyboard and plug in
your USB keyboard and everything should be working properly.
The Wireless TwinTouch Optical Office channel provides 256 ID-codes, and it
3.
automatically selects the ID # for your keyboard and mouse. You can only set up
one Wireless TwinTouch Optical Office at a time. But if you have additional
PC.
1
Advertisement
Table of Contents

Related Manuals for Genius Wireless TwinTouch Optical Office


Summary of Contents for Genius Wireless TwinTouch Optical Office
-
Page 1: Hardware Installation
(RB) and press the button under the mouse (MB) within six seconds. Now press the receiver button again and the button under the keyboard (KB) within six seconds. So you press RB, MB, then the RB, KB to set the chan- nel setting. -
Page 2: Software Installation
If you feel the mouse does not move smooth as usual or the keyboard does not work when typing, then the batteries have lost their charge, so please replace them. - Page 3 Provides traditional mouse functions such as click, double click and drag. Right Button You can assign this button frequently used keyboard and mouse func- tions in addition to features like EasyJump, Auto-Panning, Zoom, etc. Roller ButtonYou can assign this button frequently used keyboard and mouse func- tions in addition to features like EasyJump, Auto-Panning, Zoom, etc.
- Page 4 Double Click Speed mouse. Swap Left/Right Select this option if you want to have the mouse operate with the right mouse button as the primary button. Pointers Folders This lets you change the shape of the cursor. Only supports Microsoft Office along with some new ap- Office Mode plications.
- Page 5 Click this function and the pan icon appears. You can move the mouse in any direction in a document or a spreadsheet. The farther you move the pointer from the pan icon, the faster you can pan in that direction. Click this function and Office EasyJump Frisbee will always be on the screen and the button will change to .
- Page 6 Note: All the functions related to Office applications are programmable. Place the cursor on the function icon you want to change, and click the right button to select or reset the unit from the popup menu. From the dialog box, you can choose another function to use in the EasyJump Frisbee.
- Page 7 Press the “Ctrl” key and move the “Magic-Roller” forward (or backward) to set the Zoom In/Out function. You can also use just one hand to Zoom In/Out: set the right button to be the “Ctrl” function, press the right button and move the “Magic-Roller”...
Need help?
Do you have a question about the Wireless TwinTouch Optical Office and is the answer not in the manual?
Questions and answers