Table of Contents
Advertisement
Quick Links
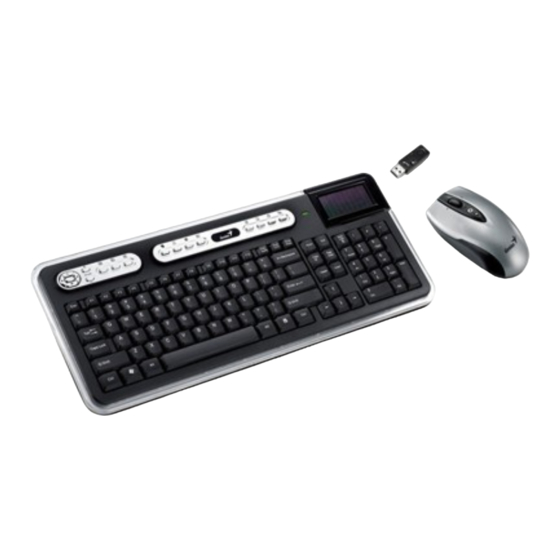
Introduction
SlimStar 820 Solargizer is a keyboard kit designed to comply with
green environment by transforming solar energy into wireless keyboard
operation and using power saving technology on the mouse to reduce
the frequent replacement of batteries.
Hardware Installation
1.
Connect the dongle receiver to a USB port of your PC.
2.
Connect the enclosed USB cable charger to your PC and keyboard
to charge the keyboard before you begin operation.
3.
Insert two AA batteries each into the keyboard (Optional when start
up with USB charger) and mouse; making sure that the polarity is
correct.
4.
Make sure the power switch is set to ON.
Important:
1.
Please start up the keyboard with the USB cable charger.
2.
When fully charged and working under an environment with no
light absorption, the capacitors embedded within the keyboard will
supply enough power for continuous operation for approximately
five hours.
-1-
English
Advertisement
Table of Contents

Subscribe to Our Youtube Channel
Related Manuals for Genius SlimStar 820 Solargizer


Summary of Contents for Genius SlimStar 820 Solargizer
-
Page 1: Hardware Installation
English Introduction SlimStar 820 Solargizer is a keyboard kit designed to comply with green environment by transforming solar energy into wireless keyboard operation and using power saving technology on the mouse to reduce the frequent replacement of batteries. Hardware Installation Connect the dongle receiver to a USB port of your PC. -
Page 2: Software Installation
English The batteries enclosed are used for back up power ONLY, when working under a limited or no light source environment. (You can auto switch to battery supply (ON/OFF switch) when capacitors are do not have enough power) When using the USB cable charger, the LED light on the keyboard will be ON;... - Page 3 English ID Channel Setting The channel ID is factory preset. The green LED (data transmission indicator) will be lit constantly when the wireless device is in normal operation. In case your wireless devices do not work, please reset the ID channel by: Press the connect button on the receiver and the LED will be blinking for connection.
- Page 4 English Security Function Setting: After you install the software driver, please click the mouse icon on the task bar and select “Mouse”. Click “Settings” when the Mouse Properties appears up and click “Security Options”. Choose a picture from your images to display when the computer is locked.
- Page 5 English If you want to unlock this function, just press “ ”again, and install your password. Mouse Factory Setting Button Assignments Left Button: Provides traditional mouse functions like click, double click and drag. Right Button: You can assign this button to frequently used keyboard and mouse functions in addition to features like Easy Jump, Auto-Panning, Zoom, etc.
-
Page 6: Keyboard Features
English Keyboard Features Media Player: Activate Media Player function Stop: Stop playing music or video sources Mute: Remove sound Play/Pause: Play/Pause the music or video sources Increase volume level Volume Up: volume level Volume Down: Decrease Word: Open office Word feature Excel: Open office Excel feature Power point: Open Power Point feature 10. - Page 7 English 14. Copy: Activate copy function 15. Paste: Activate paste function 16. Save: Activate save function 17. Print: Activate Print function Notes on Battery Usage: Different battery types and surrounding temperatures may affect the battery performance. Avoid using batteries in extremely cold environments as low temperatures can shorten the battery life and reduce wireless device performance.
- Page 8 FCC RF Radiation Exposure Statement: This equipment complies with FCC RF radiation exposure limits set forth for an uncontrolled environment. This device and its antenna must not be co-located or operating in conjunction with any other antenna or transmitter. This device complies with Part 15 of the FCC Rules. Operation is subject to the following two conditions: (1)This device may not cause harmful interference.
Need help?
Do you have a question about the SlimStar 820 Solargizer and is the answer not in the manual?
Questions and answers