Table of Contents
Advertisement
Quick Links
Hardware Installation
1.
Install two AAA batteries in the mouse and two AAA batteries in the keyboard.
You can connect the receiver to a USB port of a
2.
Turn on your computer.
3.
Software Installation
1. Make sure the mouse and keyboard is connected to the computer.
2. Put the Setup disk (or CD) into the disk drive.
3. Follow the instructions on the screen to finish the software installation.
Replace Batteries
If you feel the mouse does not move smooth as usual or the keyboard does not work
when typing, then the batteries have lost their charge, so please replace them.
Furthermore, do not mix or use different types of batteries at the same time.
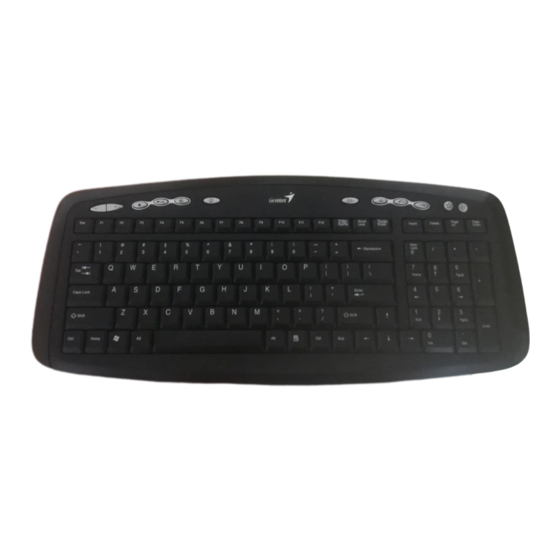
ID channel setting
The channel buttons are factory preset. The green LED, the data transmission indica-
tor, on the receiver will be lit when the keyboard or mouse is in normal operation. If
your keyboard/mouse does not work, then you have to set the ID channel setting.
Please press the button on the receiver first (RB) and press the button under the
mouse (MB) and the keyboard (KB) within twenty seconds. So you press RB, MB
and KB to set the channel setting.
ENGLISH
PC.
1
Advertisement
Table of Contents

Subscribe to Our Youtube Channel
Related Manuals for Genius SLIM MATE 3000


Summary of Contents for Genius SLIM MATE 3000
-
Page 1: Hardware Installation
3. Follow the instructions on the screen to finish the software installation. Replace Batteries If you feel the mouse does not move smooth as usual or the keyboard does not work when typing, then the batteries have lost their charge, so please replace them. -
Page 2: Button Assignments
ID # for your keyboard and mouse. You can only set up one SlimMate 3000 at a time. But if you have additional SlimMate 3000 sets in an area of 10 square meters, more interference may occur between the receiver and your keyboard and mouse. - Page 3 Click this function and the pan icon appears. You can move the mouse in any direction in a document or a spreadsheet. The farther you move the pointer from the pan icon, the faster you can pan in that direction. Click this function and Office EasyJump Frisbee will always be on the screen and the button will change to .
- Page 4 Click this function to return to the previous web page in your open Internet browser. Click this function to more forward to the next web page in your open Internet browser. Click on this application to launch Windows media player or any other multi- media player installed in your system.
- Page 5 Click this button to open the Help button. Click this button to open the Genius Mouse Control Panel. Click the button and you can move the mouse in any direction in a document or a spreadsheet. The farther you move the pointer from the pan icon, the faster you can pan in that direction.
- Page 6 Press the “Ctrl” key and move the “Magic-Roller” forward (or backward) to set the Zoom In/Out function. You can also use just one hand to Zoom In/Out: set the right button to be the “Ctrl” function, press the right button and move the “Magic-Roller”...
Need help?
Do you have a question about the SLIM MATE 3000 and is the answer not in the manual?
Questions and answers