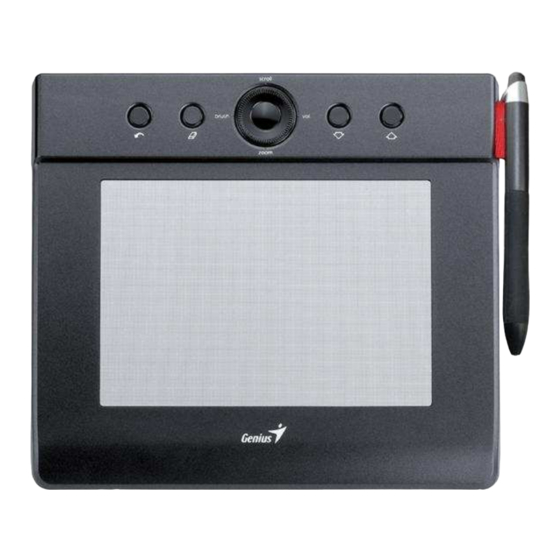
Summary of Contents for Genius EasyPen M406
-
Page 1: Table Of Contents
User Manual Windows 7 / Vista / XP ioTablet Driver I. General Information 1. Overview 2. Pen Tablet Function 3. System Requirements 4. Driver Installation 5. Hardware Installation 6. Verifying Hardware and Driver Functions 7. Usage Tips II. Pen Tablet Configuration 1. -
Page 2: General Information
ENGLISH *The driver may already be updated to a newer version before/after packaging. If your installation screen does not match the contents of this manual, you may need to download the driver, just refer to your software screen after installation. * To ensure your tablet operates with maximum and smooth performance, plug the USB connector to your PC/Notebook USB port instead of a USB Hub or other exterior USB port device. -
Page 3: Driver Installation
ENGLISH 4. Driver Installation For Microsoft Windows 7, Vista, and XP: 1. Insert the CD into the CD-ROM drive, and wait for the main installation screen to appear. 2. The main installation screen should appear automatically, or you can manually start the installation by opening 【... -
Page 4: Usage Tips
ENGLISH Note: After the tablet’s device driver has been properly installed, a small tablet icon ( ) will appear in the system tray, which is normally at the lower right corner of the screen. 7. Usage Tips 7.1 Double tapping When you double tap the digital pen (equivalent to a double click with a mouse), try to keep the pen tip away from the tablet’s surface, or at least try to lift the pen tip as fast as possible before the second tap. -
Page 5: The Info Tab
ENGLISH 1. The Info Tab: The Info tab displays the devices you can choose to operate your tablet, including the pen, the tablet itself and any interface language. ● After the tablet driver is installed in Windows, the Tablet PC function setting will support pressure in MS Journal, OneNote (2003 - 007), etc. -
Page 6: Mode Setting
ENGLISH 2.2 Mode Setting: The tablet offers Pen and Mouse mode according your design demands. 1. Pen Mode (Absolute mode): Use the pen to draw, point, click and sign as you wish. 2. Mouse Mode (Relative mode): Use the pen as a traditional mouse. *In Mouse mode, you may move the cursor speed between slow and fast to adjust the speed. -
Page 7: Tablet
ENGLISH 3. Tablet 3.1 Re-define Express keys: All the available express keys are shown on the left side of the menu. Click on any of them to find out the icon and location. You may re-program any express key from the drop down menu below the tablet picture. -
Page 8: Tablet Working Area Setting
ENGLISH 3.5 Tablet working area: There are two modes available to define the working area, click “Apply” to activate it. 1. AlI (Full Area): Select the largest possible working area depends on the tablet size. 2. Part (Programmable Area): Allows you to define the dimensions for top, bottom, left and right. Define the size by inputting any numbers in the blank bars. -
Page 9: Storing The Digital Pen And Changing The Pen Tip
ENGLISH III. Storing the Digital pen and changing the Pen Battery & Tip 1. Storing the digital pen properly: To store the digital pen, make sure that the tip does not touch anything, especially, do not let the pen stand in a cup or penholder with the tip down. It is recommended to place the pen in a pen holder or store it with the pen tip pointing upward, or place it horizontally with the pen tip free of any other objects. - Page 10 ENGLISH 5. Setup the new version of the driver; and remember to restart your computer. 6. After you restart your computer, on the bottom right of the screen, you will find the tablet icon ( 6.1 If you can't find the tablet icon ( ) on the bottom right of the screen, it means the driver failed to install, and there could be a compatibility issue.


Need help?
Do you have a question about the EasyPen M406 and is the answer not in the manual?
Questions and answers