Advertisement
Advertisement
Table of Contents

Related Manuals for EAST OAK US50SR2


Summary of Contents for EAST OAK US50SR2
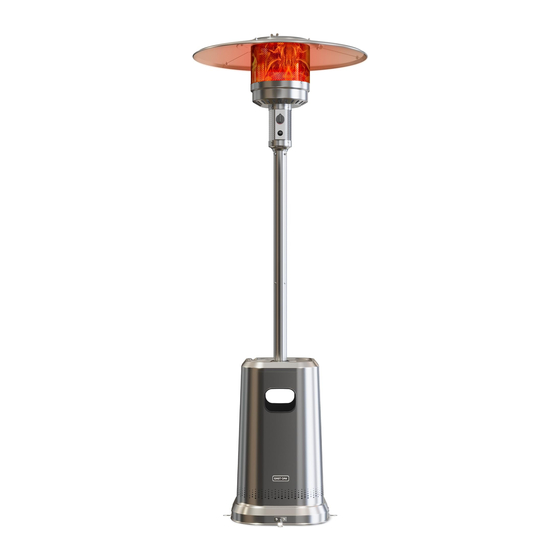
- Page 1 Patio Heater 50000 BTU Owner’s Manual MODEL: US50SR2 EASTOAK.COM OWNER’S MANUAL...
- Page 2 Questions? Comments? Reach out to us for expert support! support@eastoak.com eastoak.com 1-833-EAST-OAK ( USA ) ( 1-833-327-8625 ) Mon-Fri 8am-8pm EST Follow eastoakliving on Claim your 3-year warranty Please scan the QR code to view the installation video at eastoak.com/warranty PATIO HEATER EASTOAK.COM OWNER’S MANUAL...
-
Page 3: Safety Information
DANGER IMPORTANT INFORMATION DANGER indicates an imminently hazardous situation which, if not avoided, will result in death or serious injury. Please check all parts and components to ensure no damage or missing items before starting the product’s construction. If you have any problems or discover any missing parts, please contact customer service at support@eastoak.com. - Page 4 WARNING For Outdoor Use Only SAFETY INFORMATION CARBON MONOXIDE HAZARD • This appliance can produce carbon monoxide which has no odor. DANGER EXPLOSION - FIRE HAZARD • Using it in an enclosed space can kill you. • Never store propane near high heat, open flames, pilot lights, direct sunlight, other •...
- Page 5 ASSEMBLY SUGGESTIONS SAFETY INFORMATION • Estimated Assembly Time: 30 minutes • Two adults required for a safe assembly WARNING • Cross-head screwdriver • This product is fueled by propane gas. Propane gas is invisible, odorless, and • Extra wrench flammable. An odorant is normally added to help detect leaks and can be •...
-
Page 6: Package Contents
PACKAGE CONTENTS PACKAGE CONTENTS PART DESCRIPTION QUANTITY Wheel Kit Base with Sand Box Support Bracket Lower Post Upper Post Cylinder Housing Burner Assembly Reflector Panel Reflector Plate PATIO HEATER EASTOAK.COM OWNER’S MANUAL... - Page 7 PARTS LIST PARTS LIST Wheel Kit Base with Sand Box X 1 PC X 1 PC Reflector Panel Burner Assembly X 3 PCS X 1 PC Support Bracket Lower Post X 3 PCS X 1 PC Reflector Plate X 1 PC Cylinder Housing Upper Post X 1 PC...
- Page 8 PARTS LIST PARTS LIST Bolt M8*16 Bolt & M6 Flange Nut Stud Wing Nut X 3 PCS X 6 PCS + Spare X 1 X 3 PCS X 3 PCS Washer Bolt Cap Nut Wrench X 13 PCS + Spare X 1 X 9 PCS + Spare X 1 X 1 PC Post Bolt...
- Page 9 ASSEMBLY INSTRUCTIONS Screw 3 support brackets to the base with 3 M8x16 bolts. Attach the wheel assembly to base with sand box using 2 M8 flange X 3 PCS nuts and 2 M8*16 bolts. TIPS: Keep the bracket with the belt in the middle. TIPS: The required screws are packaged with the wheel kit.
- Page 10 Attach lower post to support brackets using 6 bolts Place the cylinder housing on top of the assembly. M6x30 and 6 M6 flange nuts. X 6 PCS TIPS: Secure bolts tightly. PATIO HEATER EASTOAK.COM OWNER’S MANUAL...
- Page 11 Put the burner assembly on a flat surface or on the ground first. Then Attach the burner assembly to upper post using the 4 insert the regulator from the top end of the upper post. washer bolts. X 4 PCS TIPS: The sticker is located on the same side as TIPS: Secure bolts tightly.
- Page 12 Connect the 3 pieces reflector panels together with 3 Attach the reflector plate to the installed 3 reflector washer bolts and 3 cap nuts. panels with 6 washer bolts and 6 cap nuts. X 6 PCS X 3 PCS TIPS: Secure bolts tightly. TIPS: If needed, loosen each X 6 PCS X 3 PCS...
- Page 13 Attach 3 reflector studs and 3 M8 washers to burner Attach the reflector assembly made in step 8 to the top assembly firstly. Tighten the reflector studs. of the reflector studs on the burner assembly. Fasten with 6 M8 washers and 3 wing nuts. X 3 PCS X 3 PCS X 3 PCS...
- Page 14 Insert the regulator from the top end of the lower post. Unscrew the lid, add sand, and pour in water. Tighten the lid. Insert upper post to lower post, then tighten 2 posts using 4 post bolts. X 4 PCS TIPS: If necessary, loosen each screw before further assembly.
- Page 15 ASSEMBLY INSTRUCTIONS Place the 20 lb gas cylinder (sold separately) in the center of the base and fasten it with the webbing. • Connect hose and regulator to cylinder. • The propane gas and cylinder are sold separately. • Every part of the heater shall be secure against displacement and shall be constructed to maintain a fixed relationship between essential parts under normal and reasonable conditions of handling and...
-
Page 16: Leak Check
ASSEMBLY INSTRUCTIONS OPERATION INSTRUCTIONS To Disconnect: Fully close the tank valve by turning clockwise. Turn the coupling nut counterclockwise until the regulator assembly detaches. LEAK CHECK WARNING • Perform all leak tests outdoors. • Extinguish all open flames. • NEVER leak test when smoking. •... - Page 17 OPERATION INSTRUCTIONS If bubbles appear at any connection, there is a leak. 1. Turn cylinder valve OFF. 2. If leak is at hose/regulator connection: tighten connection and perform another leak test. If bubbles continue appearing, the hose should be returned to the place Before Turning Gas Supply ON: of purchase.
- Page 18 OPERATION INSTRUCTIONS Re-lighting: 1. Turn control knob to OFF. 2. Repeat the “Lighting” steps on prior page. WARNING FOR YOUR SAFETY Figure 1 Figure 2 Heater will be hot after use. Handle with extreme care. If you experience any ignition problem please consult “Troubleshooting” on Shut Down: page 37.
-
Page 19: Care And Maintenance
CARE AND MAINTENANCE 16. Children and adults should be alerted to the hazards of high surface temperatures and should stay away to avoid burns or clothing ignition. 17. Young children should be carefully supervised when they are in the area of the heater. -
Page 20: Troubleshooting
TROUBLESHOOTING Note: In a salt-air environment (such as near an ocean) corrosion occurs more quickly than normal. Frequently check for corroded areas and repair them promptly. TIPS: Use high-quality automobile wax to help maintain the appearance of your heater. Apply to exterior surfaces from the pole down. Do not apply to emitter screen or domes. -
Page 21: Warranty Policy
• Damage caused by acts of nature (storm damage, wind damage, etc.). • Arbitrarily repair or modification by the customer. During the limited warranty period for the product, East Oak will provide parts, repair, or replace your product, at our discretion, due to any defect in materials or manufacturing defects. - Page 22 Patio Heater 50000 BTU PATIO HEATER EASTOAK.COM OWNER’S MANUAL...
- Page 23 support@eastoak.com eastoak.com 1-833-EAST-OAK (USA) PATIO HEATER...
Need help?
Do you have a question about the US50SR2 and is the answer not in the manual?
Questions and answers