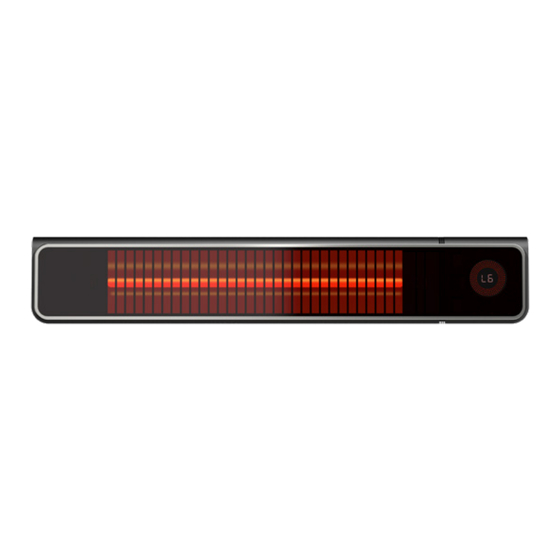
Summary of Contents for EAST OAK SPH22001
- Page 1 1500W Premium Electric 2-in-1 Wall Mount Patio Heater Owner’s Manual SPH22001 with Stand...
- Page 3 eastoak.com Question? Comments? Reach out to us to get expert support! support@eastoak.com eastoak.com 1-833-EAST-OAK (USA) (1-833-327-8625) Follow eastoakliving on Claim 3-year warranty at eastoak.com/warranty EASTOAK.COM 2-IN-1 PREMIUM WALL MOUNT ELECTRIC HEATER...
-
Page 4: Important Caution
IMPORTANT CAUTION Please verify all parts and components present and check for any damaged pieces before assembly. If you have any damaged or missing parts, please contact customer service at support@eastoak.com. • Some parts may contain sharp edges and may cause injury or property damage. - Page 5 It can use in open bars, courtyards, plazas, and stations. Welcome warmth and the perfect amount of heat into your life now with East Oak’s Infrared Electric Heater. EASTOAK.COM 2-IN-1 PREMIUM WALL MOUNT ELECTRIC HEATER...
-
Page 6: Safety Guide
SAFETY GUIDE When using any electrical appliance, including this infrared heater, basic safety precautions must be followed to reduce the risk of fire, shock, or injury. Please read all instructions before using this appliance: • This heater becomes extremely hot when in use. To minimize risk of burns or injury, do not touch any part of the heater when in use. -
Page 7: Care And Maintenance
• All parts of this heater may become extremely hot when in use. Do not touch the appliance and ensure there is no combustible material around the product. Misuse may result in fire, shock, damage, or injury. • In case of an emergency, such as shock or fire, turn off the heater and unplug the appliance immediately. -
Page 8: Function Instruction
SAVE THESE INSTRUCTIONS FUNCTION INSTRUCTION 1-833-327-8625 SUPPORT@EASTOAK.COM... -
Page 9: Remote Control Guide
REMOTE CONTROL GUIDE Remote control distance works up to 3-5m. For optimal usage, align the remote to the receiver as 3-5m illustrated here. Max. remote distance: 5 M NOTICE • The remote control works with 2 AAA 1.5V batteries (sold separately). If the appliance will not be in use, remove the batteries from the remote to minimize any risk of damage. - Page 10 OPERATION INSTRUCTION The heater must be properly installed before it is used. Inspect all components, including the main unit, supply cord, and plugs, for any signs of damage. Take off all screws. The distance between the bottom edge of the appliance and the floor must be at least 1.8M.
- Page 11 • Don’t move or cover the heater while it is working. • Pay attention to the mounting place and all mounting material (dowels, screws). Ensure they are suitable and stable enough for mounting and lastingly holding the appliance. • Pay attention that the appliance installation must not add excessive wind load.
-
Page 12: Grounding Instructions
WARRANTY GUARANTEED 3-YEAR WARRANTY Thank you for choosing East Oak. This product is covered by our company warranty for up to 3 years from its original purchase date. CLAIM WARRANTY To claim your product’s warranty, register your new product on our website at www.eastoak.com/warranty. - Page 14 support@eastoak.com eastoak.com 1-833-EAST-OAK (USA)


Need help?
Do you have a question about the SPH22001 and is the answer not in the manual?
Questions and answers
Hello, the manual that came with the heater doesn’t explain how to to mount the heater to the stand.
To mount the EAST OAK SPH22001 heater to the stand, follow these steps:
1. Insert a connecting pipe from the top into another connecting pipe.
2. Fix the connecting pipe at the bottom of the heater.
3. Ensure the heater is mounted at a recommended 45° angle to the surface.
4. Secure all screws tightly.
5. Check that the mounting materials (dowels, screws) are stable and suitable.
6. Connect the plug to the socket and turn on the switch to test the heater.
7. Use the remote control to ensure proper operation.
This answer is automatically generated