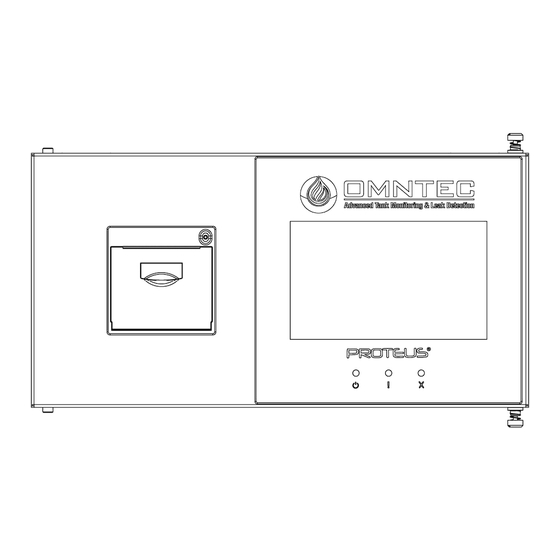
Omntec PROTEUS OEL8000III-K Quick Start Manual
Tank gauging system
Hide thumbs
Also See for PROTEUS OEL8000III-K:
- System programming manual (37 pages) ,
- Programming manual (26 pages) ,
- System operating manual (24 pages)
Advertisement
Quick Links
OEL8000III-K | OEL8000III-X
ADDING A NEW PRINTER
OMNTEC® Mfg., Inc. | 2420 Pond Road | Ronkonkoma | NY 11779 | (631) 981-2001 | OMNTEC@OMNTEC.com | www.OMNTEC.com
Document No.: DI00007
Revision Date: 11-15-2023
PROTEUS
TANK GAUGING SYSTEM
Revision 2422
Document No. DI00014 DI00015 DI00020-3
OMNTEC Mfg., Inc. has been certified
by DQS Inc. to ISO 9001:2015
1. Open the camera app
2. Focus the camera on
the QR code by gently
tapping the code
3. Follow the instructions
on the screen to view
PDF file
Series
®
www.OMNTEC.com
Page 1 of 7
Advertisement

Summary of Contents for Omntec PROTEUS OEL8000III-K
- Page 1 Document No. DI00014 DI00015 DI00020-3 OMNTEC Mfg., Inc. has been certified by DQS Inc. to ISO 9001:2015 OMNTEC® Mfg., Inc. | 2420 Pond Road | Ronkonkoma | NY 11779 | (631) 981-2001 | OMNTEC@OMNTEC.com | www.OMNTEC.com Document No.: DI00007 www.OMNTEC.com...
- Page 2 1. Power off the controller and use a mallet to knock out the printer perforation from the front, which consists of the overlay graphic and the metal plate behind it. (See Figures 1.1 and 1.2) Gen 3.0 Gen 3.5/4.0 Figure 1.1 Figure 1.2 Document No.: DI00014 DI00015 DI00020-3 rev2422.docx www.OMNTEC.com Revision Date: 6-3-2024 Page 2 of 7...
- Page 3 3. Tighten both screws with the #0 Phillips head screwdriver until the clamps, on the rear of the printer, lock it onto the door frame. (See Figure 3.0) Figure 3.0 Document No.: DI00014 DI00015 DI00020-3 rev2422.docx www.OMNTEC.com Revision Date: 6-3-2024 Page 3 of 7...
- Page 4 PROTEUS Gen 3.0 Printer Connections Printer Shield Covering (Figure 4.1) (Figure 4.2) PROTEUS Gen 3.5/4.0 PROTEUS Gen 3.5/4.0 Printer Shield Printer Connections Covering (Figure 4.3) (Figure 4.4) Document No.: DI00014 DI00015 DI00020-3 rev2422.docx www.OMNTEC.com Revision Date: 6-3-2024 Page 4 of 7...
- Page 5 Please note, steps 7, 8, 9, 10, and 11 are the same for both Gen 3.0 and 3.5/4.0 controllers. PROTEUS K PROTEUS X Figure 7.2 Figure 7.1 Document No.: DI00014 DI00015 DI00020-3 rev2422.docx www.OMNTEC.com Revision Date: 6-3-2024 Page 5 of 7...
- Page 6 (See Figure 8.0) Figure 8.0 9. Gently tear excess paper at an upward, 45-degree angle, towards the cutting teeth. (See Figure 9.0) Figure 9.0 Document No.: DI00014 DI00015 DI00020-3 rev2422.docx www.OMNTEC.com Revision Date: 6-3-2024 Page 6 of 7...
- Page 7 11. Pressing the green LED power-on button will advance the paper. Press the test button to confirm the printer functions. The controller is now ready to print. (See Figure 11.0) Figure 10.0 Figure 11.0 Document No.: DI00014 DI00015 DI00020-3 rev2422.docx www.OMNTEC.com Revision Date: 6-3-2024 Page 7 of 7...


Need help?
Do you have a question about the PROTEUS OEL8000III-K and is the answer not in the manual?
Questions and answers