Table of Contents
Advertisement
Questo manuale d'istruzione è fornito da trovaprezzi.it. Scopri tutte le offerte per
Garmin Fenix 7 Pro
47mm - Sapphire Solar Edition Titanium
o cerca il tuo prodotto tra le
migliori offerte di Smartwatch e
Orologi Sportivi
Questo manuale d'istruzione è fornito da trovaprezzi.it. Scopri tutte le offerte per
Garmin Fenix 7X
Pro 47mm - Solar Edition Grigio / Nero
o cerca il tuo prodotto tra le
migliori offerte di Smartwatch e
Orologi Sportivi
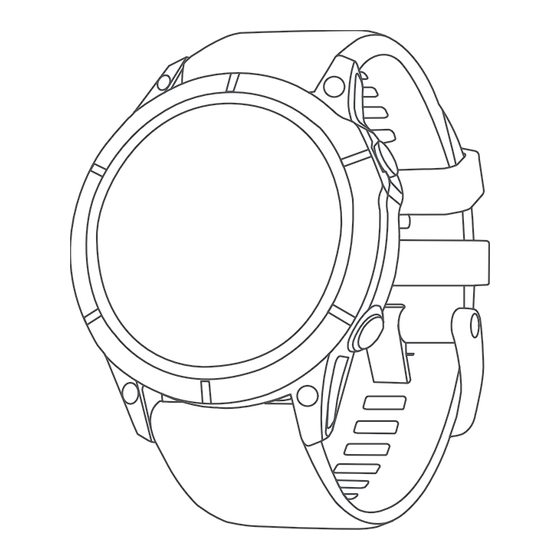
FĒNIX
7 SERIES
®
Owner's Manual
Advertisement
Table of Contents


Need help?
Do you have a question about the FENIX 7X and is the answer not in the manual?
Questions and answers