Table of Contents
Advertisement
Quick Links
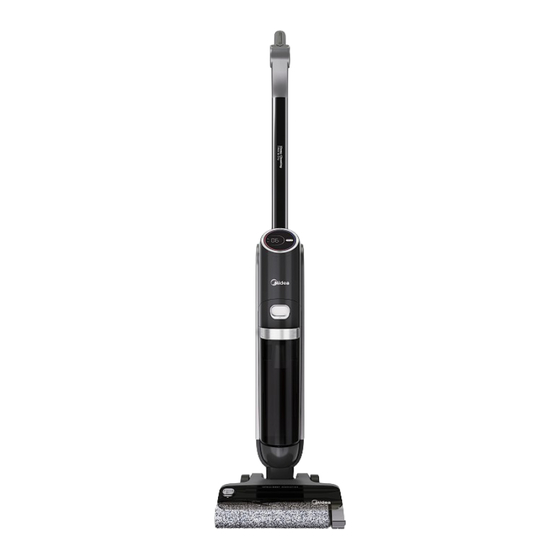
Cordless Floor Cleaner
USER MANUAL
MX10AUWH
All the contents of this Guide have been checked carefully. If there are any printing errors OR
misunderstanding, please contact with Midea Customer service team.
NOTE: It will be compiled into the new version of the guide without any notice if involve the technical
improvements.
Advertisement
Table of Contents

Subscribe to Our Youtube Channel
Related Manuals for Midea MX10AUWH


Summary of Contents for Midea MX10AUWH
- Page 1 All the contents of this Guide have been checked carefully. If there are any printing errors OR misunderstanding, please contact with Midea Customer service team. NOTE: It will be compiled into the new version of the guide without any notice if involve the technical...
-
Page 2: Table Of Contents
Thank you for choosing Midea! Please read this user manual be carefully before start use this new appliance. To ensure that you know the operate knowledge and understand more about the product features and functions in a safe way. CONTENTS... -
Page 3: Safety Instructions
SAFETY INSTRUCTIONS Intended Use The following safety guidelines are intended to prevent unforeseen risks or damage from unsafe or incorrect operation of the appliance. Please check the packaging and appliance on arrival to make sure everything is intact to ensure safe operation. If you find any damage, please contact the retailer or dealer. - Page 4 Safety Instructions • This product is suitable for hard floors in the indoor environment, including waxed floors, stone floors, rubber floors, marble floors, granite floors, terrazzo floors, solid wood floors, composite floors, bamboo floors, as well as glazed tiles, ceramic facing tiles and other flat ground. It may not achieve the best results if the product is used on uneven ground surface.
- Page 5 Safety Instructions • This appliance can be used by children aged from 8 years and above and persons with reduced physical, sensory or mental capabilities or lack of experience and knowledge if they have been given supervision or instruction concerning use of the appliance in a safe way and understand the hazards involved.
- Page 6 Use and Precautions of washer detergent • Mix and clean according to instructions. It is recommended to use cleaning liquid produced by our company or manufacturers approved by our company, which do not contain acid, alkali solutions or substances harmful to the environment.
-
Page 7: Product Overview
PRODUCT OVERVIEW Product introduction Switch Power Turbo Mode Power ON/OFF Press to mute Display Wastewater tank Voice navigation release button Clean tank release Clean water tank Dirty Water Tank Brush-roll cover latch Floor brush Brush-roll List of Accessories Docking station Accessory holder Floor Washer Brush-roll... - Page 8 Parts Anti-bacteria function Turbo button On/O button Mode switch button Mode switch button Turbo button • Auto mode: the water from the • Turbo mode: the speed of the machine wets the brush-roll to brush-roll and the amount of water clean the floor;...
- Page 9 Docking Station Charging contacts Power Cord Charging base Base pedal Hot-wind outlet Hot-wind outlet • After use, put the machine into the charging base for charging, self-cleaning and drying.
- Page 10 Cleaning brush • One end is a brush to clean the stubborn dirt attached to the wastewater tank and the pipe under the ventilation pipe; Brush • The other end is a rotating blade to clean the hair wrapped on the roller brush. Rotating blade Accessory holder...
-
Page 11: Product Installation 1
PRODUCT INSTALLATION Handle Installation and Removal Installation Insert the end of the handle into the port of the main unit along the vertical direction until there is a click, which indicates the installation Handle is successful; Removal Remove the rubber from the hole Insert in the back, insert a screwdriver Disassembly... - Page 12 Filling clean water tank Attention Fill water only to the clean water tank. Press the clean water tank Open the top cover of the clean button with the thumb and pull water tank and fill tap water to outward to remove the clean the tank;...
-
Page 13: Operation Instructions 1
OPERATION INSTRUCTIONS Turning on and Cleaning Step on the floor brush and pull the handle, and the machine enters standby state. Press the On/O button to It enters auto mode after turning turn on/o the machine. on; you can press the Mode button to switch to quick suction mode. - Page 14 Upright Pause Function In working state, you can step on the floor brush to erect the body, the machine will stop working and enter standby state; it will automatically turn o after 3 minutes of standby. Self-cleaning + Drying Function Put the machine into the charging base, ensure that it is in the charging state, step on the pedal of the charging base with your foot, and start self-cleaning;...
-
Page 15: Cleaning And Maintenance
CLEANING AND MAINTENANCE Waste water detect alarm Attention After cleaning, it is recommended to place the machine upright in the charging base; do not place the machine in places with direct sunlight or moisture; In order not to a ect the performance of the machine, it is recommended that you regularly maintain its parts;... - Page 16 Wash with clean water after taking it out, dry it thoroughly and put it back as it was. Wash Press the following elastic Install the wastewater tank back to buckles on both sides to the machine until there is a click remove the air duct and rinse it sound;...
- Page 17 Brush-roll and Cover cleaning Attention It is recommended that after each use, the roller brush and cover should be cleaned and dried in time; If residual stains are found on the suction surface of the floor brush, wipe it with a wet cloth. Do not rinse it with water. Press the latch as shown, and Remove the cover and the roller remove the cover and the roller...
- Page 18 If residual stains are found in the suction port of the floor brush (exposed part after the roller brush is removed), wipe it; do not rinse with water; Suction port of floor brush After cleaning, align the cover of the roller brush and one end of the roller brush with the driven wheel of the floor brush motor, and then align the latch of the cover of the roller brush with the latch slot of the cover of the roller brush.
-
Page 19: Troubleshooting
TROUBLESHOOTING Please check the following table in case of any abnormal conditions when using the product. Problem Possible cause Solution The roller brush is entangled Remove the roller brush to ● by hair or stuck by foreign clean and reinstall objects Wastewater tank is full Clean the wastewater tank... - Page 20 Problem Possible cause Solution Water shortage in clean water Add water to the clean water ● Floor brush tank tank doesn’t spray water Clean water tank is not Reinstall the clean water ● installed properly tank Too much water in the Clean the wastewater tank ●...
-
Page 21: Trademarks, Copyrights And Legal Statement
Midea may constitute trademark infringement or unfair competition in violation of relevant laws. This manual is created by Midea and Midea reserves all copyrights thereof. No entity or individual may use, duplicate, modify, distribute in whole or in part this manual, or bundle or sell with other products without the prior written consent of Midea. -
Page 22: Disposal And Recycling
DISPOSAL AND RECYCLING Important instructions for environment Compliance with the WEEE Directive and Disposing of the Waster Product: This product complies with EU WEEE Directive (2012/19/EU). This product bears a classification symbol for waster electrical and electronic equipment (WEEE). This symbol indicates that this product shall not be disposed with other household wastes at the end of its service life. -
Page 23: Data Protection Notice
European Economic Area. Further information are provided on request. You can contact our Data Protection O cer via MideaDPO@midea.com. To exercise your rights such as right to object your personal date being processed for direct marketing purposes, please contact us via... - Page 24 mideahk.com...
Need help?
Do you have a question about the MX10AUWH and is the answer not in the manual?
Questions and answers