Advertisement
Table of Contents
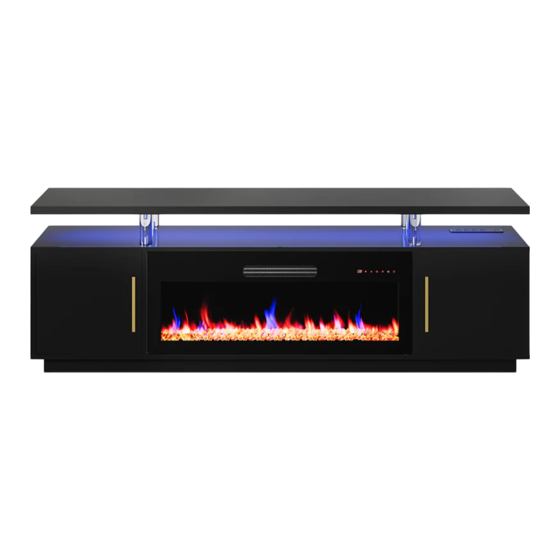
Avenue Entertainment Center w/ Fireplace
FOLLOW US:
@bellezefurniture
CONTACT INFO:
support@belleze.com
1-800-682-6376
www.belleze.com
ITEM NO. 014-HG-41896
The instruction booklet contains IMPORTANT
safety information. Please read it in full and
keep it for future reference.
Advertisement
Table of Contents

Related Manuals for Belleze 014-HG-41896


Summary of Contents for Belleze 014-HG-41896
- Page 1 Avenue Entertainment Center w/ Fireplace FOLLOW US: CONTACT INFO: ITEM NO. 014-HG-41896 The instruction booklet contains IMPORTANT support@belleze.com @bellezefurniture safety information. Please read it in full and 1-800-682-6376 keep it for future reference. www.belleze.com...
- Page 2 Scan this QR Code to view our online tutorial Estimated time for assembly: 90 mins Weight limitations are as follows: Maximum Load 50 lbs Maximum Load 70 lbs Maximum Load 30 lbs...
- Page 3 Assemble the furniture on an empty carton, carpet, or rug to prevent scratches or damage. For safety, please keep pets and children away from the assembly area. Ensure the product is fully assembled before use. If you are missing any hardware or products, do not use it until you have restored the missing parts.
-
Page 4: Package Contents
PACKAGE CONTENTS... - Page 5 PACKAGE CONTENTS CODE DESCRIPTION Top Panel Middle Panel Bottom Panel Left / Right Side Panel Left Medial Panel Right Medial Panel Back Panel Left Surround Panel Right Surround Panel Storage Shelf Panel Cabinet Door Top Surround Panel Short Base Panel Long Base Panel v.10 2023...
- Page 6 PACKAGE CONTENTS 40x + 4x 40x + 4x 32x + 3x 40x + 4x 24x + 2x Install all hardware perpendicular to the opening.
- Page 7 PACKAGE CONTENTS Install all hardware perpendicular to the opening. v.10 2023...
- Page 8 Required tools for assembly (Not included) Attach cam bolts to the bottom panel (3) and the long base panels (14).
- Page 9 Insert wood dowels to the base panels (14, 15). Assemble short base panels (15) between the long base panels (14). v.10 2023...
- Page 10 Assemble the base to the underside of the bottom panel (3). Attach cam bolts on the bottom panel (3).
- Page 11 Insert wood dowels on the side panels (4) and the medial panels (5, 6). Assemble left surround panel (9) to the left medial panel (5) and then assemble the right surround panel (10) to the right medial panel (6). Please note the direction of the surround panel (9,10).
- Page 12 Assemble the side panels (4) and medial panels (5, 6) on the bottom panel (3). Slide back panels (8) into the stand.
- Page 13 Attach stud bolts to the underside of the top panel (1). Attach the top panel spacer to the stud bolts. v.10 2023...
- Page 14 Attach power hub to the middle panel (2). Attach cam bolts to the underside of the middle panel (2).
- Page 15 Assemble the top surround panel (13) to the middle panel (2). Assemble the middle panel (2) onto the panel spacers. v.10 2023...
- Page 16 Assemble the middle panel on top of the stand.
- Page 17 Secure the back panels in place. Insert shelf pegs into the stand and put storage shelf panels (11) on top. v.10 2023...
- Page 18 Attach door hinges to the cabinet doors (12). Attach door handles to the cabinet doors.
- Page 19 Assemble cabinet doors to the stand. When the clearance of the door is uneven, lf you still have trouble adjusting the door. please contact us. Up and down In and out Side to side adjustment by adjustment by adjustment using loosening the screws loosening the screws the front adjustment...
- Page 20 *For the exact instruction, please refer to the user’s manual provided with the Set the unit from the front of the replace mantel and center it in the opening, check the alignment and attack the unit to the mantel by inserting screws through the drilled holes on the mantel.
- Page 21 CAUTION Careful when handling glass to prevent injury or damage. v.10 2023...
- Page 22 Attach anti-tipping straps to the back of the stand. Hold the LED light cables in place with cable management clips and plug the...
- Page 23 A x the stand to a wall. device to prevent the furniture from tipping over. • Mark the drill position on the wall with a pencil. • Drill a small hole on the marked position. • Insert a wall anchor into the drilled hole. •...
- Page 24 Warning Serious or fatal crushing injuries may occur if the furniture tip-over. order to prevent the furniture from tipping over. stability and load bearing capacity of the furniture. If you are uncertain about which type of device to use, please contact us or your local hardware store. Warning Only place items on top of the product if they meet the recommended size and weight limits.
- Page 25 WARNING For use with televisions weighing 70lbs (31.8kg) or less. Use with heavier televisions may result in instability, causing tip over resulting in death or serious injury. Death or serious injury may occur when children climb on audio and/or video equipment furniture. A remote control or toys placed on the furnishing may encourage a child to climb on the furnishing and as a result the furnishing may tip over on to the child.
- Page 26 FURNITURE CARE AND MAINTENANCE Medium - Density Fiberboard Thank you for your purchase. We want your item to last as long as possible. To ensure the product gives you years of longevity, please follow the recommendations in this care and maintenance guide. MAINTENANCE •...
- Page 27 © All copyright of this document belongs to BELLEZE. This document may not be printed, translated, reproduced, or distributed in whole or in part without written permission from BELLEZE. v.10 2023...
-
Page 28: Warranty
WARRANTY BELLEZE products come with a 1-year warranty from the date of delivery. Register your product on our website to enjoy our limited lifetime warranty! AFTER-SALE SERVICE Contact us at 1-800-682-6376 or email us at support@belleze.com We will send you replacement.
Need help?
Do you have a question about the 014-HG-41896 and is the answer not in the manual?
Questions and answers