Table of Contents
Advertisement
Quick Links
Advertisement
Table of Contents

Summary of Contents for Makita VC2201M
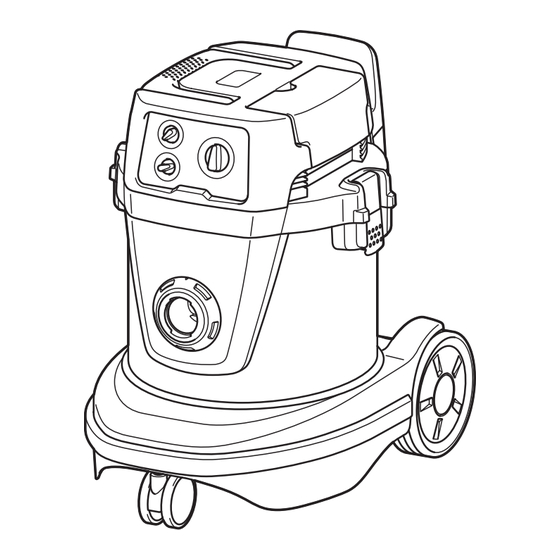
- Page 1 INSTRUCTION MANUAL Vacuum Cleaner VC2201M DOUBLE INSULATION Read before use.
-
Page 2: Specifications
• If the supply cord is damaged, it must be replaced by the authorized service facility. • See the chapter “MAINTENANCE” for the appropriate details of precautions during user maintenance. SPECIFICATIONS Model VC2201M Countries Voltage Volt Power consumption Watt 1050... -
Page 3: Ec Declaration Of Conformity
Noise VOLTAGE WARNING: Before connecting the The typical A-weighted noise level determined accord- cleaner to a power source (receptacle, outlet, etc.) be sure the voltage supplied is the same ing to IEC60335-2-69: as that specified on the nameplate of the Sound pressure level (L ) : 72.5 dB (A) Uncertainty (K) : 2.5 dB (A) -
Page 4: Functional Description
27. CHECK DAMAGED PARTS. Before further use 44. Use extreme caution when cleaning on stairs. of the cleaner, a guard or other part that is dam- 45. Do not use the cleaner as a stool or work aged should be carefully checked to determine bench. -
Page 5: Warning Beep
1. Storing the power supply cord The suction force can be adjusted according to your work need. Suction force can be increased by turning the suc- tion force adjusting knob from the symbol to symbol. Also, set the hose diameter selection dial to the hose's diameter that you are going to use. Hose diameter selection dial Turn the dial direction in accordance with the hose you use. - Page 6 4. Resting a reasonable size of ASSEMBLY electric power tool for the base hook, such as circular saw WARNING: • This unit may contain hazardous dust. When replacing filter elements and dust bag, always use a P2-respirator. • Always be sure that the cleaner is switched off and unplugged before carrying out any work on the cleaner. •...
- Page 7 Installing polyethylene bag CAUTION: • Do not apply a great impact on the air filter and Cleaner can also be used without polyethylene bag. tank. Applying a great impact may cause defor- However, using polyethylene bag is easier to empty the mation and damage to air filter and tank. tank without letting your hands dirty. • Empty the tank at least once a day although this depends on picked-up dust volume in the tank.
-
Page 8: Maintenance
Connecting a hose MAINTENANCE CAUTION: WARNING: • Never force the hose for bending or stamp it. • Always use a P2-respirator during performing Never move the cleaner by a hose. Forcing, maintenance. stamping and pulling the hose may cause a breakage or deformation of the hose. - Page 9 Assembling the air filter When you get the air filter components separately, assemble them as follows. ► 1 . Stopper lever Unlock the filter hooks by flipping the stopper lever. ► 1 . Powder filter 2. Damper 3. Prefilter Put the prefilter over the powder filter. Cover the air filters with a plastic bag. Make sure that the borders of prefilter and powder filter are set properly. Remove the air filters from the tank cover carefully and tie the plastic bag firmly. 9 ENGLISH...
-
Page 10: Installing The Air Filter
Installing the air filter Cleaning the level sensors ► 1 . Level sensors The level sensors detect liquid when the tank becomes full with liquid. Clean the level sensors with a soft cloth from time to time when changing the air filters. Cleaning the air filters Clogged filter causes poor suction performance. Clean out the filters from time to time. To remove dust or particles adhering to the filters, remove the prefilter from the air filter. And tap the prefil- ter several times. -
Page 11: Storage Of Accessories
Storage of power supply cord The pipes can be placed into the pipe holder when also stopping using the cleaner on the way for a while. ► 1 . Power supply cord 2. Multi-hook You can place the cap in multi hook while the hose is connected to the tool. -
Page 12: Optional Accessories
These accessories or attachments are recommended for use with your Makita tool specified in this manual. The use of any other accessories or attachments might present a risk of injury to persons. Only use accessory or attachment for its stated purpose. If you need any assistance for more details regarding these accessories, ask your local Makita Service Center. • Hose • Front cuffs (22, 24, 38) •...


Need help?
Do you have a question about the VC2201M and is the answer not in the manual?
Questions and answers