Table of Contents
Advertisement
Quick Links
Advertisement
Table of Contents

Subscribe to Our Youtube Channel
Summary of Contents for TechVision HBE5P2W2-S/A
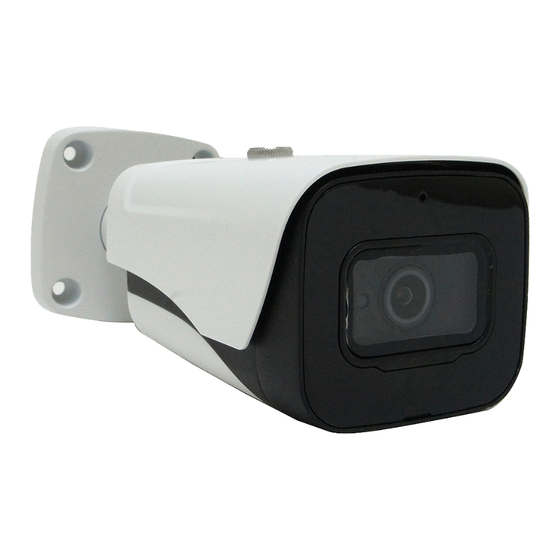
- Page 1 5MP 4-in-1 Bullet Security Camera HBE5P2W2-S/A...
-
Page 2: Foreword
Foreword General This user’s manual (hereinafter referred to be "the Manual") introduces the functions, installation and operations of the camera. Safety Instructions The following categorized signal words with defined meaning might appear in the Manual. Signal Words Meaning Indicates a medium or low potential hazard which, if not avoided, could result in slight or moderate injury. - Page 3 official website. If there is inconsistency between paper User's Manual and the electronic version, the electronic version shall prevail. All the designs and software are subject to change without prior written notice. The product updates might cause some differences between the actual product and the Manual. Please contact the customer service for the latest program and supplementary documentation.
-
Page 4: Table Of Contents
Environment Do not aim the device at strong light to focus, such as lamp light and sun light. Transport, use and store the device within the range of allowed humidity and temperature. Keep the camera away from water or other liquid to avoid damages to the internal ... -
Page 5: Introduction
Introduction General This series of products comply with the HDCVI standard and support the transmission of video and control signal over coaxial cable. They produce video signal with megapixel resolution and require XVR device that comply with the HDCVI standard to achieve high speed, long distance and zero lag transmission of the signal. -
Page 6: Cable
Cable Figure 2-5 Figure 2-6 Figure 2-7 Figure 2-8 Figure 2-9 Figure 2-10... - Page 7 For more information about cable ports, see Table 2-1; for the operation method of ⑥(DIP switch), see Table 2-2. Port Name Function ① DC 12V Inputs DC 12V power. Please be sure to supply power as instructed in the Power Input manual.
-
Page 8: Installation
Installation Make sure the mounting surface is strong enough to hold at least three times of the camera weight. The following figure is for reference only, and the actual product shall prevail. For the installation diagram and item list see Figure 3-1 and Table 3-1. Figure 3-1 Item Item... -
Page 9: Configuration
Figure 3-3 For the models with vari-focal lens, you can adjust the zoom and focus through XVR device. Configuration Power up the camera and connect it to XVR device with coaxial cable, then the live view screen is displayed. The following instructions will guide you to configure your camera. The number of the coaxial port on XVR will display at the lower left corner of the live view window to indicate the corresponding camera. -
Page 10: Setting Audio Input
Figure 4-2 Right-click anywhere on the screen to return to the previous menu until you goes back to the live view screen interface. Setting Audio Input Audio signal acquisition is available on select models. Step 1 In the Main Menu interface (Figure 4-2), select CAMERA > ENCODE > Encode. The Encode setting interface is displayed. - Page 11 Figure 4-3 Step 2 In the Channel list, select the camera that you want to configure according to the coaxial port number. Step 3 In the Main Stream column, click More Setting. The More Setting interface is displayed. See Figure 4-4. Figure 4-4 Step 4 In the More Setting interface, you can configure the audio settings.
-
Page 12: Operating Osd Menu
Operating OSD Menu Step 1 In the live view screen interface, right-click within the live view window of the camera that you want to configure. The shortcut menu (Figure 4-1) is displayed. Step 2 Click PTZ. The PTZ setting interface is displayed. See Figure 4-5. Figure 4-5 Step 3 Click... -
Page 13: Maintenance
Table 4-1 If there is " " as the value of an OSD item, click Enter to go to the next level of this item. Click Return to go back to the previous level. Clicking Cancel is to exit OSD menu without saving the modifications.


Need help?
Do you have a question about the HBE5P2W2-S/A and is the answer not in the manual?
Questions and answers