Table of Contents
Advertisement
Quick Links
Advertisement
Table of Contents

Related Manuals for Adash Lubri A4910


Summary of Contents for Adash Lubri A4910
- Page 1 A4910 Lubri Step by Step MASTER THE LANGUAGE OF YOUR MACHINERY...
-
Page 2: Table Of Contents
Content Basic information ..............4 Switch on/off ................5 Basic and Advanced mode..........6 Basic mode ................7 Basic control ................8 Basic menu ................9 Screens .................. 10 Saving data from measurement screen 1 ....... 11 Memory - Route measurement ........12-13 Setup .................. -
Page 3: Basic Information
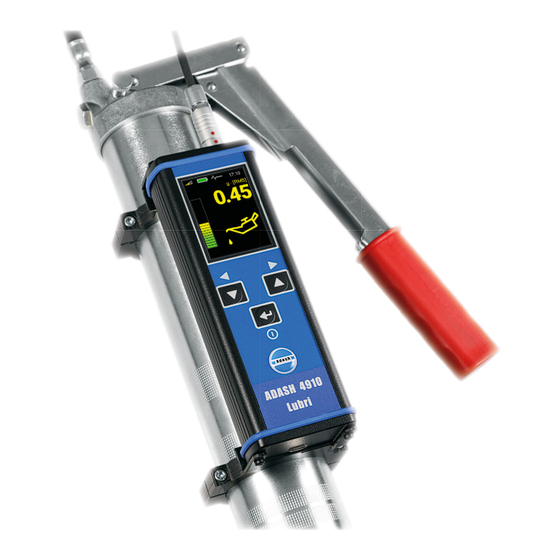
Basic Information Switch ON/OFF Top Panel ACC ICP® - input Phones output Buttons Press the Enter button to switch on the device Arrow buttons Firmware version Enter button Serial number Filters Sensor sensitivity Batteries Charging Fully charged Press and hold the Enter button to switch off the device USB-C connector for charging and data transfer... - Page 4 Basic and Advanced Mode Basic Mode Two modes of A4910 LUBRI instrument are available: BASIC and ADVANCED. The BASIC mode enables to control lubrication process only. The BASIC mode enables to control lubrication process only. The ADVANCED Before we start lubricating another bearing we need to reset the instrument mode enables also to measure machine vibrations and bearing condition.
-
Page 5: Basic And Advanced Mode
Basic Control - Advanced Mode Basic Menu - Advanced Mode Arrow Buttons To open the Basic menu Then press the left > press the Enter button Arrow button to open switch between the measurement modes > (on any measurement the Menu select the right or left item from the menu at the bottom screen only) >... -
Page 6: Screens
Screens Saving Data From Measurement Screen 1 (Press to change screen) Lubrication Screen Used memory SAVE Press the Enter button on Press the Enter button [SAVE] Measurement screen 1 RMS vibration values: 0.5 - 16 kHz in g Measurement Screen 1 Measurement Screen 2 <- +>... -
Page 7: Memory - Route Measurement
Memory - Route Measurement Select point ROUTE Confi rm Start point measuring Firstly the route must be loaded to Go to MENU/MEMORY/ROUTE Use the Arrow buttons to switch [BCK] go back to point selection the device from the DDS software between the points in route VIEW ... -
Page 8: Setup
Setup Volume, Brightness Select Adjust item volume Open VOLUME Confi rm Go to MENU/SETUP Go to MENU/VOLUME Adjust the phones volume with the Arrow buttons Press the Enter button to confi rm Measure Units Metric Imperial Adjust brightness Vel.Eval. Velocity RTE mode Normal (black background) Inverse (available for route only) -
Page 9: Technical Specifi Cations
Technical Specifi cations Error Indications Errors are indicated on an instrument display. 1 x ICP ® powered accelerometer Input: If there is a problem with cable or sensor, the display will show SENSOR ERROR. If we get an SENSOR ERROR, we need to check connecting cable Input range: 60 g PEAK with standard 100 mV/g sensor (e.g. -
Page 10: Notes
Notes... - Page 11 Adash Hlubinska 1379/32 702 00 Ostrava Czech Republic tel.: +420 596 232 670 e-mail: info@adash.com www.adash.com © Adash 2024 MASTER THE LANGUAGE OF YOUR MACHINERY...
Need help?
Do you have a question about the Lubri A4910 and is the answer not in the manual?
Questions and answers