Advertisement
Quick Links
Record your model number:
Noter le numéro de modèle :
1514646-2
Anote su número de modelo:
WARNING: Risk of scalding. High water temperature can cause
severe burns. Set the water temperature at or below 120°F (49°C)
following the adjustment procedure in the valve Installation Instructions.
Follow all local plumbing and building codes.
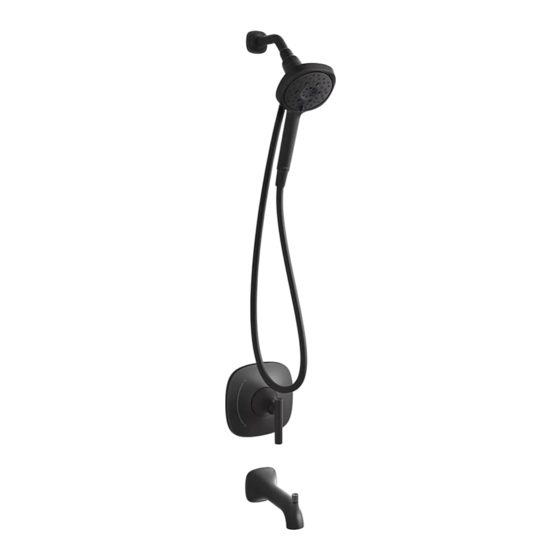
Your product may appear different from the one illustrated. The installation
procedure is the same.
1A. 1/8" Hex Wrench
1B. Sealant Tape
1C. Strap Wrench
1D. Emery Paper
1E. 1/2" Copper Tube
2A. 1-1/2" (38 mm) maximum diameter
2B. Install the 1/2" copper tube 4-3/4" (121 mm) - 5-1/4" (133 mm) from the
wall.
3A. Use emery paper to remove burrs. Remove the debris.
5A. Slide the wall plate onto the shower arm. Apply thread sealant tape.
7A. Turn ON the water.
8A. To adjust maximum water temperature, refer to the Installation
Instructions for the valve.
9A. Turn OFF the water. Remove the guard.
10A. Measure "Y" from the finished wall.
11A. Install the adapter in this orientation if Y= 1-5/16" (33 mm) - 1-13/16" (46
mm).
11B. Install the adapter in this orientation if Y= 1-9/16" (40 mm) - 2-1/16" (52
mm).
12A. Verify that the adapter is level.
14A. Thread the bonnet onto the hub and handtighten the bonnet securely.
15A. Some models: Turn the bonnet counterclockwise to align the corners.
16A. Run water to remove debris.
16B. Apply thread sealant tape. Install the showerhead.
17A. Showerhead Maintenance: Remove the showerhead and screen washer.
18A. Showerhead Maintenance: Clean the screen washer, then reinstall.
Need help? Contact our Customer Care Center.
• USA/Canada: 1-800-4KOHLER (1-800-456-4537) Mexico: 001-800-456-4537
• Service parts:
kohler.com/serviceparts
• Care and cleaning:
kohler.com/clean
• Patents:
kohlercompany.com/patents
This product is covered under the KOHLER ® Faucet Lifetime Limited
Warranty, found at kohler.com/warranty. For a hardcopy of warranty terms,
contact the Customer Care Center.
AVERTISSEMENT : Risque de brûlures. Une température d'eau
élevée peut causer des brûlures graves. Régler la température de l'eau à
120 °F (49 °C) ou moins en suivant la procédure de réglage fournie dans les
instructions d'installation de la vanne.
Respecter tous les codes de plomberie et de bâtiment locaux.
Le produit en question peut être différent de celui qui est illustré. La
procédure d'installation reste la même.
1A. Clé hexagonale de 1/8 po
1B. Ruban d'étanchéité
1C. Clé à courroie
1D. Papier d'émeri
1E. Tube en cuivre 1/2 po
2A. Diamètre de 1-1/2 po (38 mm) maximum
2B. Installer le tube en cuivre de 1/2 po entre 4-3/4 po (121 mm) et 5-1/4 po
(133 mm) du mur.
3A. Éliminer les ébarbures au papier d'émeri. Retirer les débris.
5A. Enfiler l'applique sur le bras de douche. Appliquer du ruban d'étanchéité
pour filets.
7A. Ouvrir l'eau.
8A. Pour régler la température maximale de l'eau, se reporter aux instructions
d'installation pour la vanne.
9A. Couper l'eau. Retirer le dispositif de protection.
10A. Mesurer « Y » à partir du mur fini.
11A. Installer l'adaptateur dans cette orientation si Y= 1-5/16 po (33 mm) -
1-13/16 po (46 mm).
11B. Installer l'adaptateur dans cette orientation si Y= 1-9/16 po (40 mm) -
2-1/16 po (52 mm).
12A. Vérifier que l'adaptateur est à niveau.
14A. Enfiler le chapeau sur le moyeu et fixer solidement le chapeau en place
en serrant à la main.
15A. Certains modèles : Tourner le chapeau dans le sens antihoraire pour
aligner les coins.
16A. Faire couler l'eau pour éliminer les débris.
1514646-2
-
A
1
B
B
A
A
D
D
3
A A
5
A A
7
A A
9
A A
1
2
C
C
A
A
E
E
4
6
8
10
B
B
A A
A
A
Y
Y
Kohler Co.
Advertisement

Summary of Contents for Kohler Rill Rite-Temp
- Page 1 • Care and cleaning: kohler.com/clean • Patents: kohlercompany.com/patents This product is covered under the KOHLER ® Faucet Lifetime Limited Warranty, found at kohler.com/warranty. For a hardcopy of warranty terms, contact the Customer Care Center. AVERTISSEMENT : Risque de brûlures. Une température d'eau élevée peut causer des brûlures graves.
- Page 2 • Brevets : kohlercompany.com/patents Ce produit est couvert sous la garantie à vie limitée des robinets KOHLER ® , fournie sur le site kohler.com/warranty. Pour obtenir une copie imprimée des termes de la garantie, s'adresser au centre de services à la clientèle.


Need help?
Do you have a question about the Rill Rite-Temp and is the answer not in the manual?
Questions and answers