Table of Contents
Advertisement
Quick Links
Gebrauchs- und Montageanweisung
Induktions-Glaskeramik-Kochfeld
Instructions for fitting and use
Glass ceramic induction hob
Instructions de montage et d'utilisation
Table de cuisson vitrocéramique à induction
Gebruiks- en montage-instructies
Keramische inductiekookplaat
Istruzioni per uso e montaggio
Piano di cottura ad induzione in vetroceramica
Instrucciones para el uso y montaje
Encimera vitrocerámica per inducción
Instruções de uso e de montagem
Placa de cozinhar de indução em vitrocerâmica
225985 N91
Advertisement
Table of Contents

Related Manuals for Smeg SE2931ID


Summary of Contents for Smeg SE2931ID
- Page 1 Table de cuisson vitrocéramique à induction Gebruiks- en montage-instructies Keramische inductiekookplaat Istruzioni per uso e montaggio Piano di cottura ad induzione in vetroceramica Instrucciones para el uso y montaje Encimera vitrocerámica per inducción Instruções de uso e de montagem Placa de cozinhar de indução em vitrocerâmica...
-
Page 2: Table Of Contents
Please keep this manual in a safe place and pass it on to new household waste. Instead it must be handed owners for their information and safety. -
Page 3: Safety Instructions
Customer Service. People who are not familiar with the built-in hob must only be • If the hob cannot be switched off due to a defect in the sensor allowed to operate it under supervision. Generally keep little... -
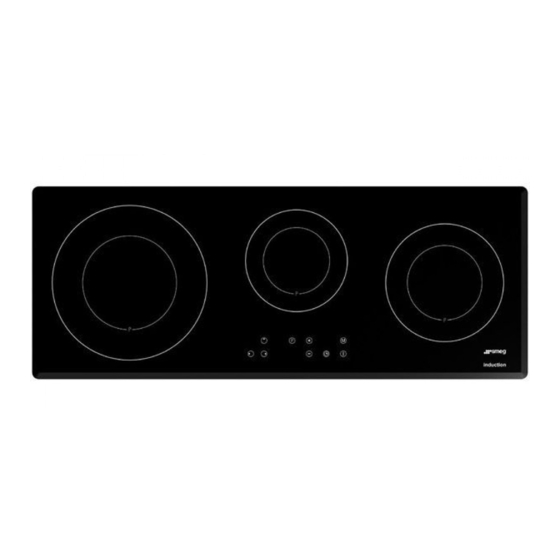
Page 4: Appliance Description
5. Touch-control operating panel ON/OFF key (10) 6. Glass ceramic hob This key is used to switch the entire hob on and off. It is, as it were, the main switch. 7. Induction cooking zone left 8. Centre induction cooking zone Cooking zone selection key (11) (e.g. -
Page 5: Operation
If two or more sensors are pressed at the same time – e.g. when If a cooking zone is switched on and there is no pan on the zone a pan is mistakenly put onto a sensor button – no function is or if the pan is too small, there will be no transmission of power. -
Page 6: Cookware For Induction Hobs
Only use pots with a base suitable for induction. • The base of your cooking pots should be the same size as the cooking zone. Suitable cookware Unsuitable cookware •... -
Page 7: Operating The Buttons
10 minutes for rea- sons of safety. Please refer to the section on “Pan recognition” . Repeat items 2 to 4 in order to cook on other cooking zones at the same time. Cooking zone selection buttons... -
Page 8: Stop Function
The cooking process can be briefly interrupted with the STOP function, e.g. if the doorbell rings. The STOP function must be released in order to continue cooking at the same power level. If a timer has been set it will pause and will then continue. -
Page 9: Automatic Switch-Off (Timer)
• Once the time has lapsed a signal will sound for a while and can be switched off by pressing any button (except for the on/off button). Note! The minute minder remains in operation when the induction cooker is switched off. -
Page 10: Automatic Boost Function
The automatic boost function is suitable for dishes which are cold initially and are then heated up at high power. These dishes do not need to be constantly monitored when simmering (e.g. boiling meat for soups). -
Page 11: Power Boost Setting (Cooking Zones Marked With A P)
(cooking zones marked with a P) The power boost setting makes additional power available for induction cooking zones. A large quantity of water can be brought to the boil very quickly. The power boost setting operates for 10 minutes, after which the power level is automatically reduced to cooking level 9. -
Page 12: Cleaning And Care
Then dry again as described under Item 2. the hob with a clean dry cloth to ensure that there is no detergent left on the surface of the hob. Grains of sand which may get onto the hob when you peel pota-... -
Page 13: What To Do If Trouble Occurs
This is due to technical reasons; the induction hob and the pot are not at risk. Does the cooling fan still operate after it has been switched • Are the sensor keys partly covered by a damp cloth, fluid or a off? metallic object? Please rectify. -
Page 14: Instructions For Assembly
• If a shelf has been inserted underneath the hob, there must be • For installation directly next to a tall cupboard, a safety a clearance of at least 20 mm to the underside of the hob in distance of at least 40 mm must be ensured. The side surface order to ensure that the hob is sufficiently ventilated. - Page 15 A metric screw (A) must be used on the bracket to balance it. Important! There is a risk of breakage if the hob is canted or subjected to stress during installation! Minimum distance to adjacent walls...
-
Page 16: Electrical Connection
• The connection cable must be at least H05 RR-F. • If the excess cable of this appliance is damaged, it has to be replaced by the manufacturer, the Customer Service of the * Attention! Special power supply 230 - 240 V 3~ ! manufacturer or by another qualified person to avoid danger. -
Page 17: Technical Data
Hob, total ....kW 7.4 Power supply Mains voltage....400-415V 2N~, 50-60 Hz Component rated voltage ..230 - 240V...
Need help?
Do you have a question about the SE2931ID and is the answer not in the manual?
Questions and answers