Advertisement
Available languages
Available languages
Quick Links
MONTAGEANLEITUNG
MOUNTING INSTRUCTIONS
INSTRUCTIONS DE MONTAGE
INSTRUCCIONES DE MONTAJE
GUIDA AL MONTAGGIO
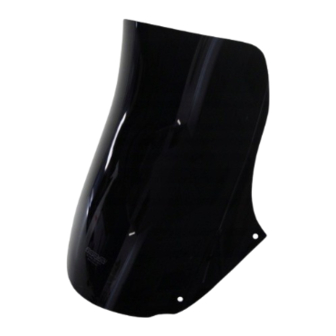
KAWASAKI KLE500 -1993
© by MRA-Klement GmbH – 10/2015 4025066141234
MRA-Klement GmbH Siemensstr. 6 D-79331 Teningen Tel.: +49 7663 93890 Email: info@mra.de
1
Advertisement

Subscribe to Our Youtube Channel
Related Manuals for MRA 4025066053490


Summary of Contents for MRA 4025066053490
- Page 1 MONTAGEANLEITUNG MOUNTING INSTRUCTIONS INSTRUCTIONS DE MONTAGE INSTRUCCIONES DE MONTAJE GUIDA AL MONTAGGIO KAWASAKI KLE500 -1993 © by MRA-Klement GmbH – 10/2015 4025066141234 MRA-Klement GmbH Siemensstr. 6 D-79331 Teningen Tel.: +49 7663 93890 Email: info@mra.de...
- Page 2 2. Die Scheibe wird mittig auf die Verkleidung aufgelegt, sodass die Vorderkante bündig ist und die Scheibe mit dem Absatz an der Verkleidung abschließt. 3. Die vier Löcher in der MRA Scheibe werden auf der Verkleidung markiert. 4. Das Verkleidungsoberteil demontieren.
- Page 3 4. Dismantle the upper part of the fairing. 5. Drill 5 mm holes onto the positions marked. 6. Fasten the MRA screen with the screws supplied. Place the plastic washers between the MRA screen and fairing. 7. Fit the upper part of the fairing back on.
- Page 4 4. Démonter la partie supérieure du carènage. 5. Percer des trous de 5mm aux endroits marqués. 6. La bulle MRA est fixée moyennant les vis fournies. Les rondelles plastiques sont mises en place entre la bulle MRA et le carénage.
- Page 5 4. La parte superiore della mascherina viene smontata. 5. Sui punti segnati vengono effettuati dei fori da 5 mm. 6. Il cupolino MRA viene fissato con le viti in dotazione. Le rondelle in plastica si trovano tra il cupolino MRA e la mascherina.
- Page 6 4. Desmonte la parte superior del revestimiento. 5. En los puntos marcados realice perforaciones de 5 mm. 6. Fije el parabrisas MRA con los tornillos provistos. Los discos de plástico se ubican entre el parabrisas MRA y el revestimiento. 7. Monte nuevamente la parte superior del revestimiento.
Need help?
Do you have a question about the 4025066053490 and is the answer not in the manual?
Questions and answers