Advertisement
Available languages
Available languages
Quick Links
MONTAGEANLEITUNG
MOUNTING INSTRUCTIONS
INSTRUCTIONS DE MONTAGE
INSTRUCCIONES DE MONTAJE
GUIDA AL MONTAGGIO
KTM 1290 Super Duke R
2017-
© by MRA-Klement GmbH – 06/2017 4025066160136
MRA-Klement GmbH Siemensstr. 6 D-79331 Teningen Tel.: +49 7663 93890 Email: info@mra.de
1
Advertisement

Related Manuals for MRA 4025066162918


Summary of Contents for MRA 4025066162918
- Page 1 MONTAGEANLEITUNG MOUNTING INSTRUCTIONS INSTRUCTIONS DE MONTAGE INSTRUCCIONES DE MONTAJE GUIDA AL MONTAGGIO KTM 1290 Super Duke R 2017- © by MRA-Klement GmbH – 06/2017 4025066160136 MRA-Klement GmbH Siemensstr. 6 D-79331 Teningen Tel.: +49 7663 93890 Email: info@mra.de...
- Page 2 Klemmschellen, damit die Schraube die Mutter greifen kann. 6. Ziehen Sie die Schrauben nur leicht an. Stecken Sie die Gummimuttern in die Haltebleche (P3). Richten Sie die Haltebleche mit Hilfe der MRA-Scheibe mittig und im richtigen Winkel am Motorrad aus.
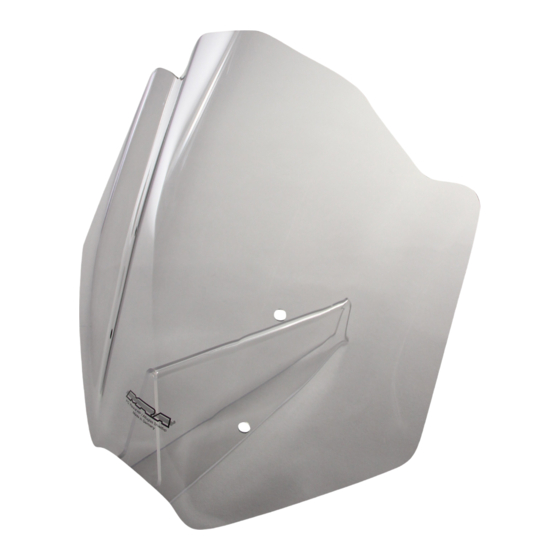
- Page 3 8. Once the brackets are correctly lined up, tighten the M6 x 40 mm screws and place the caps onto the clamps (P5). 9. Mount your MRA screen onto the brackets using the M5 x 16 mm oval head screws and plastic washers, and tighten the screws.
-
Page 4: Instructions De Montage
(P3). Placez de manière centrée et à l’angle correct les tôles de maintien sur la motocyclette à l’aide du disque MRA. 7. Veillez à ne pas laisser les bornes du collier de serrage sur le compteur de vitesse et à le disque MRA toucher le réservoir de compensation du frein et l’embrayage. - Page 5 8. Se le lamiere non sono correttamente allineate, stringere le viti M6x40 mm e inserire i cappucci sulle fascette di serraggio (P5). 9. Montare il cupolino MRA con le viti a testa bombata M5x16 mm e le rondelle in plastica sulle lamiere di supporto e stringere le viti.
- Page 6 8. Cuando las chapas de sujeción se hallen correctamente orientadas, apriete los tornillos M6x40mm e inserte las cubiertas en las abrazaderas de sujeción (P5). 9. Monte el disco MRA en las chapas de sujeción con los tornillos de cabeza alomada M5x16mm y las arandelas de plástico y apriete los tornillos.
Need help?
Do you have a question about the 4025066162918 and is the answer not in the manual?
Questions and answers