Lincoln Electric INVERTEC 175TP Service Manual
Hide thumbs
Also See for INVERTEC 175TP:
- Operator's manual (13 pages) ,
- Operator's manual (15 pages) ,
- Troubleshooting (3 pages)

Related Manuals for Lincoln Electric INVERTEC 175TP


Summary of Contents for Lincoln Electric INVERTEC 175TP
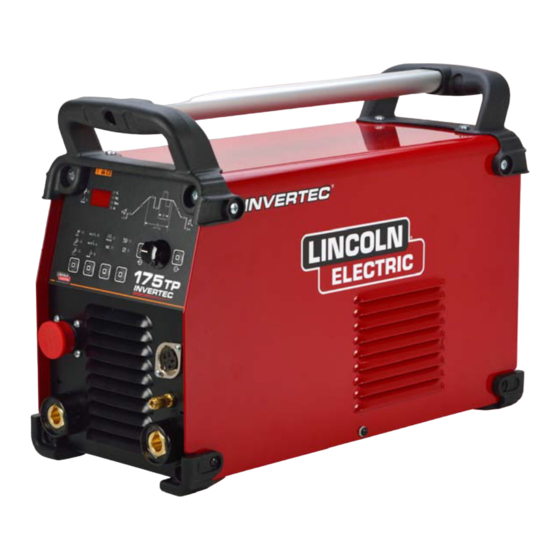
- Page 1 SVM 800036917 Rev.00 08-2018 ® INVERTEC 175TP For use with machines having code numbers: 50394 LINCOLN ELECTRIC EUROPE www.lincolnelectric.eu...
-
Page 2: Table Of Contents
INDEX OF CONTENTS TECHNICAL DESCRIPTION ............................3 REPAIR PROCEDURE- MAIN TEST POINTS ......................10 CALIBRATION ................................11 FRONT PANEL RESET ..............................15 RETEST AFTER REPAIR ............................. 16 ELECTRICAL SCHEMATICS ............................17 Block Diagram ................................17 POWER CIRCUIT BOARD CE 22727 ........................... 18 CIRCUIT BOARD CE 22728 ............................ -
Page 3: 1.0 Technical Description
1.0 TECHNICAL DESCRIPTION 2.0 INSTALLATION DESCRIPTION IMPORTANT: BEFORE CONNECTING, PREPARING OR US- ING EQUIPMENT, READ SAFETY PRECAUTIONS. The system consists of a modern direct current generator for the welding of metals, developed via application of the inverter. This CONNECTING THE POWER SOURCE TO THE MAINS ELECTRICITY SUPPLY. - Page 4 On the unit preset for coated electrode welding Covered Electrode Welding Digital Instrument mode Indicator (MMA) (Ref.1 - Picture 1 Page 3.). TIG DC Welding Indicator Pre Gas Indicator Adjust welding current with ampere selector (Ref. 30 - with High Freq. Start Picture 1 Page 3.).
- Page 5 1. If the electrode points to the welding piece it provokes 11. Alarm Indicator. the short-circuit between the piece and the electrode. 2. Pressing the torch key the pre gas is set. The end of the pre gas is indicated by a long BEEP. If that operation is carried out starting from the post gas you get the long BEEP immediately as soon as you press the torch key.
- Page 6 ATTENTION: THIS SECTION OF THE PANEL IS CHANGE- If the TIG mode is pressed (either Two or Four Times) the ABLE DURING WELDING. pulsation of the basic current is set up. The value range is Pre gas. between the nominal current welding and the 10% of that same By pressing function keys 31 e 32 the luminous indicator is value.
- Page 7 WAVE-SHAPED BALANCE value for the final current on the TIG Four Times mode is set up. The value range is between I Min and the nominal current welding. Picture 2. 11. Post gas. By pressing function keys 31 e 32 32 the luminous indicator is position at 29 - Picture 1 Page 4.) then by activating the knob 30, the time length for the final gas flux is set up in seconds.
- Page 8 AUTOMATIC SEQUENCE MEMORISE AND RECALL PROGRAM ABLED AND THEREFORE YOU CAN NOT CHANGE ANY PA-RAMETER. The generator allows you to memorize and subsequently recall WELDING PROGRAMS MANAGEMENT up 30 welding programs. MEMORISE A PROGRAM The welding and the relative parameters set up can be done Set the process and the desired welding profile (as manually through various commands.
- Page 9 MAINTENANCE MUST BE CARRIED OUT MORE Pedal Operated Remote Control: FREQUENTLY IN HEAVY OPERATING CONDITIONS. this mode is especially useful in combination with pedals Carry out the following operations every three (3) months: equipped with a micro switch with a trigger function. - Replace any illegible labels.
-
Page 10: Repair Procedure- Main Test Points
REPAIR PROCEDURE- MAIN TEST POINTS... -
Page 11: Calibration
CALIBRATION After change front panel PCB in this machine, you must make calibration. You need use tools: Load 102 m Ohm (16.4 V/ 160 A) - for 160A version Load 85 m Ohm (18.8 V/ 220 A) - for 220A version Clamp A-meter with DC function 1. - Page 12 CALIBRATION STEP: Setting max. current: Push button „T6“. Connect Clamp A-meter on DC function and adjust with „ENCODER„ on value 160 AMP or 220 AMP on the clamp A- meter. If you have right value then push „T6“ button. Max. current is set. STEP: Setting min.
-
Page 13: Front Panel Reset
FRONT PANEL RESET If is your calibration wrong, you can do RESET: Machine must be OFF. You must push and hold T5 and T6 buttons after that you turn ON machine. You still hold buttons till display show „rES“ Machine is un-calibrated. -
Page 14: Retest After Repair
Should a machine under test be rejected for any reason requiring the removal of any mechanical part that could affect the machine’s electrical characteristics, or if any electrical components are repaired or replaced, the machine must be retested. Machine input and output INVERTEC 175TP Input Voltage Input Current Rated Output... -
Page 15: Electrical Schematics
ELECTRICAL SCHEMATICS Block Diagram... -
Page 16: Power Circuit Board Ce 22727
POWER CIRCUIT BOARD CE 22727... -
Page 17: Circuit Board Ce 22728
CIRCUIT BOARD CE 22728... -
Page 18: Circuit Board Ce 22738
CIRCUIT BOARD CE 22738... - Page 19 NOTE...
Need help?
Do you have a question about the INVERTEC 175TP and is the answer not in the manual?
Questions and answers