Advertisement
Quick Links
EFN1980-SG
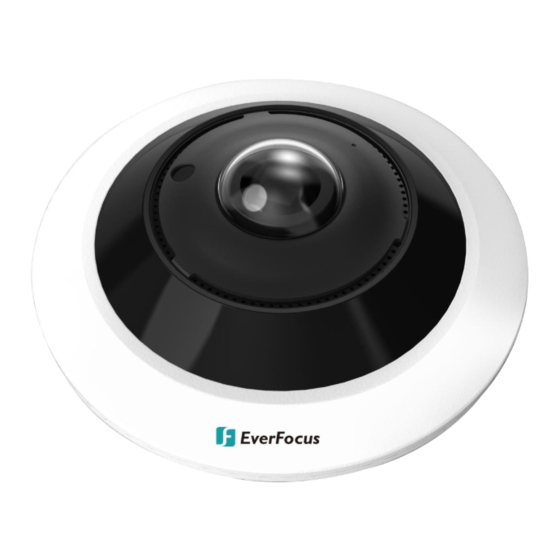
12-Megapixel IR & WDR Fisheye Camera 360° Panoramic View
Quick Installation Guide
Copyright © EverFocus Electronics Corp.
Release Date: March, 2023
All the images including product pictures or screen shots in this document are for example only.
The images may vary depending on the product and software version. Information contained in
this document is subject to change without notice.
EverFocus Taiwan:
2F., No.12, Ln. 270, Sec. 3, Beishen Rd., Shenkeng Dist., New Taipei City 222, Taiwan
TEL: +886 2 2662 2338 FAX: +886 2 2662 3632 www.everfocus.com.tw
Advertisement

Summary of Contents for EverFocus EFN1980-SG
- Page 1 The images may vary depending on the product and software version. Information contained in this document is subject to change without notice. EverFocus Taiwan: 2F., No.12, Ln. 270, Sec. 3, Beishen Rd., Shenkeng Dist., New Taipei City 222, Taiwan TEL: +886 2 2662 2338 FAX: +886 2 2662 3632 www.everfocus.com.tw...
- Page 2 1. Physical Description No. Item Name Descriptions Light Sensor Detects lights. Lens Camera lens. Audio Input Internal microphone to provide audio input. Audio Output Internal speaker to provide audio output. SD Card Slot Insert a micro SD card. Dimensions Φ Φ...
- Page 3 Note: Equipment configurations and supplied accessories vary by country. Please consult your local EverFocus office or agents for more information. Please also keep the shipping carton for possible future use. 2. Contact the shipper if any items appear to have been damaged in the shipping process.
- Page 4 Alarm IO PIN Assignment Alarm In Alarm Out Reset Button The Reset Button can be used to restore the camera to factory default. When the camera is powered up, press the Reset Button about 8 seconds to reboot the camera. 3.
- Page 5 Install the Movable Fixing Frame onto the Mounting Plate. It is for adjusting the position of the screw. If you want to run the wires through the surface, then put the cable across the Cable Hole first and drill another hole on the surface according to the position of the Cable Hole.
- Page 6 SD Card Access Fitting base plate Main Camera Body 5. Connect the camera to the network using the supplied Cable Gland Kit. a. Insert a RJ-45 network cable (without the RJ-45 connector on the one end) through the supplied Waterproof Ring, Cable Gland, Stopper and Screw Cap accordingly.
- Page 7 Orange with white stripe Orange Green with white stripe Blue Blue with white stripe Green Brown with white stripe Brown 6. Now you can access the camera live view. 4. Accessing the Camera You can look up the IP address of the IP camera using the IP Utility (IPU) program, which is included in the software CD.


Need help?
Do you have a question about the EFN1980-SG and is the answer not in the manual?
Questions and answers