Advertisement
INTRODUCTION
This is the original instruction, please read all manual instructions carefully before operating. VEVOR reserves a clear interpretation of our user manual. The appearance of the product shall be subject to the product you received. Please forgive us that we won't inform you again if there are any technology or software updates on our product.
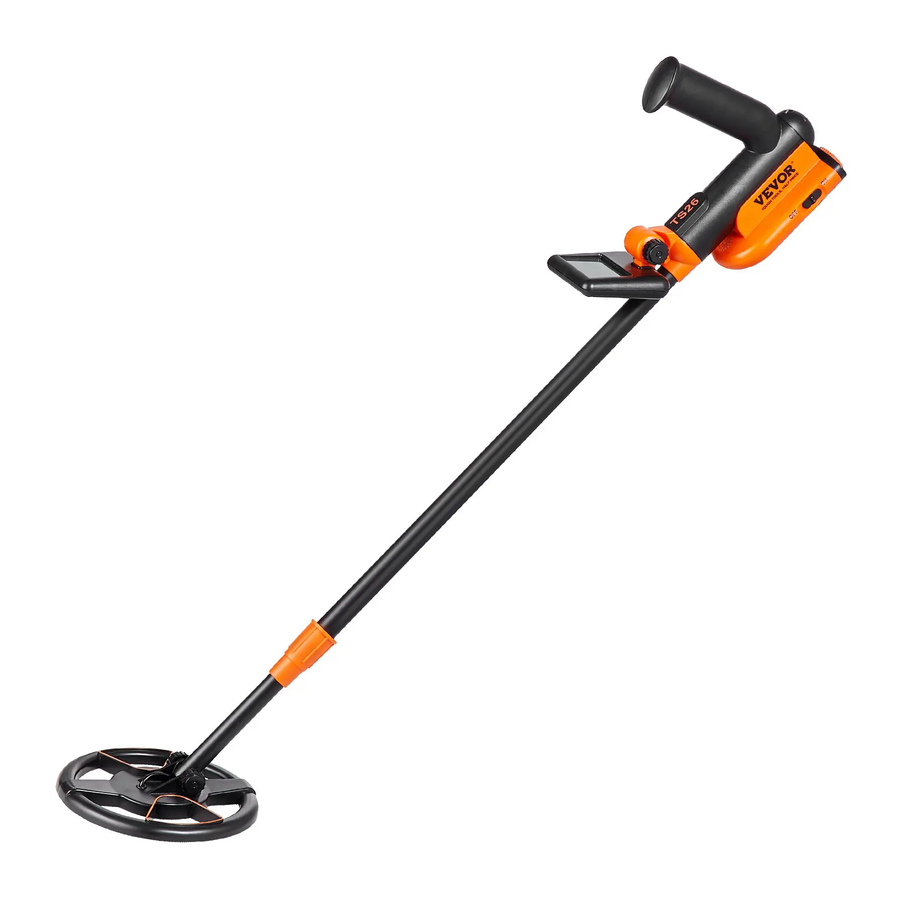
This metal detector is designed using the latest technology. It features lightweight and easy to operate. It has two detection modes, which are ALL METALS mode and DISCRIMINATION mode, and you can select a desired mode between them.
Features:
- Two detection modes - ALL METALS mode and DISCRIMINATION mode
- Adjustable discrimination type
- Auto ground balance
- Detection level indication
- Audio alarm
- 9V battery power supply
- Low battery indication
- 3.5mm earphone jack
STRUCTURE / ASSEMBLY INSTRUCTION


Assembly Drawing

Note:
- See the above figure, the fixing ring is placed around the lower stem, and its flat side faces the upper stem.
- The two protrusions on the inner surface of the threaded ring must fit into the two holes near the lower end of the upper stem.
- To avoid damage, do not pull the detector's cable with force.
PANEL OF THE CONTROL BOX

- ALL METALS/DISC knob
Counterclockwise turn this ALL METALS/DISC knob to the "ALL METALS" position. The knob clicks and the detector stays in the ALL METALS mode.
When this knob is in the "ALL METALS" position, clockwise turn it and, after it clicks, the detector is in the DISCRIMINATION ( DISC ) mode. - Earphone Jack
DISPLAY INSTRUCTION

OPERATING INSTRUCTION
Preparation prior to metal detection
Before beginning an outside search, test the detector with the following metal samples:
- An iron nail
- A five-cent coin ( nickel )
- A one-cent penny ( zinc coin, after 1982 )
- A 25-cent silver quarter
Place the metal detector on a wooden or plastic table with the search coil roughly perpendicular to the table surface ( see Figure 6 ). Make sure the table is far away from TVs, computers, or any device that can cause electromagnetic interference.

Note: To avoid interference, remove any watches, rings, or other metal objects on your fingers and hands.
To turn on the detector, slide the power switch on the left side of the control box to ON position. The leftmost detection level indicator bar and the rightmost detection level indicator bar appear on the display and then flash synchronously indicating that the detector is on and that the detector is in stand-by state.
Testing the detector in the All METALS mode
Counterclockwise turn the ALL METALS/DISC knob until it clicks. Now the detector is in the ALL METALS mode. Refer to Figure 6, respectively pass the metal samples ( the iron nail and 3 coins ) across the search coil at a distance of 5cm to 8cm. When any of the metal samples passes across the search coil, the detector should beep and the monitor screen should show the display shown in Figure 8. When the detector stops sounding, the monitor screen should show the stand-by display quickly ( see Figure 7 ).
The ALL METALS mode allows the detector to achieve the maximum detection depth possible.

Note:
During test, the metal sample which you are using must be in motion; otherwise the detector will not respond to this metal sample.
Testing the detector in the DISCRIMINATION mode
Note:
The Figure 9 on the right shows the knob positions for some often encountered metals. If the ALL METALS/DISC knob is in one of these positions, the corresponding metal will be ignored during scanning. The specifications or descriptions on the figure are not accurate and are for non-critical reference only.

Make sure that the ALL METALS/DISC knob is in the "ALL METALS" position, then turn the knob clockwise until it clicks. Now the detector is already in the DISCRIMINATION mode. In this mode, you can use the ALL METALS/DISC knob to search for specific metals by having it ignore other kinds of metals. At the present knob position, where the knob just clicked, the detector will respond to ANY metal object and the monitor screen will show the display shown in Figure 8 when the detector beeps.

- To prevent the detector from detecting iron metals, set the ALL METALS/DISC knob to about " 12 o'clock ". See Figure 10.

- As a test, sweep the iron nail sample across the search coil at a distance of about 5cm to 7.5cm, the detector will not beep and the stand-by display ( see Figure 7 ) will remain on the monitor screen, but the other metal samples ( the three coins ) will cause the detector to beep and the monitor screen to show the display shown in Figure 8 when they are respectively swept across the search coil.
- To have the metal detector ignore nickel metals, set the ALL METALS/DISC knob to about " 3 o'clock " ( see Figure 11 ). Sweep the nickel across the search coil at a distance of about 5cm to 7.5cm; the metal detector will not respond to the nickel or the iron nail. But it will respond to the other samples.

- To prevent the zinc penny from being detected, set the ALL METALS/DISC knob to about " 5 o'clock " ( see Figure 12 ). By now, only the 25-cent silver quarter should be detected.


Note: The discrimination position of aluminum is similar to that of silver. So both metals will be detected at the same time. The discrimination position of gold is similar to the nickel setting.
Through the above tests, you can quickly know the performance of the detector and know how to use the detector.
Tip: During test, the metal sample which you are using must be in motion.
DETECTING METALLIC OBJECT WITH THE DETECTOR
After you finish all the tests mentioned above, you can start to detect metallic objects.
Turn on the detector, and set it in the ALL METALS mode. And be far away from any external interference source.
During detection, keep the search coil height approximately 3cm to 5cm above the ground and parallel to the ground at all times for best detection results, walk slowly as you scan the search coil slowly in a straight line from side to side.
When you detect a metallic object, you can use the DISCRIMINATION mode to try further identification or discrimination, if necessary.
Metal detection is a careful, difficult job. Because there may be iron nails, metallic oxides, and metal scraps in soil, it may be necessary to perform detection many times in the same location to get an accurate result, especially in an area where the soil contains complex mineral substance constituents.

Note:
- Because many factors ( degree of oxidation of metallic object, metal impurities in soil, soil moisture content, etc. ) can affect metal detection/identification in DISCRIMINATION mode, the results of metal identification/discrimination are not guaranteed to be correct.
- During detection, the search coil must be in motion. If the search coil is still, the detector can not detect metal normally.
- The detector can work with the earphone ( optional ). To use the earphone, just insert the plug of the earphone into the earphone jack on the control box, the loudspeaker in the control box will be disabled automatically.
Note:
For safety, do not use earphones near traffic.
To avoid hearing loss, do not use earphones if using them makes you feel uncomfortable.
BATTERY REPLACEMENT
When the low battery indicator " " appears on display, the battery is not high enough and must be replaced immediately.
To replace the battery, set the power switch to OFF position to turn off the detector first. Then use a suitable screwdriver to unscrew the screw on the battery cover ( see Figures 1 and 2 ), and then remove the battery cover. According to the polarity indication on the inner wall of the battery compartment, replace the old battery with a new one of the same type, making sure that the polarity connections are correct ( refer to Figure 14 ). Reinstall the battery cover and the screw.

NOTE
- To preserve battery life, set the power switch to OFF position to turn off the detector when the detector is not in use.
- If the detector can not operate normally, a possible cause is that the battery is exhausted.
- Protect the plug of the search coil cable from damp; otherwise the detector may lose its detecting ability. Dry the plug as needed.
- The control box is not waterproof. Protect the control box from water, and do not use the detector in rain.
- Do not place the detector in any high temperature environment.
- Do not tamper with the circuit of the detector.
- Do not pull the search coil cable with force.
- Handle the detector gently. Do not bump, drop or abuse the detector.
- When you turn the knob, do not apply excessive force.
WARNING
Any metal detector may discover underground power lines, explosives or other items which when struck could cause personal injury. When searching for metals, observe these precautions:
- Do not search in an area where you believe there may be shallowly buried underground electric lines or pipes.
- Avoid striking any line known to be or suspected to be carrying electrical power.
- Do not disturb any pipeline, particularly if it could be carrying flammable gas or liquid.
- Use reasonable caution when digging toward any target, particularly in areas where you are uncertain of underground conditions.
- Observe all national, state and local laws while detecting.
TECHNICAL SPECIFICATION
Operating Current: About 300mA
Battery: 9V battery, 6F22 or equivalent, 1 piece
ACCESSORIES
Manual: 1 piece
Handbag: 1 piece
Digging shovel: 1 piece
Rake: 1 piece
Battery: 1 piece
Technical Support and E-Warranty Certificate www.vevor.com/support
NEED HELP? CONTACT US!
Have product questions? Need technical support? Please feel free to contact us: CustomerService@vevor.com
Documents / Resources
References
Download manual
Here you can download full pdf version of manual, it may contain additional safety instructions, warranty information, FCC rules, etc.
Advertisement


Need help?
Do you have a question about the TS26 and is the answer not in the manual?
Questions and answers