Table of Contents
Advertisement
Quick Links
HIT Quick Guide
1. Select Tests:
To use the Start Auto feature, you must select
each test that you want to run by clicking on the
red X next to it and it will change to a green
check mark. All tests with the green check mark
will run after clicking on the Start Auto button.
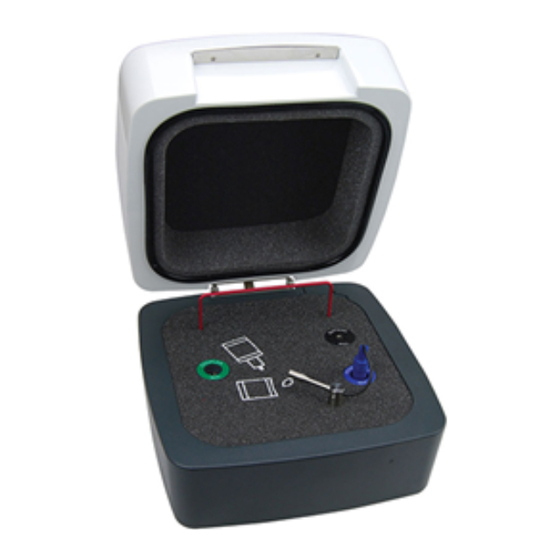
2. Calibrate the HIT:
Select the three dots in the top right corner
and then select the check mark. Place the coupler
mic (green) in the large O-ring and position it
2-5 mm from the reference mic (blue). Close the
box and run the Box Verification.
3. Connect your HA:
Connect your hearing aid to your manufacture's
software.
4. Couple the HA:
Properly couple the hearing aid using its corresponding adaptor.
5. Program to Full-On Gain
mode:
Program the hearing aid to
Full-On Gain (FOG) in your
manufacturer's software.
medrx-diagnostics.com
Advertisement
Table of Contents

Related Manuals for MedRx HIT


Summary of Contents for MedRx HIT
- Page 1 All tests with the green check mark will run after clicking on the Start Auto button. 2. Calibrate the HIT: Select the three dots in the top right corner and then select the check mark. Place the coupler mic (green) in the large O-ring and position it 2-5 mm from the reference mic (blue).
- Page 2 6. Place the HA in the HIT: Position the hearing aid in the test box so the front hearing aid mic is as close as you can get it to the reference mic without touching. Close the box and click the Start Auto button.
Need help?
Do you have a question about the HIT and is the answer not in the manual?
Questions and answers