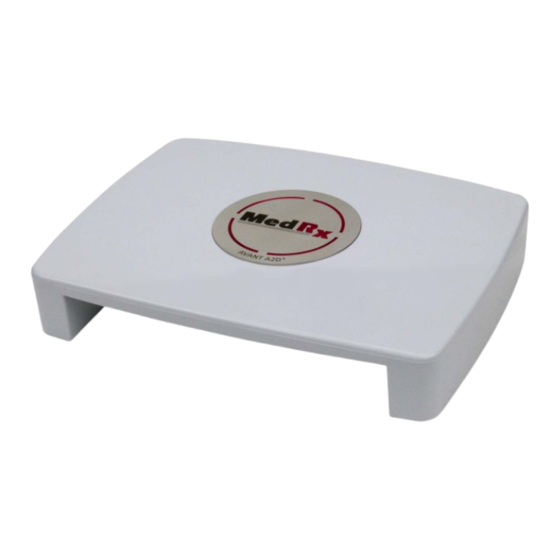
MedRx Avant A2D+ Installation Manual
Audiometer
Hide thumbs
Also See for Avant A2D+:
- Training manual (56 pages) ,
- Installation manual (19 pages) ,
- Training manual (20 pages)
Advertisement
Quick Links
Advertisement

Subscribe to Our Youtube Channel
Summary of Contents for MedRx Avant A2D+
- Page 1 INSTALLATION MANUAL www.medrx-usa.com...
-
Page 2: Table Of Contents
#0086 www.medrx-usa.com 1200 Starkey Rd., #105, Largo FL 33771 U.S.A. Toll Free: (888) 392-1234 • (727) 584-9600 Fax: (727) 584-9602 • Email: medrx@medrx-usa.com MedRx's Authorized Representative in Europe (Regulatory affairs only) Emergo Europe, Molenstraat 15 2513 BH The Hague, The Netherlands... -
Page 3: Getting To Know Your Avant A2D
During testing, the light shines blue when the left ear is selected and red when the right is selected as shown below. Patient Side View Operator Side View Left Ear Selected Right Ear Selected A2DM-I-MA2DPI-2 MedRx AVANT A2D+ Installation Manual Effective Date: 08-11-2014... -
Page 4: Transducers
Supra-Aural Headphones Bone Conductor Operator Mic and Monitor Talkback Microphone Patient Response Switch (may vary) USB Cable Use the accessories provided with your Avant A2D+. Use of un-approved accessories is not recommended. A2DM-I-MA2DPI-2 MedRx AVANT A2D+ Installation Manual Effective Date: 08-11-2014... -
Page 5: Software Installation
Press OK to start the Setup. 2. On the Setup screen, choose Install AVANT A2D+ Audiometer. NOTE: No MedRx driver installation is required with the AVANT A2D+. (Windows 7 or 8 Professional 32/64 bit recommended) 3. This is the Welcome screen. - Page 6 If necessary, this location can be changed. • To continue with the default settings, click Next. • To change the location of the files (advanced users or system administrators only, click Change). A2DM-I-MA2DPI-2 MedRx AVANT A2D+ Installation Manual Effective Date: 08-11-2014...
- Page 7 7. Installation of Program is ready to start. • To continue, click Install. • To make changes, click Back. 8. Installation is in process. 9. When the installation is complete, click Finish. A2DM-I-MA2DPI-2 MedRx AVANT A2D+ Installation Manual Effective Date: 08-11-2014...
- Page 8 Audio Tab will appear like the image on the left. If not, use the pull-down lists to adjust the settings to match the image. Click Audio Properties. A2DM-I-MA2DPI-2 MedRx AVANT A2D+ Installation Manual Effective Date: 08-11-2014...
-
Page 9: Loading Calibration Files
In Windows Sound control panel, make sure the MedRx Audio Device is not set as default. If it is default, change this by clicking on your system (non-MedRx) audio device and then choose Set Default. NOTE: The internal sound card on your computer will likely not have the same name as this screen shot. -
Page 10: Emc Precautions
• The Avant A2D+ may be interfered with by other equipment, even if that other equipment complies with CISPR emission requirements. • The Avant A2D+ does not have life supporting function • Portable and mobile RF communications equipment can affect the Avant A2D+. A2DM-I-MA2DPI-2 MedRx AVANT A2D+ Installation Manual Effective Date: 08-11-2014... - Page 11 IEC 61000-4-6 Radiated RF 3 V/m 3 V/m × d = 1,17 80 to 800 MHz IEC 61000-4-3 80 MHz to 2,5 GHz × d = 2,33 800 MHz to 2,5 GHz A2DM-I-MA2DPI-2 MedRx AVANT A2D+ Installation Manual Effective Date: 08-11-2014...
- Page 12 At 80 MHz and 800 MHz the separation distance for the higher frequency range applies. NOTE 2 These guidelines may not apply in all situations. Electromagnetic propagation is affected by absorption and reflection from structures, objects and people. A2DM-I-MA2DPI-2 MedRx AVANT A2D+ Installation Manual Effective Date: 08-11-2014...
-
Page 13: Safety
• A USB Optical Isolator, with a minimum of 1000 DC volt isolation, should be placed in-line between the computer’s USB connection and the MedRx device. The Optical Isolator should be powered by a power supply that conforms to IEC 60601-1. - Page 14 • The device is intended for continuous operation. • The computer and the MedRx device or accessories may be located in the patient environment if required. • The colored lights are as designated by ANSI S 3.6 and IEC 60645-1. They signify that either the left (blue) channel is active or the right (red) channel is active, or no channel is active (green).
-
Page 15: Cleaning
6. Let all components that have been cleaned, thoroughly dry before use. 7. Cleaning of the computer should be performed using the methods suggested in the computer’s manual. A2DM-I-MA2DPI-2 MedRx AVANT A2D+ Installation Manual Effective Date: 08-11-2014... -
Page 16: Limited Warranty
MedRx, Inc is not responsible for problems resulting from installation of unapproved software or hardware. In the event of unapproved software or hardware installed on the system causing a conflict, MedRx will service the product for a fee to be determined at the time of service.


Need help?
Do you have a question about the Avant A2D+ and is the answer not in the manual?
Questions and answers