MedRx Avant A2D+ Training Manual
Studio software audiometer training manual
Hide thumbs
Also See for Avant A2D+:
- Training manual (35 pages) ,
- Installation manual (19 pages) ,
- Installation manual (16 pages)
Table of Contents
Advertisement
Advertisement
Table of Contents

Subscribe to Our Youtube Channel
Related Manuals for MedRx Avant A2D+


Summary of Contents for MedRx Avant A2D+
- Page 1 D-0126017-A...
- Page 2 1200 Starkey Rd., #105, Largo, FL 33771 U.S.A. Toll Free: (888) 392-1234 • (727) 584-9600 Fax: (727) 584-9602 • Email: medrx@medrx-usa.com www.medrx-usa.com MedRx's Authorized Representative in Europe DGS Diagnostics A/S Audiometer Alle 1 • 5500 Middelfart • Denmark Distributor: MedRx International c/o MAICO Diagnostics GmbH Sickingenstr.
-
Page 3: Table Of Contents
Contents Getting to Know Your AVANT Audiometer ............4 High Frequency Audiometry (Optional) ............17 Avant A2D+ Audiometer ..................5 Speech Audiometry ..................17 Avant Stealth Audiometer ..................5 Word Recognition (WR) .................. 21 Avant AIR+/Tinnometer ..................5 QuickSIN ......................22 Transducers and Accessories ................6 VRA MODULE (Optional) ................. -
Page 4: Getting To Know Your Avant Audiometer
Your AVANT Audiometer Intended Use Statement: The MedRx Avant series of audiometers are electronic instruments intended to diagnose hearing loss in adults and children. Audiograms are created and used to set the correct gain levels of the hearing aid for various frequencies. These devices should be operated by trained professionals with education and/or training in the field of audiometry. -
Page 5: Avant A2D+ Audiometer
AVANT™ A2D+ is truly plug and play. The new design also AVANT Stealth+ has two sets of air conduction The MedRx Tinnometer represents a new era of ultra- transducer connections and two Operator Microphone compact screening audiometry for your office. -
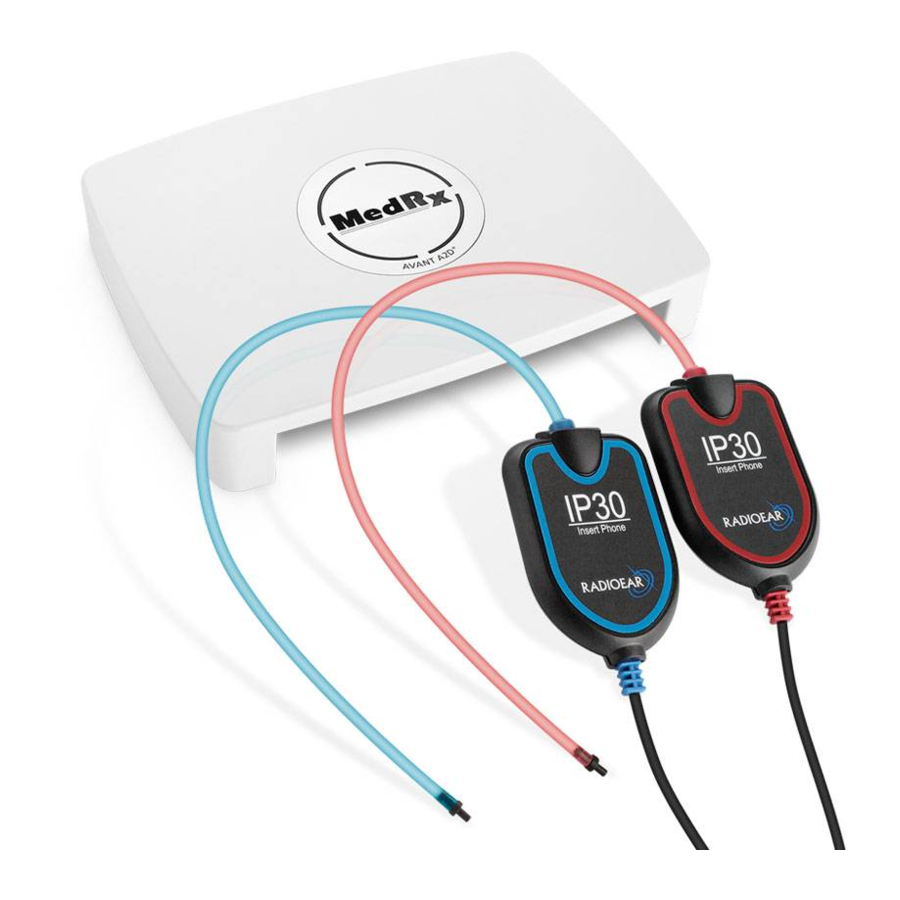
Page 6: Transducers And Accessories
Transducers and Accessories Make sure that the correct transducers are set in the software by right clicking any transducer button on the audiometry screen and left-clicking to change the transducer. Use the accessories provided with your Audiometer. Use of unapproved accessories is not recommended. IP30 Insert Earphones DD450 High Free Field Speakers... -
Page 7: Loading Calibration Files
Click Load (choose *.set or *.cal files). • 1. With the MedRx USB Flash Drive connected, open the MedRx Studio software, enter the module you will be loading calibration files into and click: •... -
Page 8: Audiometer Module Studio Software Overview
AUDIOMETER MODULE Studio Software Overview Basic Software Options The MedRx Studio software can run stand-alone or from NOAH System or Several options are available which allow the user to customize the MedRx the TIMS NOAH-Compatible Office System. Studio Software to meet their needs. -
Page 9: Audiometry
Show Help More Options The More Options icons have the following functions: If you have more than one MedRx product you can show/hide modules in 1. Save the Current Session to a File the Main Screen settings. 2. Open session from a file NOTE: Remember, more information is always available in the Interactive 3. -
Page 10: Assign Transducers
Configuring the AUD Software Assign Transducers It is important to note that each module will have different Option 1: On the General Options settings available for customization. screen click Outputs to assign specific transducers to the audiometer outputs. Enter the module and click the settings wheel to customize. Option 2: You can change transducers by Right-Clicking on any transducer icon on the Audiometry... -
Page 11: Preparing For Testing
Preparing for Testing Use the accessories provided with your Avant Audiometer. Typical acceptable transducers are shown on page 6. Operator headsets for use with the Avant Audiometer should have 32 ohms impedance and the speaker power should be at least 50 watts. Air conduction transducers for use with this device should have an impedance of 10 ohms. - Page 12 Tinnometer and are part of an upgrade option for the AVANT Stealth Audiometer. If you need to test frequencies beyond 8000 Hz, you must notify MedRx. This option carries a price differential which will be detailed at the time of order.
-
Page 13: Sound Field Testing
Sound Field Testing The Sound Field speakers (Free Field) should be connected using optional or Repeat until all the speaker wires are secured then plug both connectors into user supplied amplifier and speakers. They should be calibrated annually as the device as indicated above. per ISO 8253-2, located at least 1 meter from the patient ear and at the same DC Power supply must be used when using passive Free Field speakers or height. -
Page 14: Performing Audiometric Testing
Performing Audiometric Testing The screen shot below shows the controls which are available from the Audiometer main window. The sections of the manual that follow explain how to use these tools to perform hearing evaluations using your Audiometer. 1. Test Selection Tool Bar 2. -
Page 15: Pure Tone Audiometry
These thresholds are plotted on a standard graph called an audiogram. The hearing in the left ear). MedRx Studio software controls the hardware, stores the data (if running 6. Present a tone at 60 dB by pressing the space bar or clicking the within NOAH or TIMS) and prints a standard or custom audiogram report. - Page 16 Pure Tone Audiometry via the Bone Conductor 1. Following the instructions on page 12, place the Bone Conductor on the mastoid 2. Use your mouse or hold control and use the up process behind the ear with and down arrow keys to adjust the Masking better air conduction Level Slider to the appropriate level based on thresholds as measured...
-
Page 17: High Frequency Audiometry (Optional)
8000 Hz, you must notify MedRx. This option carries a price differential which for your specific application. will be detailed at the time of order. - Page 18 10dB above the PTA and follow the steps as follows: If the patient exceeds a 50% score at a given presentation level, stop the test 1. From the MedRx Studio main screen, click the AUD and decrease the level by 10 dB and repeat the steps above.
- Page 19 6. To Input & Calibrate the Rainbow Passage in WR for MCL: c. The Rainbow Passage is now part of the MedRx Studio Audio Files for future use. a. Press the small file folder on the top right of media player.
- Page 20 VU meter. The VU meter is just below the Test button in MedRx Studio and will become active once you press Test.
-
Page 21: Word Recognition (Wr)
The test is complete when all words in the list have been presented. The software automatically plots the score on the WR graph. 1. From the MedRx Studio main screen, click the AUD button. 8. Click the Advance button >> or press the F10 key to present the next word. -
Page 22: Quicksin
QuickSIN The primary complaint of hearing-impaired persons is difficulty hearing in background noise. The measurement of SNR loss (signal-to-noise ratio loss) is important because speech understanding in noise cannot be reliably predicted from the pure tone audiogram (Killion & Niquette, 2000). The QuickSIN test was developed to: Provide a one-minute estimate of SNR loss. - Page 23 Performing the QuickSIN Test 2. Play the first sentence in the list by clicking the Play button. Ask the 1. From the MedRx Studio main screen, Click the AUD patient to repeat the sentence. button. 2. Click the QuickSIN button located on the toolbar on the top of the screen.
-
Page 24: Vra Module (Optional)
The VRA module is a Visual Reinforced Audiometry (VRA) module available in the MedRx Studio software. This is an optional module which must be 1. Open the VRA module licensed to activate. Contact your MedRx representative if you have questions regarding activation. - Page 25 Connecting MedRx Studio and iVRA App disconnect from the VPN to allow VRA connections. To connect MedRx Studio and the iVRA app you will need to connect to the NOTE: You may use a local Wi-Fi network without internet access for the same wireless network.
- Page 26 Type of tone (i.e. warble, pure tone, narrowband, continuous, pulsed) is also or change PCs. set up in MedRx Studio software prior to beginning the VRA testing. You will need to click Connect at the The settings for the VRA system are found in the iOS app. You can find these beginning of every iVRA session.
- Page 27 Conditioning Mode The iVRA conditioning is initiated through the iOS app. The iOS app and MedRx Studio must be connected for the testing to begin. Once the iOS app and MedRx Studio are connected, navigate to the conditioning tab.
- Page 28 Manual Test Mode The iVRA manual test mode is initiated through the iOS app. The iOS app and MedRx Studio must be connected for the testing to begin. Once the iOS app and MedRx Studio are connected, navigate to the Tests tab.
- Page 29 Save. Saving the information transfers the test results from the iOS Note: Presentation ear is fixed to app into MedRx Studio software. binaural during free field testing To present a stimulus you will swipe left on the presentation level in the center of the screen.
- Page 30 iVRA Automatic Test Mode Once the automatic test mode has begun, the iOS app will look like the left To begin automatic testing, click the image. Automatic button in the Test tab. You may select presentation ear, When you click the Automatic button, frequency, starting level, and video the reward screens will go to black and reward.
- Page 31 If you would like to exit the Manual Test Mode from the PC, press the Shift + ESC key. VRA MedRx Studio Logging Logging of test sessions are available through MedRx Studio. To access the logs, click the Log tab in the MedRx Studio VRA sidebar. D-0126017-A...
-
Page 32: Tinnometer Module (Optional)
Purpose of the Tinnometer Tinnitus is experienced by millions of people worldwide. The Tinnometer is 1. From the MedRx Studio main screen, Click the designed to mimic the sounds of tinnitus in order to provide an accurate and Tinnometer button. - Page 33 Key features of the Tinnometer Main Screen: 1. Toggle Switch to Start/Stop stimulus 2. Sliders to control frequency, bandwidth, slope and tempo of the stimulus 3. Slider to control the intensity of the stimulus 4. Buttons used in determining tinnitus match, threshold and minimum masking level 5.
- Page 34 Interactions with the Patient are Controlled as Follows: Step 1: Identify Patient’s Tinnitus 1. Patient Response Switch Indicator 2. Patient Monitor Microphone 3. Talk Forward 4. Undo 5. Toggle Help Section 1. Start by selecting the tinnitus type that has been described by the 6.
- Page 35 Step 2: Find Identified Tinnitus Threshold 1. Use down arrow on your keyboard to lower stimulus until patient states they are no longer able to hear the tinnitus. 3. Use frequency slider to match the pitch of the patient’s perceived tinnitus.
- Page 36 Tinnometer Modulation Tab The Tinnometer modulation tab is designed to simulate sound generators when hearing aid demonstrations cannot be performed. The following are controls used in Modulation. 2. Enter the modulation tab on the right side of Tinnometer software. 1. Type of Modulation Sound 2.
- Page 37 A complete tinnitus assessment must be performed prior to performing Tinnometer Audiometry Scan testing in the RI tab. Once tinnitus assessment testing is completed, optional residual inhibition testing can be performed with the following steps: The Tinnometer Scan tab is designed for various forms of air conduction audiometry.
- Page 38 4. Click the stop watch to begin the masking stimulus Tinnometer Report Printing (stimulus to play for 60 seconds). The Tinnometer has four reports available for printing: • Tinnitus Assessment Report. • Manufacturer Guidance Report. • Questionnaire Report. • Channel Report. The following are common features found across reports: 1.
- Page 39 Tinnitus Assessment Report Tinnitus assessment reports are able to be generated after completing the three steps to tinnitus assessment. Once all steps are complete you are able 3. Use the drop down box to to print a report select a diagnosis for the patient.
- Page 40 Manufacturer Guidance Report Manufacturer guidance reports are designed to provide hearing aid sound therapy guidance to a clinician based on tinnitus assessment results. Sound 3. Select “Hearing Aid Guidance” from therapy is an option to tinnitus treatment. We encourage all clinics to the list of reports develop a tinnitus treatment protocol that is in line with their tinnitus treatment goals.
- Page 41 Graph Channel Report Questionnaire Report Graph channel reports will print a patient report which displays an image of Questionnaire reports will only show as an option once the questionnaire has the patient’s tinnitus with QR codes for YouTube videos that play a wind been completed.
-
Page 42: Hearing Loss Simulator
7. To stop the playback, select the Stop button on the player. Hearing Loss Simulator Note: It is recommended you use a variety of tracks from the list to The Hearing Loss Simulator demonstrates the effect of the client’s hearing demonstrate the hearing loss. - Page 43 File allows the user to play sound files. The program supports MP3 and WAV have modified the rule but want to undo the changes. files and comes with a preset MedRx Sounds Sensations set of files. After the option is activated, use the media player to control the playback.
-
Page 44: Printing
Printing To Use an Existing Print Template Printing within the MedRx Studio software. You can use the templates provided at installation or create your own templates to suit your needs. 1. Click the print icon in the top tool bar or hold down the Ctrl key and click the P key on your keyboard. - Page 45 Create New Print Templates 1. Select the printer icon. 1. Drag and drop elements onto the page to create your template. 2. Select the + icon to create a new template. a. You can combine data from multiple modules into a single template. b.
-
Page 46: Emc Precautions
EMC Precautions The Avant Audiometer needs special precautions regarding EMC and needs to be installed and put into service according to the following EMC information. List of all cables and maximum lengths of cables, transducers and accessories: Transducer / Accessories Maximum Cable length USB Cable 3 meters... - Page 47 Guidance and manufacturer’s declaration – electromagnetic emissions Guidance and manufacturer’s declaration – electromagnetic immunity The Avant Audiometer is intended for use in electromagnetic environment The Avant Audiometer is intended for use in electromagnetic environment specific below. The customer or the user of the Avant Audiometer should specific below.
- Page 48 Guidance and manufacturer’s declaration – electromagnetic immunity The Avant Audiometer is intended for use in electromagnetic environment specific below. The customer or the user of the Avant Audiometer should assure that it is used in such an environment. Immunity test IEC 60601- test level Compliance level Electromagnetic environment - guidance...
- Page 49 Recommended separation distances between Portable and mobile RF communications equipment and the Avant Audiometer The Avant Audiometer is intended to use in an electromagnetic environment in which radiated RF disturbances are controlled. The customer or the user of the Avant Audiometer can help prevent electromagnetic interference by maintaining a minimum distance between portable and mobile RF communications equipment (transmitters) and the Avant Audiometer as recommended below, according to the maximum output power of the communications equipment.
-
Page 50: Safety
• All repairs should be sent to MedRx for evaluation and / or repair. However, necessary • The device warm-up time is less than 5 minutes. diagrams and repair instruction will upon request be provided to authorized repair •... -
Page 51: Symbols That May Be Used
Read the instruction manuals Indicates that the Type B applied part. Manufacturer Authorized for safe usage of the device device serial number (Type B equipment) (MedRx) Representative in (operating instructions) will follow Europe Non-ionizing electromagnetic Special Disposal Humidity Limitation Caution, General... -
Page 52: Recommended Procedures For Cleaning And Disinfection
Recommended Procedures for Cleaning and Disinfection 1. Foam ear tips are single use components, and should not be re-used by another patient. 2. It is recommended that 70% Isopropyl Alcohol should be applied to a soft clean cloth or tissue, not directly on the component to be cleaned. The cloth should never be wet, just damp. -
Page 53: Technical Information
Technical Information The Avant Audiometer is an active, diagnostic Class IIa Medical Device according to the EU medical directive 93/42/EEC. Standards: Modulation: Connection Sockets: Specification IEC 60601-1: 2012 Class II Pulse tone: 0.25/0.5 s on time Power/Communication USB: (5 VDC) IEC 60601-1-2 Class A Warble tone: 5% sinus frequency modulation, repetition Speaker left... - Page 54 Calibration values and Calibration values and Calibration values: Calibration values: Calibration values: Calibration values: Max Levels: Max Levels: Headphone DD45 Headphone TDH39 Insert phone Eartone 3A Insert phone IP30 Bone conductor Sound field (0 degree NBS-9A acoustic coupler NBS-9A acoustic coupler HA-2 acoustic coupler HA-2 acoustic coupler Radioear B71 Force: 4.9...
- Page 55 Maximum Sound Levels: Frequency Inserts Supra-aural Sound Field Bone Conduction 1000 1500 2000 3000 4000 6000 8000 Routine checking and subjective tests The user of the instrument should perform a subjective instrument check once a week. The purpose of routine checking is to ensure, as far as possible, that the equipment is working properly, that its calibration has not noticeably altered and that its attachments, leads and accessories are free from any defect that might adversely affect the test result.
-
Page 56: Limited Warranty
Limited Warranty MedRx warrants this product to be free from defects in material and workmanship for two years from the time of purchase. If this system fails to perform as specified during this period, the purchaser is responsible for calling MedRx at +49 30 70 71 46 43. The company's representative will advise the owner to either...
Need help?
Do you have a question about the Avant A2D+ and is the answer not in the manual?
Questions and answers