Table of Contents
Advertisement
Quick Links
Installation and User manual
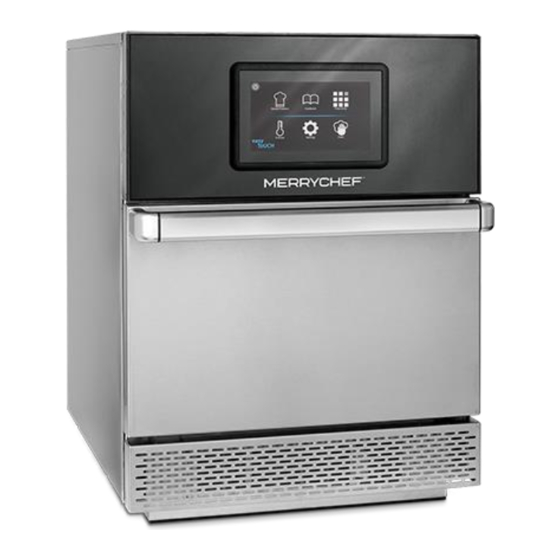
Microwave Combination Oven
Read instructions before use
Part number: 32Z9030
Approvals:
_______________________________________________________________________________________________________________________________
Expanding Your Opportunities
Language: ENGLISH
Merrychef eikon
®
e2s Installation and User Manual
11
Advertisement
Table of Contents


Need help?
Do you have a question about the conneX 12 and is the answer not in the manual?
Questions and answers