Sign In
Upload
Download
Add to my manuals
Delete from my manuals
Share
URL of this page:
HTML Link:
Bookmark this page
Add
Manual will be automatically added to "My Manuals"
Print this page
×
Bookmark added
×
Added to my manuals
Manuals
Brands
Cannondale Manuals
Bicycle
Quick
Quick start manual
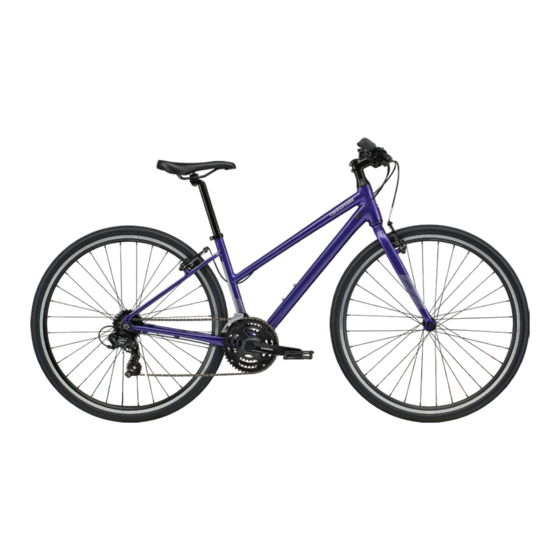
Cannondale Quick Quick Start Manual
Fitness rim brake
Hide thumbs
Also See for Quick
:
Owner's manual
(106 pages)
,
Owner's manual
(106 pages)
1
2
3
4
5
6
7
8
9
10
11
12
13
14
15
16
page
of
16
Go
/
16
Bookmarks
Advertisement
Quick Links
Download this manual
Fitness Rim Brake
Quick Start Guide
Previous
Page
Next
Page
1
2
3
4
5
Advertisement
Need help?
Do you have a question about the Quick and is the answer not in the manual?
Ask a question
Questions and answers
Related Manuals for Cannondale Quick
Bicycle Cannondale SuperSix EVO Owner's Manual
(106 pages)
Bicycle Cannondale SuperSlice Owner's Manual
(106 pages)
Bicycle Cannondale Chase Series Owner's Manual
(84 pages)
Bicycle Cannondale Quick Neo SL w/ Ebikemotion X35 Drive System 2020 Technical Supplement
(8 pages)
Bicycle Cannondale Lefty MAX Owner's Manual
Multi-speed bicycle (24 pages)
Bicycle Cannondale Treadwell Quick Start Manual
(16 pages)
Bicycle Cannondale en 14764 Supplemental Owner's Manual
E series (27 pages)
Bicycle Cannondale Adventure Neo Allroad 2023 Quick Start Manual
(20 pages)
Bicycle Cannondale Mavaro Neo Owner's Manual Supplement
(34 pages)
Bicycle Cannondale Trigger 27.5/29 Owner's Manual Supplement
(13 pages)
Bicycle Cannondale Synapse Neo Carbon Owner's Manual Supplement
(32 pages)
Bicycle Cannondale SLICE Series Owner's Manual
(24 pages)
Bicycle Cannondale LEFTY OLIVER Owner's Manual Supplement
(13 pages)
Bicycle Cannondale Synapse Carbon Owner's Manual
(102 pages)
Bicycle Cannondale Topstone Owner's Manual Supplement
(24 pages)
Bicycle Cannondale Moterra NEO Owner's Manual Supplement
(25 pages)
This manual is also suitable for:
Quick cx
Althea
Adventure
Print
Rename the bookmark
Delete bookmark?
Delete from my manuals?
Login
Sign In
OR
Sign in with Facebook
Sign in with Google
Upload manual
Upload from disk
Upload from URL


Need help?
Do you have a question about the Quick and is the answer not in the manual?
Questions and answers