Advertisement
Quick Links
Advertisement

Subscribe to Our Youtube Channel
Related Manuals for Cannondale Treadwell


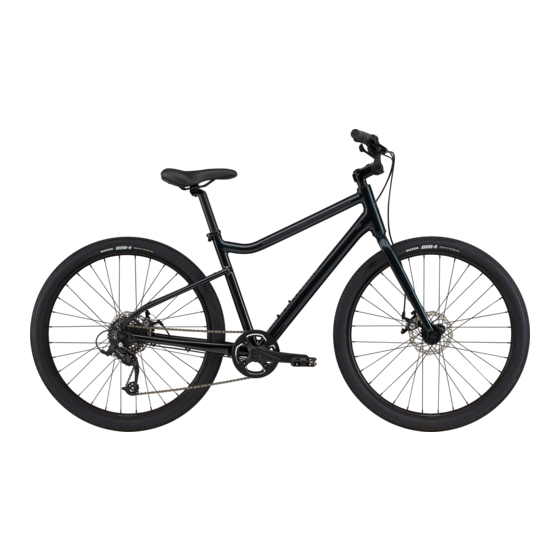
Summary of Contents for Cannondale Treadwell
- Page 1 Treadwell Quick Start Guide...
- Page 2 Welcome to the Cannondale family. WARNING First up, thank you for buying a new Cannondale bike – we’re excited to have you on board and to get you out riding as soon as possible. Our new This is a Quick Start Guide, not an assembly process is easy-to-follow –...
- Page 3 The 4 major steps to setting up our ride. Install your handlebars Install your seat post Install your front wheel Install your pedals SET-UP STEP 1 STEP 2 STEP 3 STEP 4 PRE-RIDE CHECK...
- Page 4 Getting your bike ready for assembly. This video applies to one Cannondale Platform: • Treadwell Let’s get your bike out of the box. Tools Needed: First, locate the staples on the top of the box and carefully remove • Flat-Head Screwdriver them with a screwdriver.
- Page 5 Let’s get your bike out of the box. Remove all additional packaging from the bike, letting the handlebar gently hang from the frame. Carefully lift and rotate the bike, lowering it gently back into the box with the fork overhanging the box side. The stem should be pointing forward and the disc brake caliper should be on the left (non- drivetrain) side of the bike.
- Page 6 Step 1. Install your handlebars. Using the included Allen wrench, loosen and remove the bolts and faceplate from the stem. The stem connects the handlebar to the fork. Set the bolts and faceplate aside together, so you don’t lose anything. Place the handlebar into the stem and verify the brake hoses and shift cables wrap around the frame cleanly, without kinks to any of the lines.
- Page 7 Step 2. Install your seat post. Loosen the seatpost clamp with the Allen key. On the seatpost, locate the minimum insertion line. Insert the seatpost into the frame beyond the minimum insertion line. Hand tighten the clamp using the Allen key, enough so the seatpost can’t be pulled from the frame.
- Page 8 Step 3. Install your front wheel. Locate the skewer and remove it from the packaging. The skewer is comprised of five major parts: the skewer itself; a washer; two conical springs; and the adjusting nut. Unthread and remove the adjusting nut and the neighboring conical spring from the skewer.
- Page 9 Step 3. Install your front wheel. Remove the fork protector from the fork dropouts. Carefully lift the bike from the box and gently place the fork ends on the ground. Remove any additional packaging from the bike. Remove the disc brake pad spacer from the front caliper. Take care not to pull the front brake lever while either the pad spacer or disc brake rotor is not present in the caliper.
- Page 10 Step 3. Install your front wheel. Gently lift the front end of the bike and roll the wheel back in-between the fork legs. Carefully align the disc brake rotor in the brake caliper and lower the fork dropout onto the wheel axle. Ensure the wheel is fully seated into the fork dropouts on both sides.
- Page 11 Step 4. Install your pedals. Insert the right pedal (marked with R on the sticker) into the right/ drive side crank arm and tighten with your fingers. Install the pedals by turning the pedal spindles in the direction of the front wheel.
- Page 12 Some final pre-ride checks. Seat Height. Adjust seat height by loosening the seatpost collar. Standing next to the bike, position the saddle so it’s the same height as your hip. Align the saddle with the frame and tighten the seatpost clamp.
- Page 13 Some final pre-ride checks. Twist Checks. Secure the front wheel between your legs and turn the handlebar. If the handlebar and wheel move independently, the stem bolts are not tight enough. Use the torque wrench and correct bit to properly torque the bolts. Attempt to rotate the handlebar forward and backward in the stem.
- Page 14 Welcome to the family. @ridecannondale...
Need help?
Do you have a question about the Treadwell and is the answer not in the manual?
Questions and answers