Advertisement
Quick Links
©2024 BaBylissPRO
Dateline Imports P/L
Professional Products Division
Discovery Cove - Unit 8/1801 Botany Road
Banksmeadow, NSW 2019
Ph: 61 2 9666 3611
www.babylisspro.com.au
Dateline Imports NZ Ltd
66 Apollo Drive
Albany, Auckland
Ph: 64 9 415 5415
www.babylisspro.co.nz
B729A IB-23_463.indd 1
B729A IB-23_463.indd 1
Distributed by:
Australia
NZ 0632
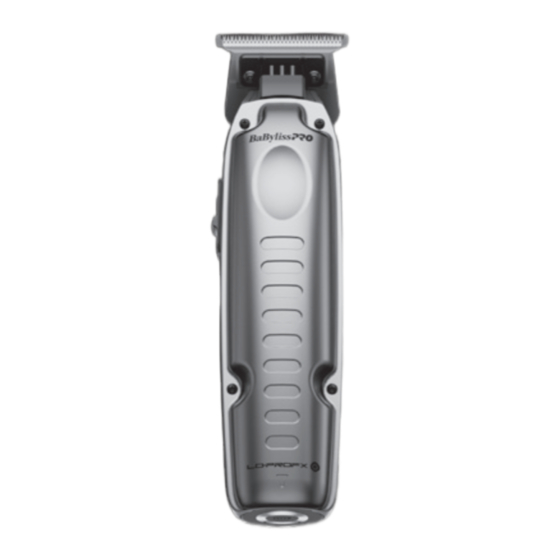
Operating Instructions
PROFESSIONAL
INTERCHANGEABLE-
BATTERY TRIMMER
Model B729A
For your safety and continued enjoyment of this product,
always read the instruction book carefully before using.
2024/1/16 17:56
2024/1/16 17:56
Advertisement

Related Manuals for BaBylissPro LO-PROFX B729A


Summary of Contents for BaBylissPro LO-PROFX B729A
- Page 1 ©2024 BaBylissPRO Distributed by: Dateline Imports P/L Professional Products Division Discovery Cove - Unit 8/1801 Botany Road Banksmeadow, NSW 2019 Operating Instructions Australia PROFESSIONAL Ph: 61 2 9666 3611 INTERCHANGEABLE- www.babylisspro.com.au BATTERY TRIMMER Dateline Imports NZ Ltd 66 Apollo Drive...
-
Page 2: Safety Cautions
• Do not use any attachments other than screws from the blade set. Remove the capabilities, or lack of experience and BLADE CARE those recommended by BaBylissPRO. blade set from the trimmer (see Fig. 1). knowledge, unless they have been given Because the trimmer blades are precision- •... - Page 3 DO NOT RINSE BLADE, TRIMMER, Step 3 – Using your fingers on each side of Step 5 – Once the blade is adjusted to zero 3. To install the battery, line up the the zero-gap tool, push up until the black gap or your liking, gently tighten the two BATTERY, OR CHARGER keyway of the trimmer with the battery...
- Page 4 CHARGING STAND INSTRUCTIONS BATTERY/CHARGING INDICATOR BATTERY REMOVAL This trimmer contains lithium-ion batteries. (TOP OF FXONE BATTERY) The FXONE Universal Battery Charging To help protect our environment, the Stand can be powered by either a universal Blue flashing – Charging lithium-ion batteries should be removed FXCORD (not included) or the included Blue solid –...
- Page 5 (“Purchaser”) of of the user. This Warranty does not WARRANTY AGAINST DEFECTS exchanged or repaired (see point 12 in the BabylissPRO product that is the cover ordinary wear and tear in the conditions). subject of this warranty (“Product”) Product or its parts.
- Page 6 6. Any parts of the Product that need to be 12. If you’re certain your product is replaced, or if the whole Product needs defective, and the product is covered to be replaced, the replaced Product, by the terms of this warranty, you become the property of Dateline.
Need help?
Do you have a question about the LO-PROFX B729A and is the answer not in the manual?
Questions and answers