Advertisement
Table of Contents
Contents
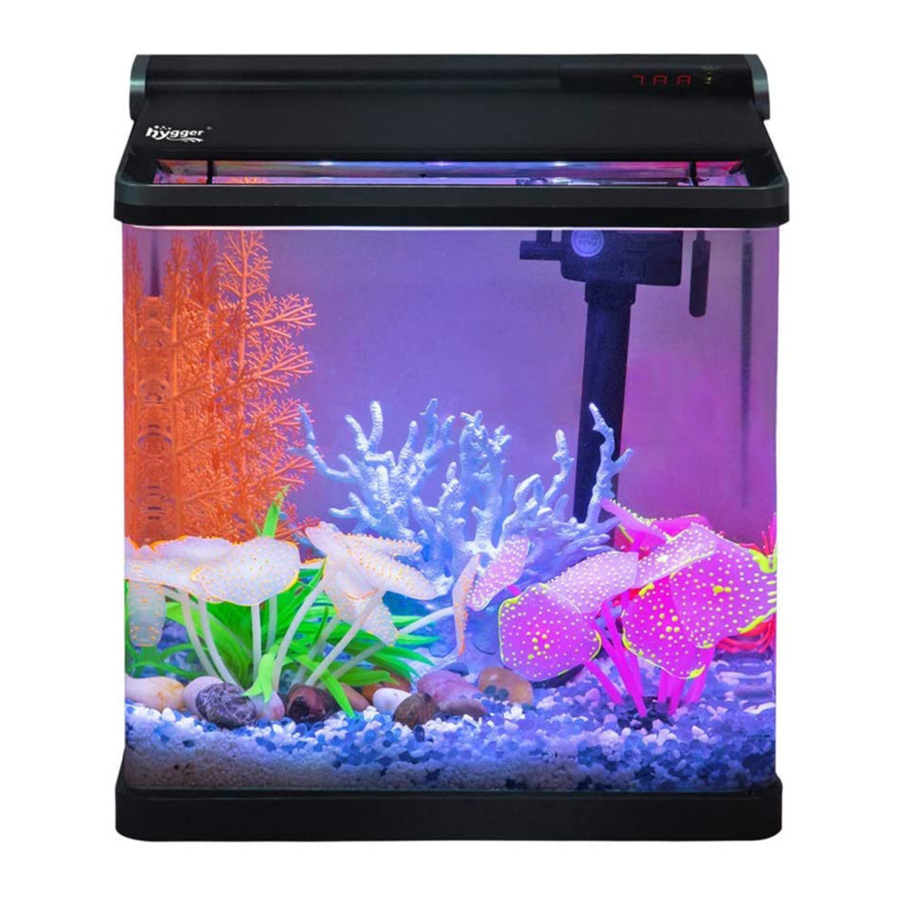
HYGGER HG-948 - Mini Aquarium Fish Tank Manual
PRODUCT FEATURES
- Mini fashion design: Its compact size makes it ideal for smaller spaces such as a dorm, table top or kid's dresser.
- Perfect starter aquarium: The kit includes the proper equipment for starting an aquarium, and is modeled after a traditional aquarium.
- Perfect for plants, shrimp and small fish: The aquarium fits almost anywhere. Its the perfect size for plants, shrimp and small fish.
- Curved-corner glass aquarium: The highest clarity glass with curved-corner design lead to the wide view.
- LED hood and quick-change filter cartridges construction: The LED can be adjustable, and the filter media can be replaced.
- 3-in-1 Submersible pump: 3-in-1 power head filter performs three functions at the same time: water filtration, water circulation and aeration.
- Digital temp display: Integrated with temp probe and digital temp display, its easy to know the water temp in the tank.
- Easy to set up and maintain: The design of this aquarium kit takes all the guesswork out of setting up an aquarium. Each item in the kit is easy to fit and maintain.
PACKAGE INCLUDED
- 1× Mini aquarium glass tank with LED
- 1× Submersible pump
- 2× Filter media cartridges
- 1× Air tube
- 1× Intake water tube
- 1× Intake screen
- 1× Coupling connector
- 1× Elbow
- 1× Rain pipe
- 1× User manual
PRODUCT PARAMETER
TANK
| Material | Thickness | Dimension | Weight | Range of temp show |
| Glass | 4mm | 28.5× 19× 32cm (11.2× 7.5×12.6 inch) | 2.35kg | 000-999 oF |
LED LIGHT
| Power | Voltage | LEDS | Length of Wire | |
| 7w | 100-240V 50/60Hz | 7 White 2 Blue | 4 Red 1 Greeen | 1.5m 5 ft |
SUBMERSIBLE PUMP
| Power | Voltage | H.max | Q.max | Length of Wire |
| 3w | 110V/60Hz | 50cm (1.65 ft) | 400L/h 106GPH | 1.5m 5 ft |
QUICK SETUP GUIDE

- Unpack the aquarium kit.
- Check parts according to the packing list, if anything is missing or cracked, please contact the seller.
Tank setup
- First clean the tank and filter by clean water and towels. Do not use chemicals not intended for aquarium use.
- Place the tank on a level, sturdy, completely flat surface in your desired location. Keep away from direct sunlight and air vents.
- Rinse gravel and decor then decorate your aquarium before adding water to avoid over-filling.
- Rinse the filter media cartridge and other filter parts, then fit the Submersible pump into the preformed hole as following instruction:
- Connect the intake screen to intake pipe.
![]()
- Make the submersible pump slant, then place it into the preformed hole.
![]()
- Connect the intake pipeto the submersible pump firmly.
![]()
- Position the submersible pump close to the right border, then use the orientation rib to position correctly.
![]()
- Connect the air tube to the joint and put the other end of the tube out of the tank.
![]()
- Place the filter media cartridge on the left preformed hole, then use the orientation rib to position correctly.
![]()
- Place the coupling connector on the outlet of the submersible pump, then connect the elbow with rain pipe together. Also, connect the elbow to coupling connector and place the rain pipe above the filter media cartridge. Then use the orientation rib to position correctly.
![]()
- Connect the intake screen to intake pipe.


- Fill the tank with room temperature tap water. Make sure the submersible pump is fully submerged in water. Water level must be to bottom outer edge of hood for proper filter operation.
- Treated the tank water with aquarium conditioner to remove chlorine.
- Plug in the LED light and power filter, and turn on.
Method of LED adjustable
Press  button one time to turn on the LED.
Continue pressing button to change the lighting mode as follows:
| Presstime | White | Red | Green | Blue |
| First | 7 LEDS | 4LEDS | 1LEDS | 2LEDS |
| Second | 2LEDS | 4LEDS | 1LEDS | 1LEDS |
| Third | 5LEDS | OFF | OFF | 1LEDS |
| Fourth | 7LEDS | 4LEDS | 1LEDS | 2LEDS |
| Fifth | OFF | OFF | OFF | OFF |
MAINTENACE
Filter cartridge
- Unplug the LED and submersible pump.
- Remove the used filter media cartridge from the tank and discard. Install new cartridge.
- Recommend replace the used filter media cartridge in 2 weeks.
Submersible pump
Unplug pump and carefully remove connector and pipe from the pump body. Then and remove the pump from tank. Separate and clean all parts including impeller. Rinse thoroughly and reinstall. Recommend clean the pump monthly.
TIPS TO SUCCESSFUL AQUARIUM
- Keep the LED light on for a maximum of 8 hours per day.
- Change 25% the water once per week.
- Keep properly the water level, in order to keep the power filter working.
SAFETY

To guard against injury, basic safety precautions should be observed including the following:
- Read and follow this user manual strictly.
- DANGER-To avoid possible electric shock, special care should be taken since water is employed in the use of aquarium equipment. For each of the following situations, do not attempt to repair yourself. Return the appliance to an authorized service facility for service or discard the appliance.
- If the appliance falls into the water, DO NOT reach for it! First unplug it and then retrieve it. If electrical components of the appliance get wet, unplug the appliance immediately.
- Carefully examine the appliance after installation. It should not be plugged in if there is water on parts not intended to be wet.
- Do not operate any appliance if it has a damaged cord or plug, if it is malfunctioning or if it is dropped or damaged in any manner.
- To avoid the possibility of the appliance plug getting wet, position aquarium stand and tank to one side of a wall mounted receptacle to prevent water from dripping onto the receptacle or plug.
![]()
A "drip loop", shown in the figure below, should be arranged by the user for each cord connecting an aquarium appliance to the receptacle. The "drip loop" is the part of the cord below the level of the receptacle, or the connector. If an extension cord is used, to prevent water traveling along the cord and coming in contact with the receptacle. If the plug or receptacle does get wet, DO NOT unplug the cord. Disconnect the fuse to the circuit breaker that supplies power to the appliance. Then unplug and examine for the presence of water in the receptacle.
- Close supervision is necessary when any appliance is used by or near children.
- To avoid injury, do not contact moving parts or hot parts such as lamp bulbs and so on.
- Always unplug the appliance from the outlet when not in use, before putting on or taking off parts, and before cleaning. Never yank the cord to pull plug from outlet. Grasp the plug and pull to disconnect.
- Do not use an appliance for other than intended use. The use of attachments not recommended or sold by the appliance manufacturer may cause an unsafe condition.
- Do not install or store the appliance where it will be exposed to the weather or to temperatures below freezing.
- Make sure an appliance mounted on a tank is securely installed before operating it.
- Read and observe all the important notices on the appliance.
- If an extension cord is necessary, a cord with a proper rating should be used. A cord rated for less amperes or watts than the appliance rating may overheat. Care should be taken to arrange the cord so that it will not be tripped over or pulled.
- The 2 conductor power cord has a polarized plug(one blade is wider than the other). As a safety feature, this plug will fit in a polarized outlet only one way. If the plug does not fit fully in the outlet, reverse the plug. If it still does not fit, contact a qualified electrician. Never use with an extension cord unless plug can be fully inserted. Do not attempt to defeat this safety feature.
- The appliance is intended FOR HOUSEHOLD USE ONLY. Do not use or mount the appliance in such a way that the top vents are restricted or blocked. These vents are necessary to avoid over heating and ensure safe operating temperatures.
- SAVE THIS USER MANUAL.

CONTACT INFORMATION
Website: www.hygger-online.com
E-mail: Mago@hygger-online.com

24H Customer service Facebook QR code

Documents / Resources
References
Download manual
Here you can download full pdf version of manual, it may contain additional safety instructions, warranty information, FCC rules, etc.
Advertisement


Need help?
Do you have a question about the HG-948 and is the answer not in the manual?
Questions and answers