Advertisement
PRODUCT FEATURES
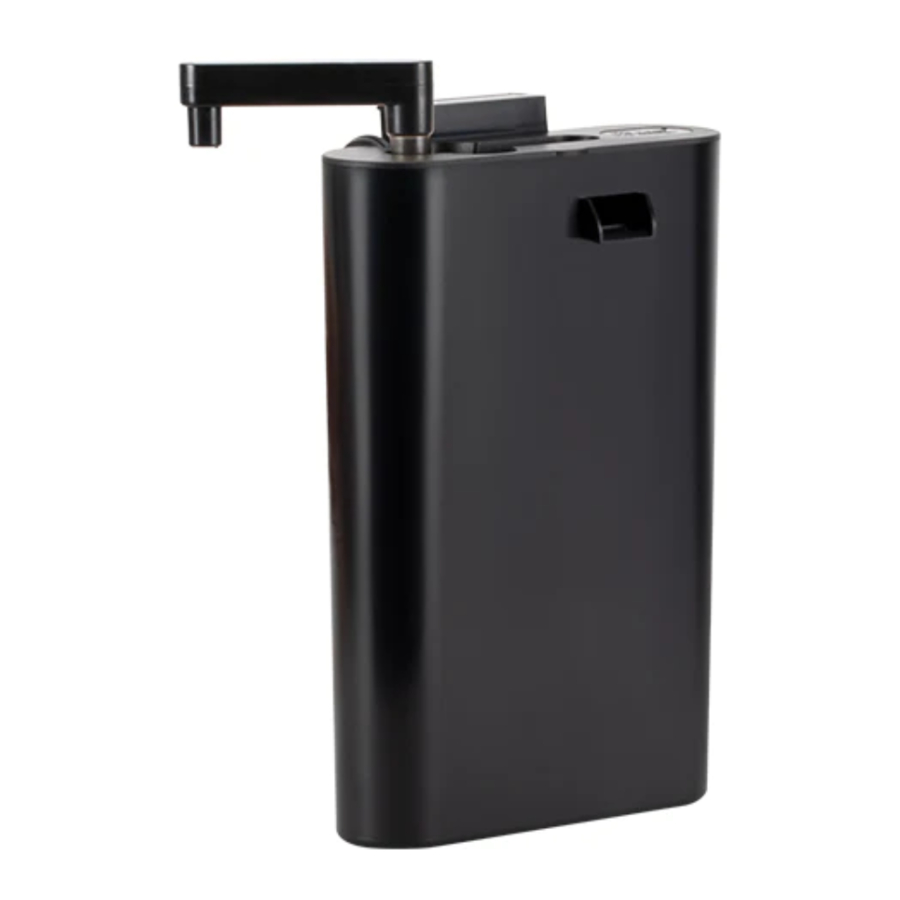
Hygger Two-In-One filtration water changer includes an upgraded water change outlet with a new design for your aquarium!
Multi-stage filtration: Mechanical and biological filtration cycles more than 6 times per hour to maintain a clean aquatic environment for your fish and invertebrates!
Innovative water exchange design: Our design allows for quick and easy water changes.
Increase dissolved oxygen: Activated carbon filtration media removes harmful substances and our filtration media helps to cultivate beneficial bacteria. The flow of water will also increase dissolved oxygen in the aquarium.
Suitable for shrimp, betta, tropical fish, or planted tanks!
PARAMETERS
| Model | Power of water pump | Max Flow Rate | Recommended Tank Size |
| HG-985 | 110V 60Hz 3W | 60GPH (220LPH) | 10 Gallon (38L) |
PRODUCT INSTRUCTIONS

- Lid
- Body
- Water Inlet
- Outlet Tap
- Outlet Pipe
- Water Pump
- Power Cable
- Filter Cartridge
- Filter Sponge House
- Filter Sponge
- Outlet Fixture
- Pylons
- Plastic Plug
- Outlet Tap Plug
- Outlet
Clean each parts of the filter
- Lift the outlet tap, take it out and then remove the lid.
![]()
- Remove the filter cartridge, filter sponge housing and pump from the filter.
![]()
- Take the filter sponge out of the filter sponge housing.
![]()
- It is recommended to rinse with old tank water before first use.
NOTE: Please keep the socket away from water at all times.


Assemble all the parts before using
- Put the filter sponge into filter sponge housing.
![]()
- Put the filter cartridge and filter sponge housing into the filter.
*NOTE: The black sponge of the filter cartridge faces towards the water inlet. Put the filter cartridge in the correct slot.

- Put the outlet fixture on top of the filter sponge housing.
![]()
- Put the pump into the filter.
NOTE: The cable of the pump should be placed at the right part of the pump.
![]()
- Put the lid on then put the outlet tap into the filter.


Place the filter on the tank
- It can be fixed on glass with thicknesses ranging from 4-7 mm (1.5-2.8inch).

- When the glass thickness is close to 2.8inches, the slots will be pushed out from pylons.


Usage
- Power it on. The water level should be between 8-17.5CM (3.15-6.9 inches ) as shown in the picture. Start to use it.

- You also can lift the outlet tap and put the outlet plug into the outlet tap tightly then rotate and press down the outlet tap in the tank, the water fall into tank like a water ball.


NOTE: The dissolved oxygen level will change depending on water level: The higher the water level the lower the dissolved oxygen.
Change water
- Lift the outlet tap 2.5-3.9cm (1-1.5 inch) and the product will stop pumping water. Then, rotate the outlet tap toward the outside of the tank.

- Connect the outlet tap to the outlet pipe and put the outlet pipe in a bucket. Press down the outlet tap to begin draining tank water.
NOTE: Outlet pipe 3.9 FT, 0.35 Inch-ID x 0.46 Inch OD (0.88cm-lD x 1.18cm-OD)

- Finish water change, lift the outlet tap, and return it to the original position.


NOTE:
- Change about 20% of the tank water once a week to create a stable environment and maintain water quality.
- The minimum water level is 2.6 inch (6.5cm) from the bottom of the filter when draining water.
MAINTENANCE
- Wash the pump filter cartridge and filter media with tank water every two weeks to remove detritus buildup. Change filter media monthly.
![]()
- Wash the entire pump monthly.
- Remove the pump from the filter then pull apart the pump cover and remove the impeller unit from the motor.

- Wash the impeller and clean the pump from within, then reassemble it.
NOTE: Please gently wash the inside part of the pump.

- Remove the pump from the filter then pull apart the pump cover and remove the impeller unit from the motor.


ATTENTION
- Ensure the filter inlet is not near sand or fine substrates.
- Don't put heater or heating device in the filter.
- Don't use outdoors.
- Don't drop the product.
- Stay away from children.
PACKAGE INCLUDED
- 1 x FILTRATION WATER CHANGER
- 1 x Filter cartridge
- 1 x Filter sponge
- 1 x Outlet pipe (3.9 FT 1.2M)
- 1 x User manual
TROUBLESHOOTING
| Symptom | Reasons | Solutions |
The device does not work |
|
|
Water does not flowWater flow is weakUnusual noise |
|
|
Water does not become clean |
|
|
CAUTION

To guard against injury, basic safety precautions should be observed including the following:
![]()
To avoid possible electric shock, special care should be taken since water is employed in the use of the filter. For each of the following situations, do not attempt to repair yourself; return the filter to an authorized service facility for service or discard the filter.- Before removing the filer out of water, unplug the filter first.
- Carefully examine the filter after installation. It should not be plugged in if there is water on parts not intended to be wet.
- Do not operate the filter if it has a damaged cord or plug, if it is malfunctioning or if it is dropped or damaged in any manner. The power cord of this filter cannot be replaced, if the cord is damaged, the filter should be discarded.
- To avoid the possibility of the filter plug getting wet, position aquarium stand and tank to one side of a wall mounted outlet to prevent water from dripping onto the outlet or plug. A "drip loop" shown in the figure below, should be arranged by the user for each cord connecting the filter to the outlet. The "drip loop" is the part of the cord below the level of the outlet, or the connector. If an extension cord is used, to prevent water traveling along the cord and coming in contact with the outlet. If the plug or outlet does get wet, DO NOT unplug the cord. Disconnect the fuse to the circuit breaker that supplies power to the filter. Then unplug and examine for the presence of water in the outlet.
![]()
- Close supervision is necessary when the filter is used near children.
- Always unplug the filter from the outlet when not in use, before putting on or taking off parts, and before maintenance or placing hands in the water. Never yank the cord to pull plug from outlet. Grasp the plug and pull to disconnect.
- Do not use the filter for other than intended use. The use of attachments not recommended or sold by the appliance manufacturer may cause an unsafe condition and will void any warranty.
- Do not install or store the filter where it will be exposed to the weather or to temperatures below freezing. This filter is suitable for using in water temperatures less than 104°F.
- Make sure the filter is securely installed before operating it.
- Read and observe all the important notices on the filter.
- If an extension cord is necessary, a cord with a proper rating should be used. A cord rated for less amperes or watts than the appliance rating may overheat. Care should be taken to arrange the cord so that it will not be tripped over or pulled.
- SAVE THIS USER MANUAL.


CONTACT INFORMATION
Website: www.hygger-online.com
E-mail: Mago@hygger-online.com
If you have any problems or suggestions for the Hygger Two-in-One Filtration Water Changer, please contact us by email before leaving feedback or opening a case, it will be the fastest way to solve your problem.
If you are satisfied with the Hygger Two-in-One Filteration Water Changer, please leave positive feedback for our product, in order to let more customers enjoy it. Thanks again!

Documents / Resources
References
Download manual
Here you can download full pdf version of manual, it may contain additional safety instructions, warranty information, FCC rules, etc.
Download HYGGER HG-985 - 2-in-1 Filtration and Water Changer Manual
Advertisement


Need help?
Do you have a question about the HG-985 and is the answer not in the manual?
Questions and answers