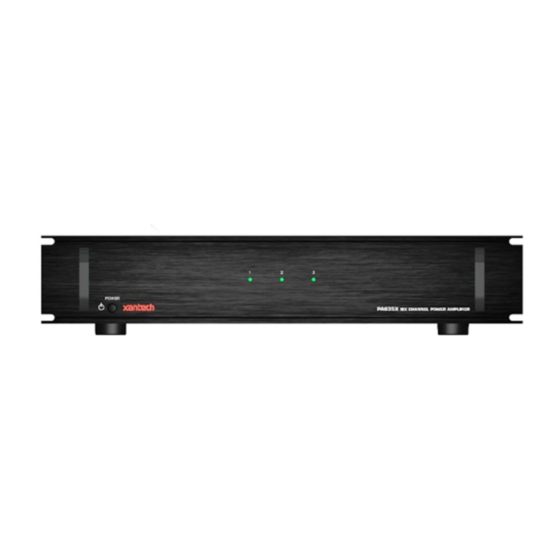
Table of Contents
Advertisement
Quick Links
TABLE OF CONTENTS
SectionTitle
GENERAL INFORMATION.........................................................................................................................................2
PA635X PANEL AND FEATURE DESCRIPTIONS .................................................................................................... 3
Physical Location and Mounting............................................................................................................................5
CONNECTING THE PA635X......................................................................................................................................6
Stereo Mode Connections ....................................................................................................................................6
Speaker Phasing ..................................................................................................................................................7
Bridged Mode Connections...................................................................................................................................8
Connecting the Remote Master On/Off Control .....................................................................................................8
A Multi-Zone System Diagram Using The PA635X................................................................................................9
TROUBLE SHOOTING ............................................................................................................................................10
SPECIFICATIONS....................................................................................................................................................11
INSTALLATION INSTRUCTIONS
MODEL PA635X
SIX CHANNEL POWER AMPLIFIER
Page
Advertisement
Table of Contents

Summary of Contents for Xantech PA635X
-
Page 1: Table Of Contents
TABLE OF CONTENTS SectionTitle GENERAL INFORMATION...2 PA635X PANEL AND FEATURE DESCRIPTIONS ... 3 INSTALLATION Physical Location and Mounting...5 CONNECTING THE PA635X...6 Stereo Mode Connections ...6 Speaker Phasing ...7 Bridged Mode Connections...8 Connecting the Remote Master On/Off Control ...8 A Multi-Zone System Diagram Using The PA635X...9 TROUBLE SHOOTING ...10... -
Page 2: General Information
3 to 4 seconds after the short is removed. Remote Master ON/OFF Control Jack. This jack allows the PA635X to be powered on and off by a positive DC voltage ranging between 4 and 30 volts (11mA @ 12 V). Specifically, it permits the 12 volt common CO (Control Output) or zone STATUS outputs from the Xantech ZPR68 to power one or more PA635X's ON and OFF automatically with zone ON/OFF commands. -
Page 3: Pa635X Panel And Feature Descriptions
NOTE: The PA635X may also be powered ON/OFF with an external AC line switch into which the power cord of the PA635X is plugged (such as the switched AC outlet of a preamp, timer, etc. with a 5A minimum rating). For this type of operation, leave the POWER switch depressed to the MANUAL ON position. - Page 4 For instance, the 12 volt common CO (Control Output) of the Xantech ZPR68 preamp will power the PA635X ON and OFF automatically with the first zone ON and last zone OFF commands. The DC Voltage must be applied continuously to retain the ON condition and drop to less than 0.5 Volt to switch to the OFF condition.
-
Page 5: Installation Physical Location And Mounting
240 VAC 50 Hz on the 240 V version). INSTALLATION - PHYSICAL LOCATION AND MOUNTING When you mount the PA635X, you should plan its location carefully. Pay close attention to each of the following factors: 1. The amplifier is convection cooled. That is, it depends on the natural free flow of air up through the slot perforations in the bottom plate, over the internal heat dissipating fins, then out the top cover, for adequate cooling. -
Page 6: Connecting The Pa635X
Page 6 4. Do not hesitate to use fans (quiet, boxer type), if necessary, to ensure a constant flow of air through the PA635X's and the other heat generating components. 5. When mounting in a 19" (483mm) rack, adding a single RU (Rack Unit) above and below the PA635X will improve convection in heavy use applications. -
Page 7: Speaker Phasing
(or any combination of speakers) is 4-Ohms minimum. 5. Be sure to observe correct polarity by connecting the "+" and "–" terminal from each channel on the PA635X to the corresponding "+" and "–" terminals on each speaker. This will ensure correct "phasing" - see Fig. 5 and Speaker Phasing below. -
Page 8: Bridged Mode Connections
CONTROL terminal allows the power to the PA635X to be turned ON and OFF by a remotely applied DC Voltage. Fig. 7 illustrates how a PA635X can be switched ON and OFF via the switched AC outlet on the rear of a preamplifier. -
Page 9: A Multi-Zone System Diagram Using The Pa635X
+12V CO (control output) from the ZPR68-10 is used to remotely turn the PA635X ON/OFF. When any one of the zones is turned on, the common +12V CO goes high, turning each of the PA635X's ON. -
Page 10: Trouble Shooting
Sound cuts in and out every 3 to 5 seconds. PA635X does not turn OFF when REMOTE input voltage goes to 0 Volts. PA635X becomes very warm, shuts OFF, but does not come back ON automatically. One or more front panel LED’s glow red. -
Page 11: Specifications
120V version: 6.25A Slow Blow 250 VAC 240V version: 3.15A Time-Lag 250 VAC 17” W x 3.75” H x 15” D (429 mm W x 94 mm H x 379 mm D) 22.3 lbs (10.1 Kg) © 2001 Xantech Corporation Page 11... - Page 12 Page 12 Model PA635X Part No. 08901240 Rev A 01-02-2002 © 2001 Xantech Corporation...


Need help?
Do you have a question about the PA635X and is the answer not in the manual?
Questions and answers