Advertisement
Advertisement
Table of Contents

Subscribe to Our Youtube Channel
Related Manuals for RunCam Split-H


Summary of Contents for RunCam Split-H
- Page 1 Runcam Split-H User Manual...
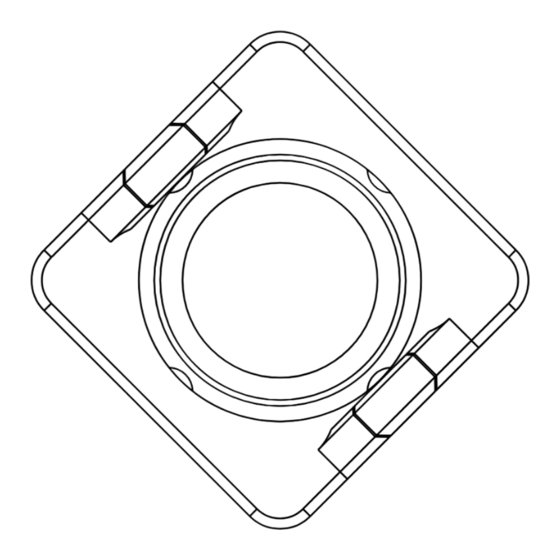
- Page 2 Diagram Module connector Power/Shutter button Power light indicator Power light indicator HDMI Video signal output (blue) Power input (red) Ground (black) NC (white) PWM (yellow) MicroSD Card Type-C...
- Page 3 Camera Module Connection Basic Camera Operations Power on/off To power on, long press the Power/ Shutter button, the power light indicator is on, camera gets turned on. Power/ To power off, long press the Power/ Shutter button Shuter button, the power light indicator Power light goes off, camera gets turned off.
- Page 4 MicroSD Card Use carefully when handling memory cards. Avoid liquids, dust, and debris. As a precaution, please power off the camera before inserting or removing the card. Check manufacturer guidelines regarding use in acceptable temperature ranges. SD卡槽 If camera cannot record, please format the used microSD card via computer.
- Page 5 PWM Remote Control Here we take Flight Controller Speedy Bee-F7 for an example. Connect RunCam Split-H to SpeedyBee F7V3 via the cables, with Power wire (red) to 5V pad, GND wire (black) to GND pad, PWM wire (yellow) to M6 pad.
- Page 6 MIXER interface and assign the channel to a switch. Here we take Radiomaster TX12 as an example, assigning CH7 to SF position. Specifications Product SPLIT-H SONY(5MP) Sensor Field of view FOV 94° 1080P@60FPS Resolution Video file format...
Need help?
Do you have a question about the Split-H and is the answer not in the manual?
Questions and answers