Sign In
Upload
Download
Table of Contents
Contents
Add to my manuals
Delete from my manuals
Share
URL of this page:
HTML Link:
Bookmark this page
Add
Manual will be automatically added to "My Manuals"
Print this page
×
Bookmark added
×
Added to my manuals
Manuals
Brands
MSI Manuals
Desktop
PRO AP242P 14M
User manual
MSI PRO AP242P 14M User Manual
Hide thumbs
1
Table Of Contents
2
3
4
5
6
7
8
9
10
11
12
13
14
15
16
17
18
19
20
21
22
23
24
25
26
27
28
29
30
31
32
33
34
35
36
37
page
of
37
Go
/
37
Contents
Table of Contents
Troubleshooting
Bookmarks
Table of Contents
Table of Contents
Getting Started
Package Contents
Safety & Comfort Tips
System Overview
Installing the Monitor Stand
Connecting the Power
Adjusting the Monitor
Component Replacement & Upgrade
Windows 11 System Operations
Power Management
Network Connections
System Recovery
F3 Hotkey Recovery (Optional)
Troubleshooting
Safety Instructions
TÜV Rheinland Certification
Regulatory Notices
Advertisement
Quick Links
1
Table of Contents
2
Package Contents
3
Getting Started
4
System Overview
5
Installing the Monitor Stand
6
Adjusting the Monitor
7
Component Replacement & Upgrade
8
Windows 11 System Operations
Download this manual
PRO Series
All-in-One PC
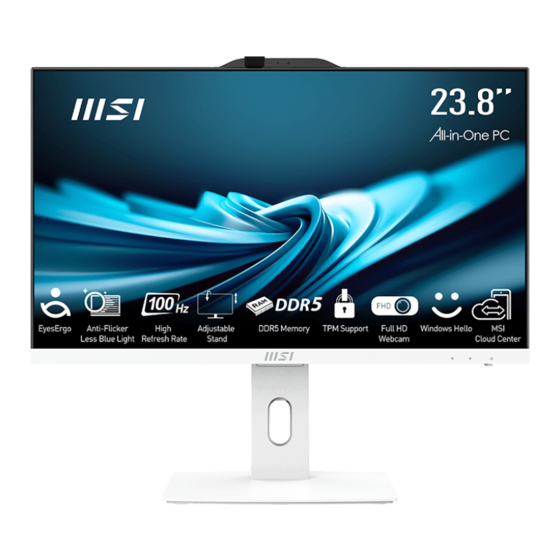
PRO AP242 14M (MS-AE06)
PRO AP242P 14M (MS-AE06)
PRO AP272 14M (MS-AF83)
PRO AP272P 14M (MS-AF83)
User Guide
Table of
Contents
Previous
Page
Next
Page
1
2
3
4
5
Advertisement
Table of Contents
Need help?
Do you have a question about the PRO AP242P 14M and is the answer not in the manual?
Ask a question
Questions and answers
Related Manuals for MSI PRO AP242P 14M
Motherboard MSI PRO B650M-A WIFI User Manual
(436 pages)
Motherboard MSI PRO Z790-A MAX WIFI User Manual
(67 pages)
Desktop MSI PRO Series Service Manual
(67 pages)
Motherboard MSI PRO Series User Manual
(60 pages)
Monitor MSI PRO Series Service Manual
(55 pages)
Desktop MSI PRO AP162T ADL User Manual
(37 pages)
Desktop MSI PRO Series User Manual
(34 pages)
Monitor MSI PRO Series User Manual
(28 pages)
Monitor MSI PRO Series Manual
(27 pages)
Monitor MSI PRO Series User Manual
(26 pages)
Monitor MSI PRO MP241CAW User Manual
(24 pages)
Monitor MSI PRO MP221 User Manual
(24 pages)
Monitor MSI PRO Series User Manual
(23 pages)
Monitor MSI PRO Series User Manual
(22 pages)
Monitor MSI PRO MP2412C User Manual
(22 pages)
Monitor MSI Pro Series Manual
Portable monitor (21 pages)
This manual is also suitable for:
Pro ap242 14m
Pro series
Pro ap272 14m
Pro ap272p 14m
Ms-ae06
Ms-af83
Table of Contents
Save PDF
Print
Rename the bookmark
Delete bookmark?
Delete from my manuals?
Login
Sign In
OR
Sign in with Facebook
Sign in with Google
Upload manual
Upload from disk
Upload from URL


Need help?
Do you have a question about the PRO AP242P 14M and is the answer not in the manual?
Questions and answers