Table of Contents
Advertisement
Quick Links
INSTRUCTIONS
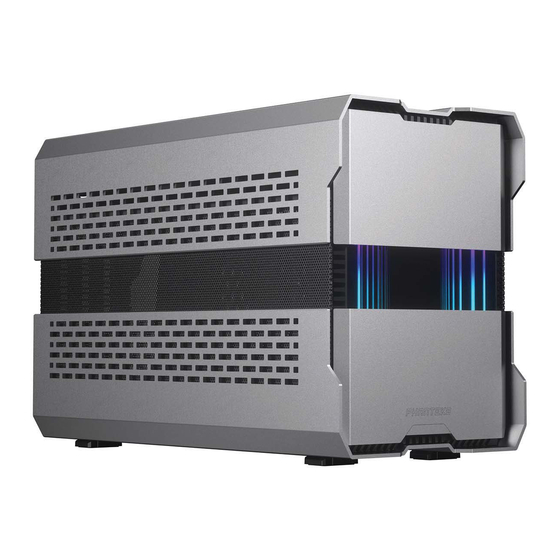
Thank you for choosing Phanteks. This manual will guide you
through the installation process of the Evolv Shift XT Hi-Res
Display. If you have any questions, please contact us through
our customer service or social media.
This manual is for the following models:
PH-ES121XT_LCD
Evolv Shift XT Hi-Res Display
Phanteks will not take responsibility for any damages incurred due to incorrect
installation or usage of this product.
INCLUDED ACCESSORIES
HI-RES DISPLAY
HDMI CABLE
1x
pre-connected
REMOVE EXTERNAL PANELS
All external panels must be removed to install the Evolv Shift XT Hi-Res Display.
01
Remove the magnetic aluminum front
panel.
04
Slide the mesh panels up to remove
them.
SATA CABLE
POWER SWITCH CABLE
pre-connected
pre-connected
02
Slide the locks inwards to unlock.
05
REMOVE
THUMBSCREW
1x
Remove the thumb screw at the rear.
INSTALLATION GUIDE
03
1
2
Slide the top panel to the front
the top panel up with two hands (2).
06
2
1
Slide the chassis to the front
from the bottom panel (2).
| www.phanteks.com
VERSION 1.0
(1)
and lift
(1)
and lift it
01
Advertisement
Table of Contents

Subscribe to Our Youtube Channel
Related Manuals for Phanteks Evolve Shift XT


Summary of Contents for Phanteks Evolve Shift XT
- Page 1 This manual is for the following models: PH-ES121XT_LCD Evolv Shift XT Hi-Res Display Phanteks will not take responsibility for any damages incurred due to incorrect installation or usage of this product. INCLUDED ACCESSORIES HI-RES DISPLAY...
- Page 2 The Hi-Res Display can now be installed. If a system has already been installed into the chassis, it can remain installed. SATA HDMI POWER SW Feed the cables through the designated chassis cut-out. Place the Hi-Res Display panel into the chassis. Make sure it is alligned and seated properly. INSTALLATION GUIDE | www.phanteks.com...
- Page 3 The HDMI cable can then be routed out the rear of Connect the POWER Switch cable to the motherboard. the chassis through the PCI thumb screw cut-out. REINSTALL ALL EXTERNAL PANELS Re-install all external panels. | www.phanteks.com INSTALLATION GUIDE...
- Page 4 Hi-Res Display easily (but not impossible). CUSTOMER SERVICE For any questions or feedback, please contact us through e-mail or social media. US & Canada support@phanteksusa.com International support@phanteks.com FOLLOW US Instagram Facebook YouTube Twitter SOCIAL MEDIA Phanteks Phanteks Phanteks @phanteks INSTALLATION GUIDE | www.phanteks.com...
Need help?
Do you have a question about the Evolve Shift XT and is the answer not in the manual?
Questions and answers