Table of Contents
Advertisement
Available languages
Available languages
Quick Links
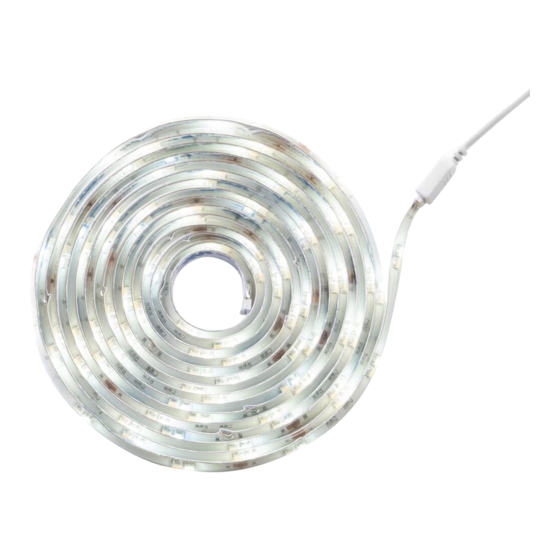
Smart LED Strip 3 m
Art. no 36-8206
Model SP-LS3MCCTW12-60D-01B
Read the entire instruction manual before use and save it for future
reference. We apologise for any text and picture errors and any
changes of technical data. If you have any questions concerning
technical problems please contact our Customer Services.
Safety
Warning
• Neither the product nor its mains adapter
may be dismantled or modified in any way.
• Never use the product or the mains
adapter if it is in any way damaged or
malfunctioning. Unplug the product
immediately if it is damaged.
• Do not use the product in explosive
atmospheres or in the presence of
flammable liquids or gases.
• The product must only be connected to
the included mains adapter.
• Never connect several or other types of
devices to the mains adapter.
• The product must not be installed on a wet
or electrically conductive surface.
• Make sure that the cables are not damaged
whilst the product is being installed.
• Always unplug the mains adapter from the
wall socket when the product is not in use.
• Do not carry the product using the mains
lead and do not use it for other unsuitable
purposes.
• Never let children play with the product.
Hereby, Clas Ohlson declares that the type of radio equipment
Clas Ohlson Smart is in compliance with the Directive
2014/53/EU. The full text of the EU declaration of conformity
is available at the following Internet address:
www.clasohlson.com/ [product search]
1
Risk of eye damage. Do not look directly at the light source.
The product is not suitable for illuminating a room.
The product is intended for indoor use only.
Class II mains adapter.
Class III strip light
Important
•
The LEDs cannot be replaced. When the LEDs have reached the
end of their service life, the entire product must be discarded.
•
This product is intended only for private use.
Information
The LED strip light can be mounted using the double-sided
adhesive tape. For best adhesion, ensure that the surface is clean,
dry and free of grease.
If necessary, the length of the LED strip can be adjusted by cutting it
at one of the markings (every 10 cm along the length of the strip).
1. Strip light: Remove the protective film from the tape on the back
of the light strip and attach it to a clean, grease-free surface.
2. Connectors. Connect the strip light and the control box together.
Note: Make sure the strip light is connected in the right way.
Otherwise the strip light will not shine.
3. IR Receiver.
Note: Make sure there are no obstacles between the IR receiver
on the LED control unit and the remote control.
4. Connect the connecting cable to the LED control unit.
5. Plug the mains adapter into a suitable wall socket.
E-mail: customerservice@clasohlson.co.uk | Store address: Clas Ohlson Ltd, 61-64 Broad Street, Reading, Berkshire, RG1 2AJ
2
Wifi
1. Search for "Clas Ohlson Smart" on App Store or Play Store.
2. Download the app to your smartphone and start it. Follow the
instructions on the app for continued installation.
Note:
•
Make sure to select the 2.4 GHz network on your telephone/
router when connecting the product to the app.
•
If multiple devices are to be installed they need to be configured
one by one. Follow the instructions on the app.
Care and maintenance
•
Unplug the mains lead from the wall socket before cleaning.
•
The product should be cleaned using a dry cloth or vacuum cleaner.
Responsible disposal
This symbol indicates that the product should not be
disposed of with general household waste. This applies
throughout the entire EU. In order to prevent any harm to
the environment or health hazards caused by incorrect
waste disposal, the product must be handed in for
recycling so that the material can be disposed of in a
responsible manner. When recycling your product, take it to your
local collection facility or contact the place of purchase. They will
ensure that the product is disposed of in an environmentally sound
manner.
Specifications
Supported operating systems Android 4.4 / iOS 10.0 or later
Connecting technology
Mains adapter
Power supply
230 V AC, 50 Hz
Output
12 V, 1 A DC
Wifi control box
Input
DC 12 V
Output
Max 3 A
Returns Address: Clas Ohlson Ltd, The Archway, 7-9 West Street, Reading, Berkshire, RG1 1TT
3
4
WiFi 802.11 b/g/n (2.4 GHz)
Light strip
Dimensions
3000 × 10 mm
Light source
180 x LED
Rated voltage
12 V DC
Rated power
9 W
Colour
temperature
3000–6500 K
Ra
≥ 80
UNITED KINGDOM | CUSTOMER SERVICE
Advertisement
Table of Contents

Related Manuals for Clas Ohlson SP-LS3MCCTW12-60D-01B


Summary of Contents for Clas Ohlson SP-LS3MCCTW12-60D-01B
- Page 1 5. Plug the mains adapter into a suitable wall socket. UNITED KINGDOM | CUSTOMER SERVICE E-mail: customerservice@clasohlson.co.uk | Store address: Clas Ohlson Ltd, 61-64 Broad Street, Reading, Berkshire, RG1 2AJ Returns Address: Clas Ohlson Ltd, The Archway, 7-9 West Street, Reading, Berkshire, RG1 1TT...
- Page 2 Wifi Risk för ögonskador! Titta aldrig direkt in i ljuskällan. Varning! 1. Sök efter ”Clas Ohlson Smart” på App Store eller Play Store. 2. Ladda ner appen till din smartphone och starta den. • Produkten eller nätadaptern får inte Följ anvisningarna i appen för fortsatt installation.
- Page 3 Fare for skader på øynene! Se aldri direkte inn i lyskilden. Wifi Advarsel! 1. Søk etter ”Clas Ohlson Smart” i App Store eller Play Store. Produktet er uegnet til å lyse opp rom med. • Produktet eller strømadapteren må ikke 2.
- Page 4 Turvallisuus Silmävamman vaara! Älä katso suoraan valoon. Wifi Varoitus! 1. Hae ”Clas Ohlson Smart” App Storesta tai Play Storesta. • Tuotetta tai muuntajaa ei saa muuttaa tai Tuote ei sovellu huonevalaisimeksi. 2. Lataa sovellus älypuhelimeesi ja käynnistä se. Toimi sovelluksen purkaa.
- Page 5 WLAN Gefahr von Augenschäden! Niemals direkt in das Licht blicken. Warnung! 1. Im App Store oder Play Store nach „Clas Ohlson Smart“ suchen. • Das Produkt bzw. das Netzteil in keiner 2. Die App auf das Smartphone herunterladen und starten.
Need help?
Do you have a question about the SP-LS3MCCTW12-60D-01B and is the answer not in the manual?
Questions and answers