Advertisement
Quick Links
Advertisement

Related Manuals for Öhlins RXC34 m.1


Summary of Contents for Öhlins RXC34 m.1
- Page 1 Front Fork RXC34 m.1 Owner’s Manual...
- Page 2 Öhlins Headquarters Upplands Väsby, Sweden Öhlins Racing AB - The Story It was the 1970’s, a young man named Kenth Congratulations! You are now the owner Öhlin spent most of his spare time pursuing his of an Öhlins product. More than 400 World favorite sport: motocross.
- Page 3 SAFETY PRECAUTIONS General Warnings SAFETY SYMBOLS ⚠ Warning! After you have installed the Öhlins product, take a test ride In this manual, mounting instructions and other technical documents, important information concerning at low speed to ensure the bicycle has maintained stability. ⚠...
-
Page 4: Table Of Contents
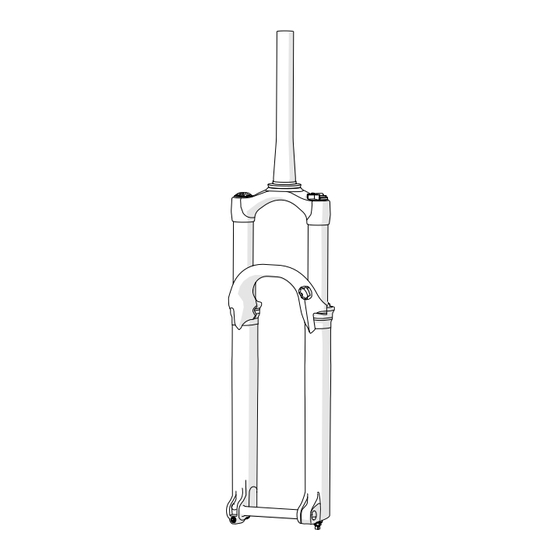
THE ÖHLINS RXC34 m.1 FRONT FORK Congratulations on your excellent choice of purchasing this high-performance Öhlins front fork. This product is designed for the upcoming, next generation of stars and has been developed by Öhlins’ mountain bike department in Sweden, with their experience from working with the world stars of today. -
Page 5: How It Works
1 HOW IT WORKS When setting up the new product, you need to consider both the front fork and shock absorber. To achieve the correct setup, the front fork and shock absorber must be in balance. When you set up the fork, there are two systems to consider: Spring The main purpose of the spring is to support the... -
Page 6: Mounting Instructions
Note! Before installing this product, clean the bicycle thoroughly. RXC34 m.1 (alloy crown) Remove the original front fork. Place the front fork on the bike. Install stem and tighten headset according to the manufacturer’s instructions. - Page 7 Note! Before installing this product, clean the bicycle thoroughly. RXC34 m.1 Carbon Remove the original front fork. 8 Nm Place the front fork on the bike.
- Page 8 2 MOUNTING INSTRUCTIONS Install the brake caliper according to the brake manufacturer’s instructions. Minimum rotor size 160 mm, maximum rotor size 203 mm. Attach the brake cable to the hose clamp and tighten the screw. Use a 2.5 mm hex key. Tighten the bolt to 0.5 Nm.
-
Page 9: Air Spring Setup
3 AIR SPRING SETUP Spring pressure setup A correct spring setup is the most important part of setting up your fork. Start with the recommended pressure and sag and go through the tuning steps described below. It is not possible to fully compensate for a poorly set up air spring by adjusting the damping system. - Page 10 3 AIR SPRING SETUP Dressed in full riding gear, assume your normal riding position on the bicycle. Step off the bicycle and measure the distance the O-ring (sag indicator) has moved. Sag should be set to approximately 15-25% of the fork travel.
- Page 11 3 AIR SPRING SETUP Adjusting volume Adjusting the air spring volume by adding or removing volume spacers affects the ramp characteristics of the spring. Air pressure needs to be adjusted when changing the volume in order to maintain the same sag force. Adding spacers to the positive chamber will increase the end stroke spring rate.
- Page 12 3 AIR SPRING SETUP ⚠ Warning! Make sure all pressure is released from the air spring before you start to work on it. ⚠ Warning! Never install more spacers than the maximum specified amount. Make sure the area around the top cap is completely clean.
- Page 13 3 AIR SPRING SETUP Reset to original ride position After reducing the air pressure in the main chamber, it is necessary to reset the fork to its original length. Example: If you are lowering the pressure from 90 PSI to 70 PSI, the fork will get a lower ride position (shorter travel).
-
Page 14: Otx14 Setup
4 OTX14 SETUP Ride mode selection Compression damping controls the energy absorption when the front fork is being To switch between ride modes use the black compressed, thereby controlling how easily leaver or the remote adjuster. There are three the front fork compresses when you hit a different modes: bump. - Page 15 4 OTX14 SETUP Stability and traction Adjustment range All bicycles are designed with a suspension The RXC fork is designed for use within the full geometry that includes height and fork angle. adjustment range, and using the front fork fully Changing any components may affect the open or closed is normal for some riders.
- Page 16 4 OTX14 SETUP Low speed compression damping The low speed adjuster is used for controlling the chassis movement towards the ground. If you feel that the front fork feels soft, spongy, or the bicycle feels unstable (for example when going into a corner), close 1 click (clockwise). If you feel that the bicycle feels hard and has poor traction, open 1 click (counterclockwise).
-
Page 17: Maintenance
5 MAINTENANCE Extreme riding in adverse weather conditions or lack of cleaning will shorten service intervals. Maintenance Interval Clean dirt and debris from front fork Every ride Check air pressure and set sag Every ride Check torque on front fork mounting bolts Every ride Remove lowers, clean and inspect bushings and seals, change oil 50 hours... - Page 18 NOTES...
- Page 19 NOTES...
- Page 20 Your Öhlins retailer: Öhlins Racing AB Box 722 Phone: +46 (0)8 590 025 00 SE-194 27, Upplands Väsby Fax: +46 (0)8 590 025 80 Sweden www.ohlins.com...
Need help?
Do you have a question about the RXC34 m.1 and is the answer not in the manual?
Questions and answers